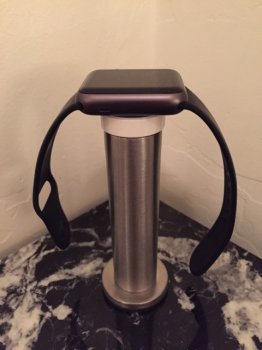
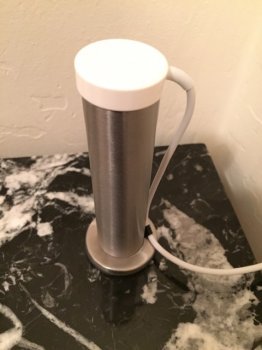
After being disappointed by one of the commercial stands on the market, I decided to build a stand using using some leftover IKEA parts I had lying around. Assembly is drop dead simple. You mostly just stick some velcro and double sided tape on the thing.
The purpose of this stand is to improve the charging experience by allowing one-handed watch placement and removal while also saving space during charging. IMO, this is a huge upgrade over the experience of using a stock charging puck without stand, or even some commercial stands. You don't have to mess with the band at all to place the watch on this stand. The sport band just floats off to the sides. Also, the charging puck can still be easily removed for travel. This solution should work best with two-piece bands like the sport band. Here are the ingredients:
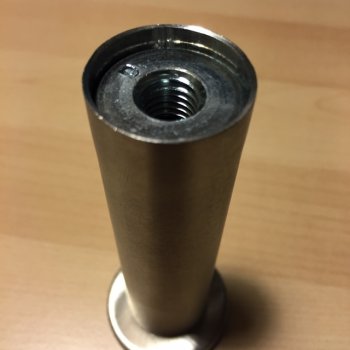
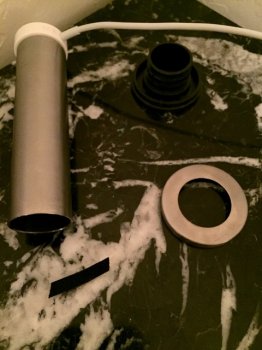
1. 1x IKEA Capita cabinet leg, either the short (4 1/2") or long (6 1/4") length. I built mine with the shorter leg because that's what I had lying around, but if you wear the M/L sport band, you may want the longer leg to keep the long side of the band from touching the tabletop. These are pretty heavy and made from steel tubing. Cost: $12-$14 per box of 4 legs, brushed stainless or white.
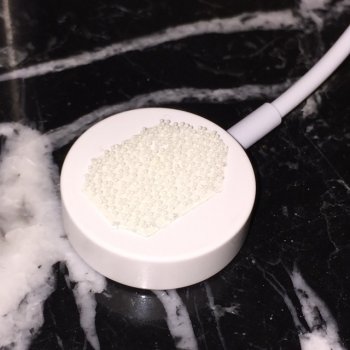
2. 1" of velcro. I used some left over clear 3M Dual Lock low-profile high-strength "mushroom head" type. If you can get the mushroom-interlocking stuff that clicks strongly into place, it will work better than regular velcro. Black or white (not clear) should look best. Cost: Free if you already have some velcro, otherwise add a few bucks.
3. 3M thin double-sided tape. Cost: Same with the velcro, if you don't have this, ask around. Someone you know is bound to have a roll. Otherwise, add a few bucks.
4. Some scrap thin plastic (if necessary) to shim the velcro to the right height. This can be anything, including product packaging, 1-3 mm. Cost: Free.
Instructions:
1. Clean all bonding surfaces with alcohol prior to sticking anything together.
2. Cut some velcro to fit inside the recessed area at the top of the leg. With both sides of velcro attached to each other, you want the total thickness of velcro to be just about level with the top of the leg, filling up the entire recessed portion. If you need to, add a shim of thin plastic underneath to bring the velcro even with the top of the leg. Use some double-sided tape to stick the shim down, then add the velcro on top. The velcro doesn't have to be cut to an exact circle, but will look nicer if you ever have the charger off the stand. If using regular velcro, attach the hook side to the stand.
3. Attach the other side of the velcro to the bottom of the charger.
4. Ensure that when you place the charger on the top of the stand, the velcro grabs and holds without any excessive gaps. Add/remove shim as necessary.
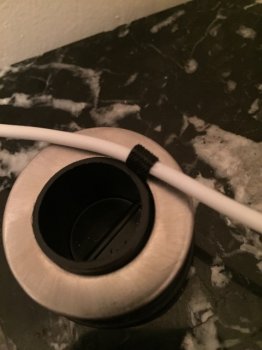
5. Cut a circle of thin double-sided tape for the bottom of the stand. This will help anchor the stand to make it 100% one-handed operation. If you don't want to stick the stand down with double-sided tape, you can also very easily pull off the plug on the bottom of the leg and fill the inside of the stand with something heavy (sand, nails, lead shot, etc.) to increase the weight even more to keep it from moving around. The stand is usable without being adhered to the table, so give it a go without tape if you want, you can always add it later.
Done.
Attachments
As an Amazon Associate, MacRumors earns a commission from qualifying purchases made through links in this post.


