Welcome to our P52! This project is designed to get you out with your camera once a week in a meaningful way. Each week I will post a prompt for you to consider. The prompts are merely suggestions, and you are free to shoot off topic if you wish. All images posted must be taken by you, be safe for work, and be taken with this project in mind. Please do not post archive photos. For a further discussion of the guidelines, please refer to this thread, and you can find the previous weeks linked there if you missed them. Feel free to join in at any time of the year, and you may go back to missed weeks if you still wish to participate.
Week 11: Panorama
panorama: an unobstructed or complete view of an area in every direction
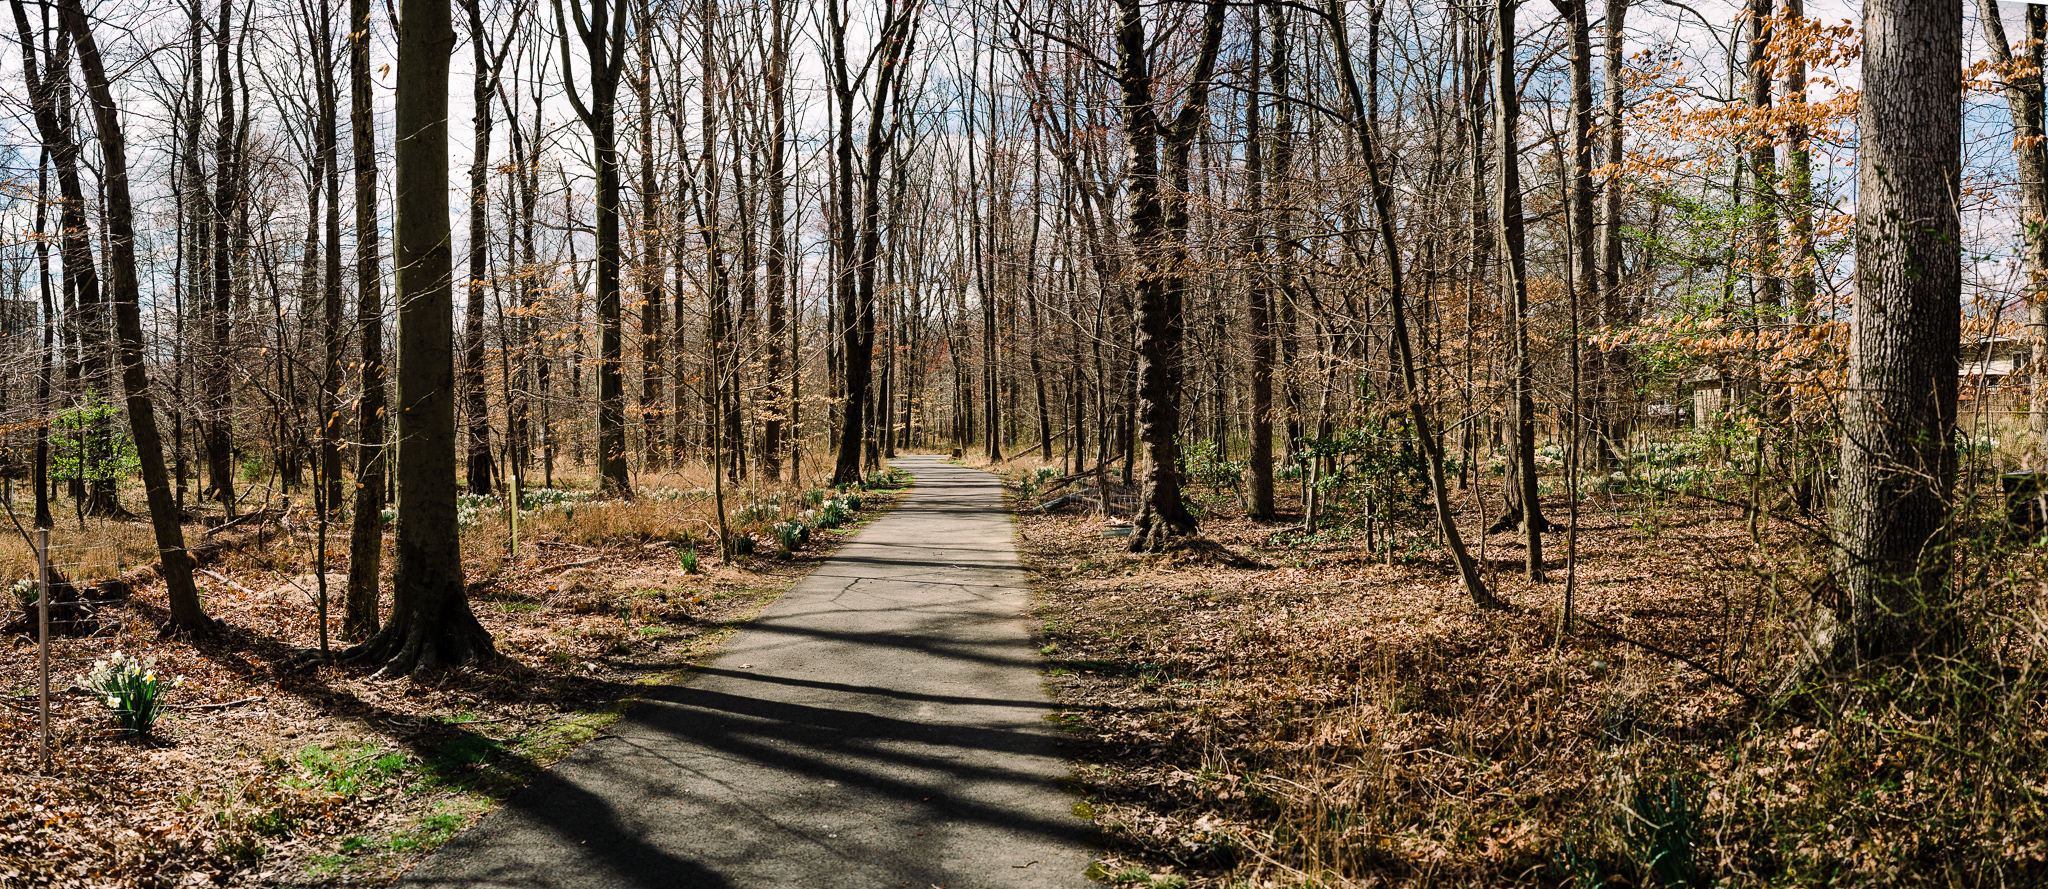
Welcome to Week 11! This week we are going to take a much wider view of things than we have in recent weeks. So wide in fact, that we are going to stitch photos together to create a very wide image.
You might ask why a panorama instead of using a wide angle. There are several reasons. One, a good wide angle lens can be upwards of $2,000. A panorama can be made with an inexpensive 50mm lens. Additionally, a wide angle lens has its own set of challenges of often lens distortion and skewing the edges into the frame. We will talk about wide angle later in the year, but for this challenge I would ask that you not use a wide angle lens even if you own one. The advantage to learning how to create panoramas is that you won’t feel limited by traveling with a normal to longer lens.
The panorama technique is not one that I employ often, but I’m always happy with my results when I do make them. I almost always make at least one when we go on a beach vacation. I typically create mine in Lightroom, since that is my editing program of choice, but there are a number of free options if you use other software. I haven’t personally tried anything other than LR or Photoshop, but here is a great list of some software for you to try if you don’t use the Adobe products.
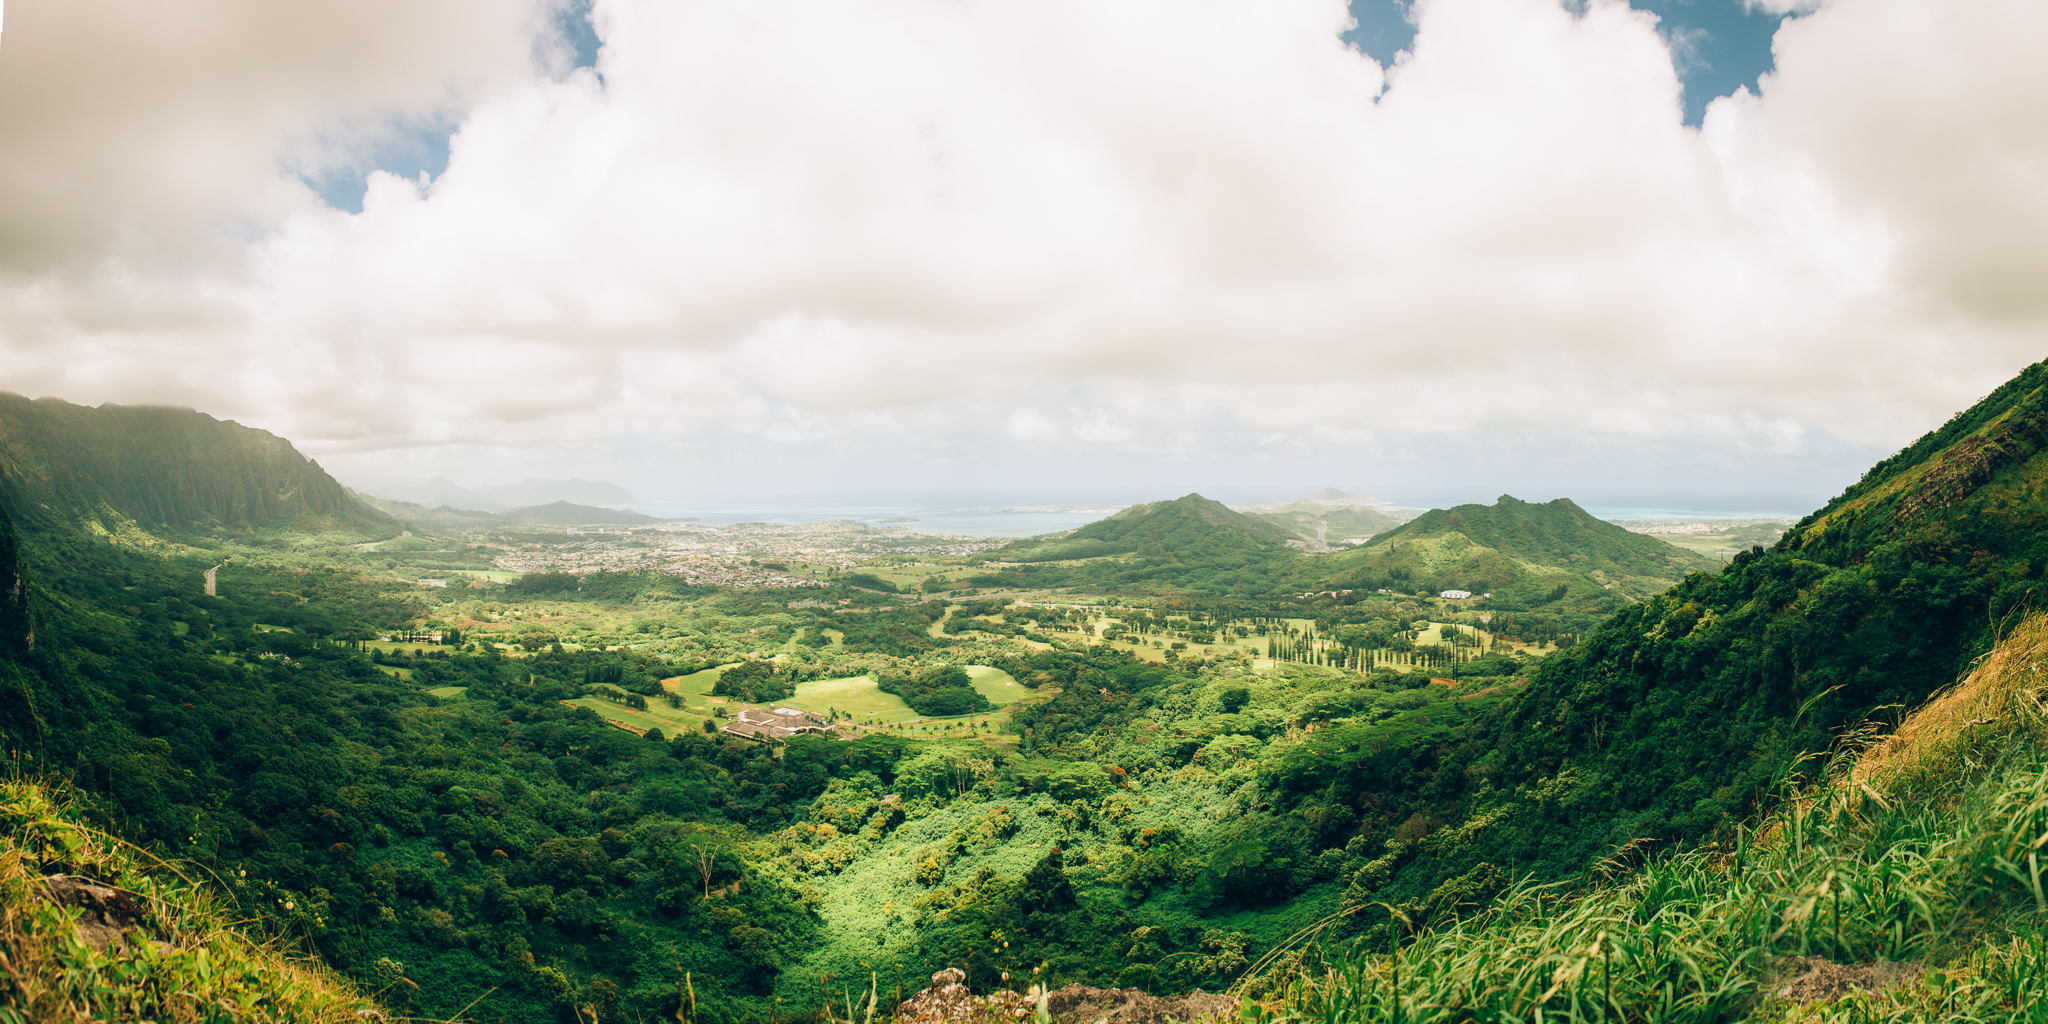
There are several considerations to think about when making a panorama. The first one I learned the hard way, and it is that if you are making a horizontal final image, it is almost always better to compose your base images vertically. The very first panorama I made was in Hawaii on the top of Puu Ualakaa State Park comprised of 10 horizontally composed images, which resulted in a crop ratio of roughly 56:8. I do not recommend this method! However, I was a new photographer and I was utterly amazed by the view surrounding us on top of the mountain and knew I had to capture it in some fashion.

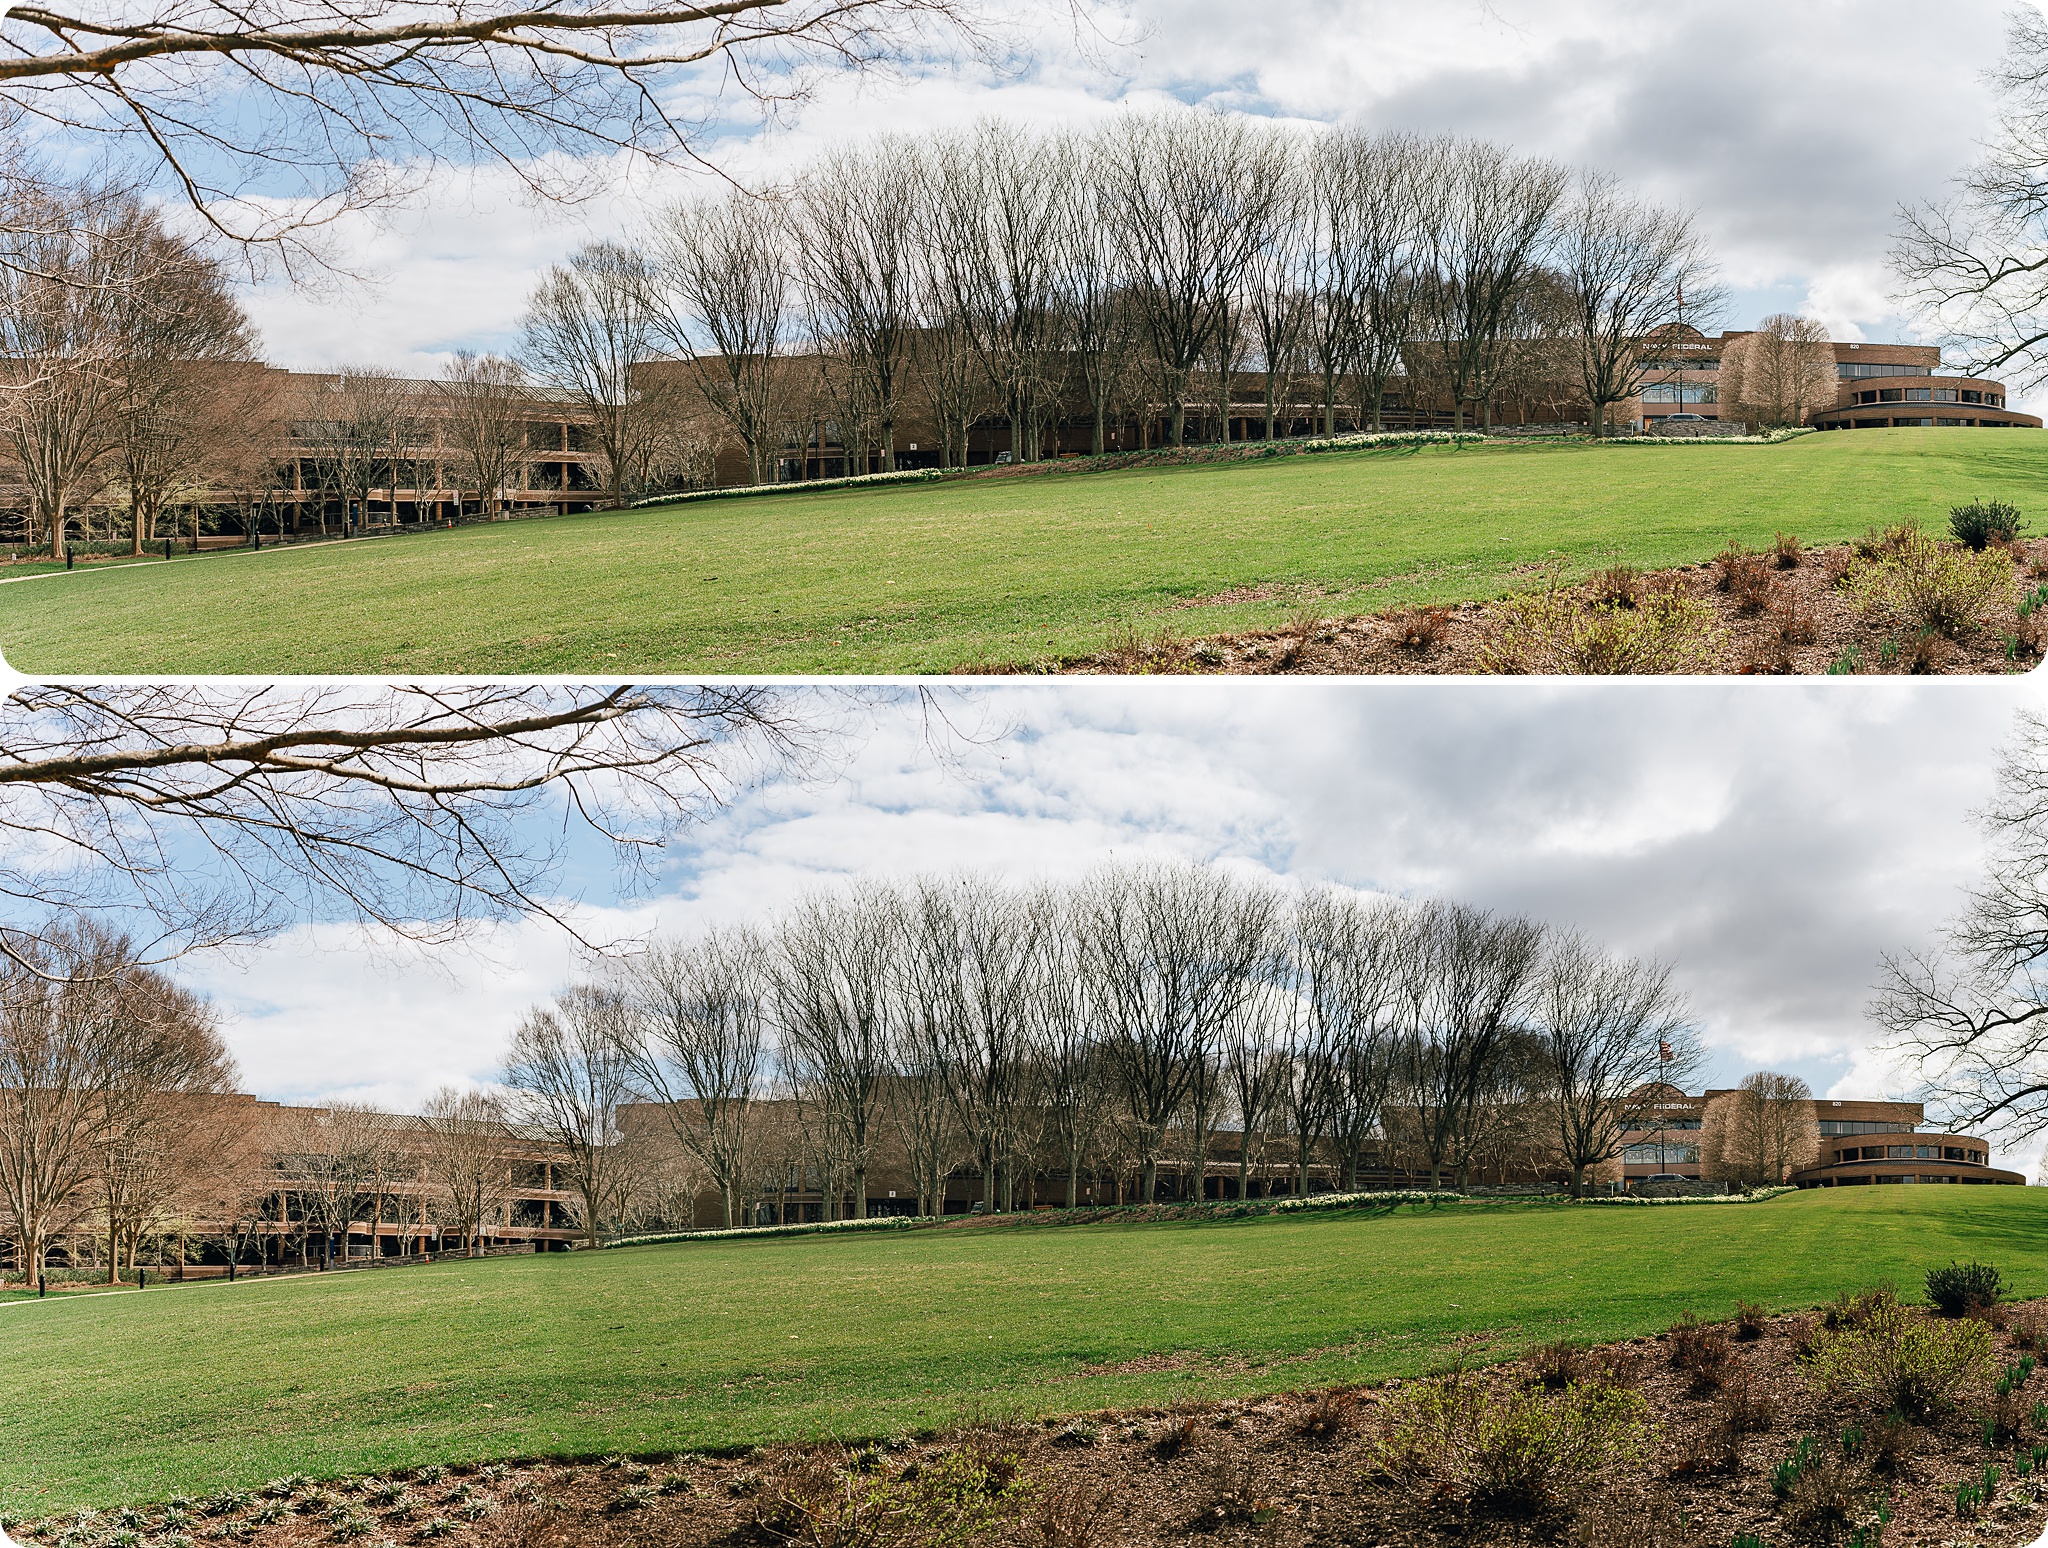
Here is a comparison of a panorama taken with horizontal images vs vertical images. In the first photo, I used five horizontal images to create a final horizontal image. Although I did capture as much of the building as I wanted, the final image seems a bit squashed and just really long. In the second image, I used six vertical images, and the end result is much more balanced with a good amount of sky and grass to flank the building.
Next, when taking the images that will make up your panorama, be sure to leave a considerable amount of overlap. You will want at least one third of an image to overlap with the next one to create a seamless stitch in the final photo. Yes, you will take a lot of images this way, but the end result will be worth the extra effort. I typically use anywhere between 4-7 vertical images in a horizontal panorama.
Here you can see all the images I used to make my final image following.

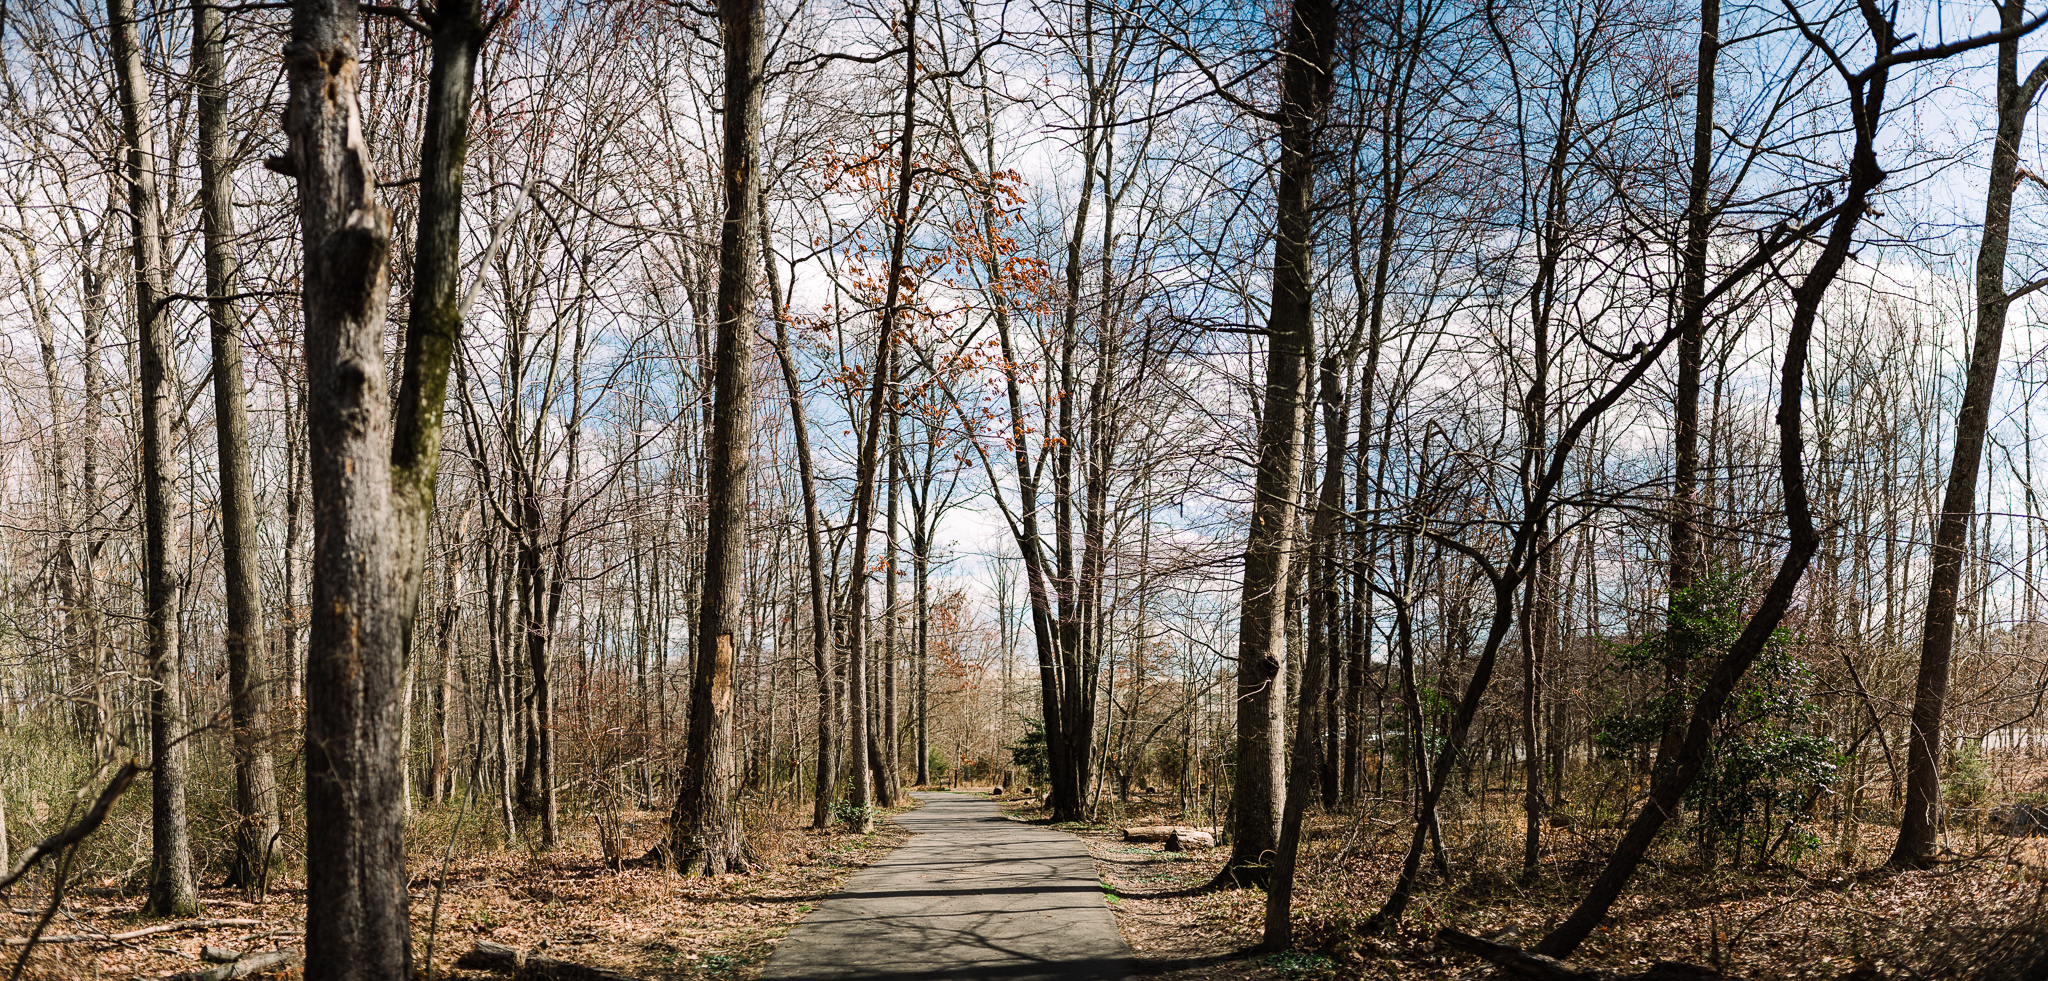
Lastly, do not refocus your images as you take them. I have my cameras set up with BBF, so I will compose the first image, set focus with the back button, and then each time I click the shutter button to take my series of images, the focus remains where I originally set it for the first image. If you do not use BBF, then switch over to manual focus, set your focus for the first image, then take your series (and remember to switch back to AF when you are done). I personally do not work on a tripod, and must take care to keep the camera on the same lateral plane across images; you don’t want to move your camera too much up and down as you go or your photos won’t line up properly. I like to tuck my arms into my body and then rotate from the waist as I shoot.
In terms of editing, you will have to decide what works best with your editing program of choice. In LR, the resulting image is still a raw (dng) file, so I can do my editing before or after stitching. I often do a little bit of both; the images I took the other day for today’s post I took with a lens that tends to vignette a bit so I corrected that before stitching together; in one image I set all the editing in addition to the vignette correction before stitching, and in others I only corrected the vignette and then edited the full panorama. If you are sending images out to a third party software, I would encourage you to do all raw edits first to ensure consistency throughout the image. And depending on how many images you stitch together, you might find a big variation in the light quality from one side to the other; this is normal (you can see this especially on the Hawaii photo above), and I generally do not try to make the exposure the same across the image and let one area be bright and the other shady depending on how the light falls. Of course, editing is a very personal choice and your approach might be different.
You can also make vertical panoramas. In this case, because we are flipping the orientation, you will want to take your images horizontally to create a final vertical image. When making vertical panoramas follow the same focus and composition techniques, but instead of rotating at the waist to pan, you will want to slightly hinge at the hips.
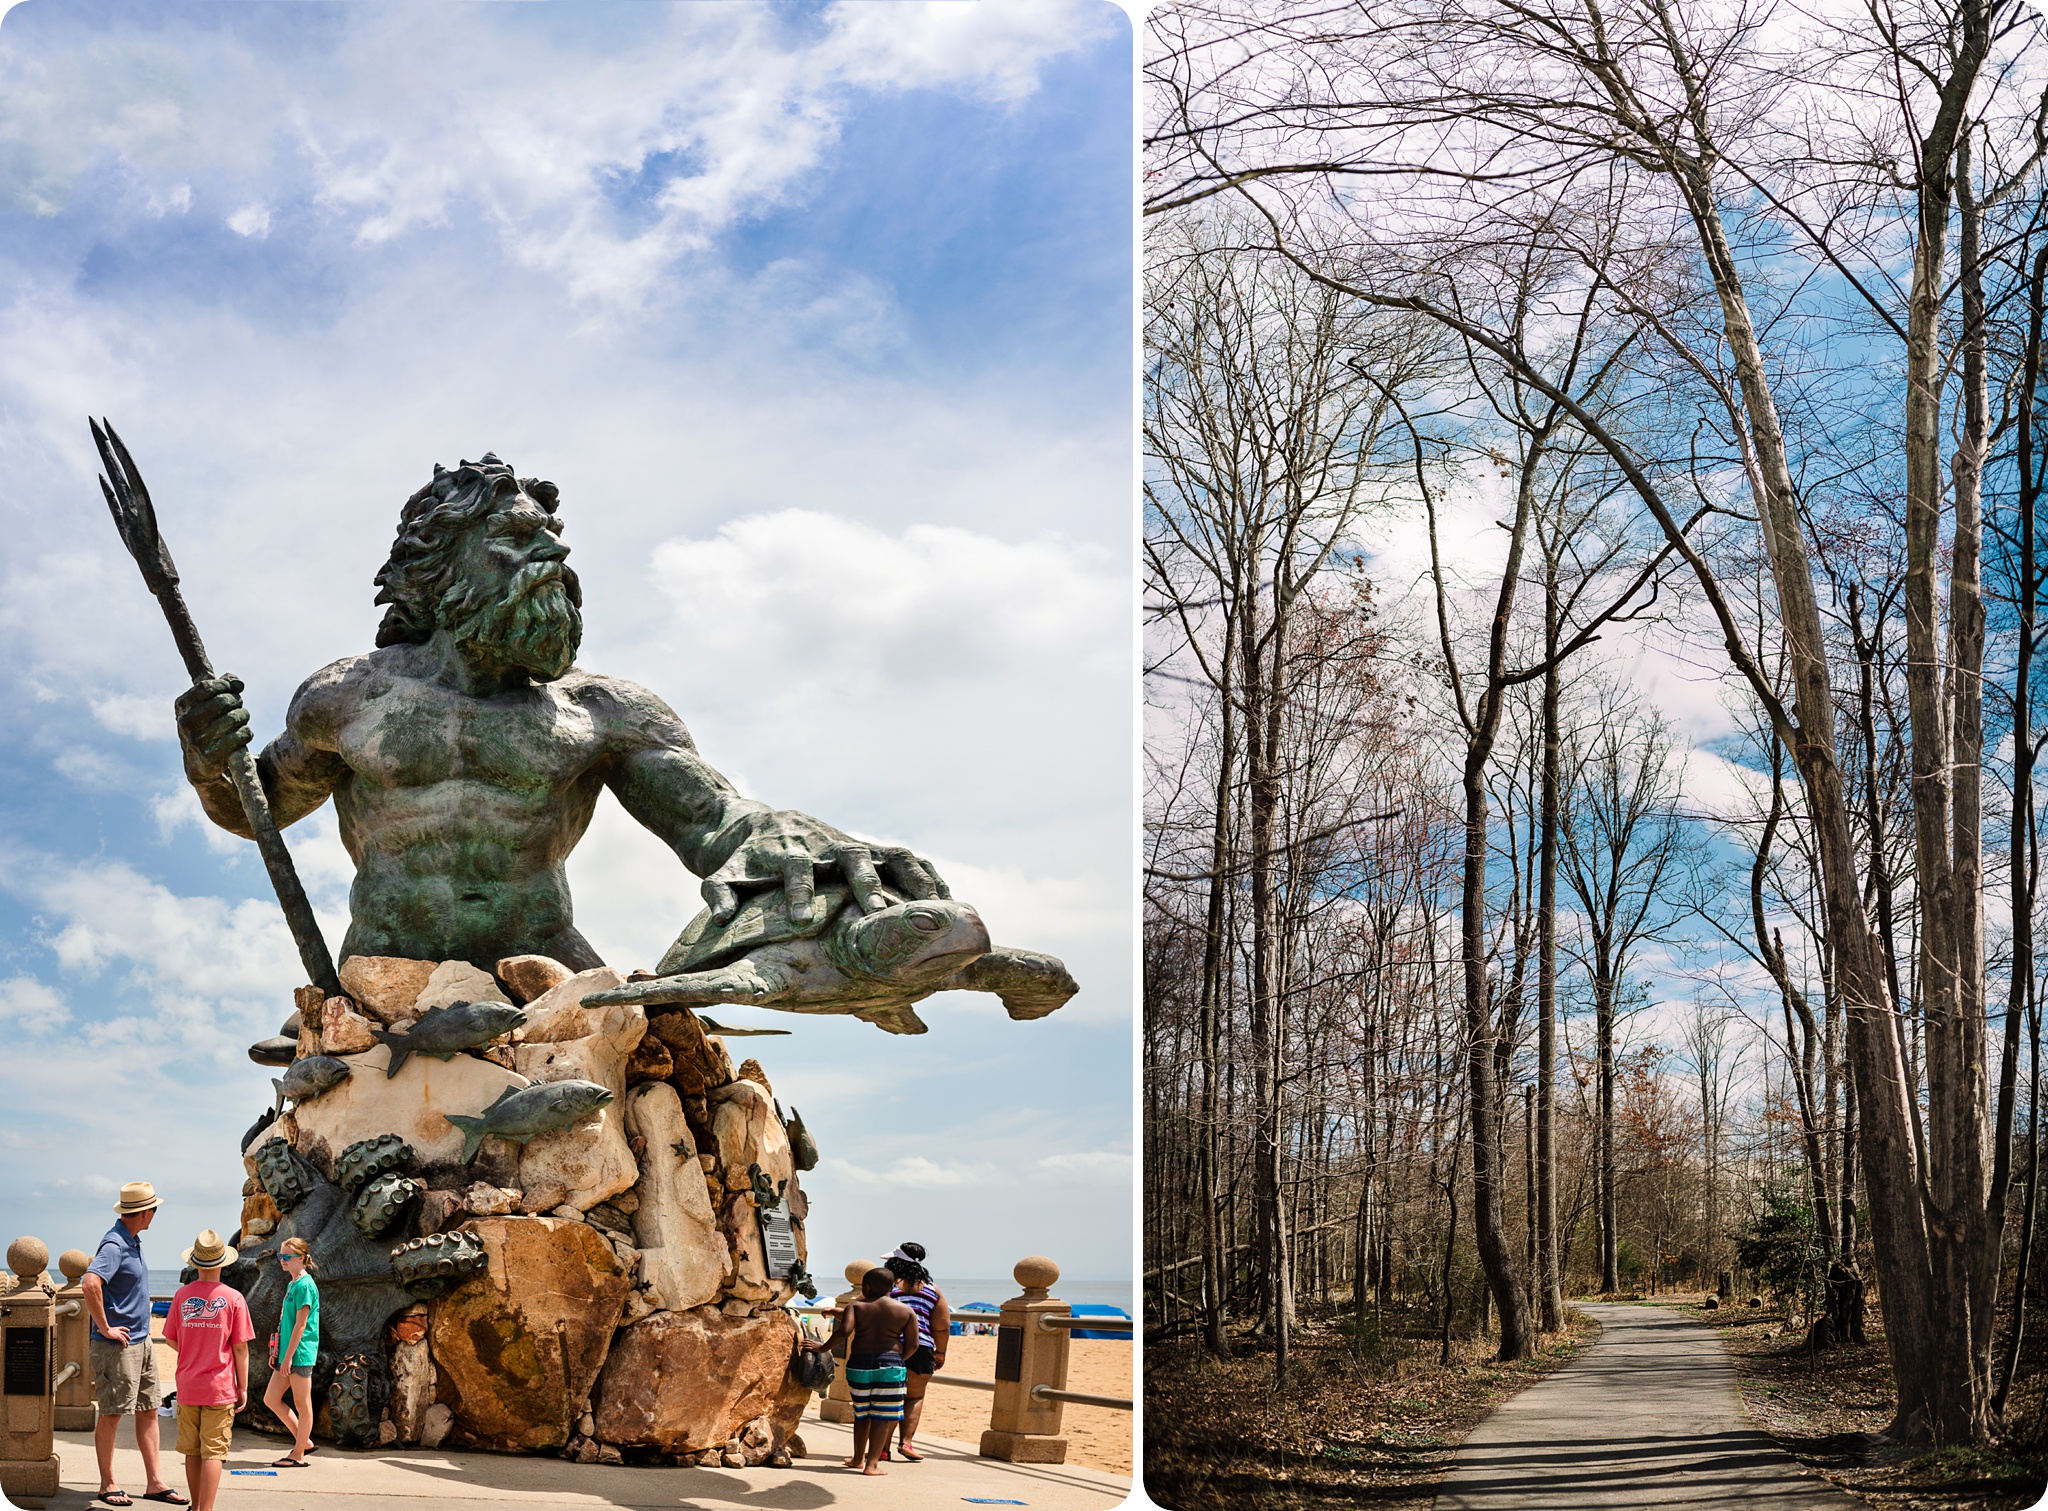
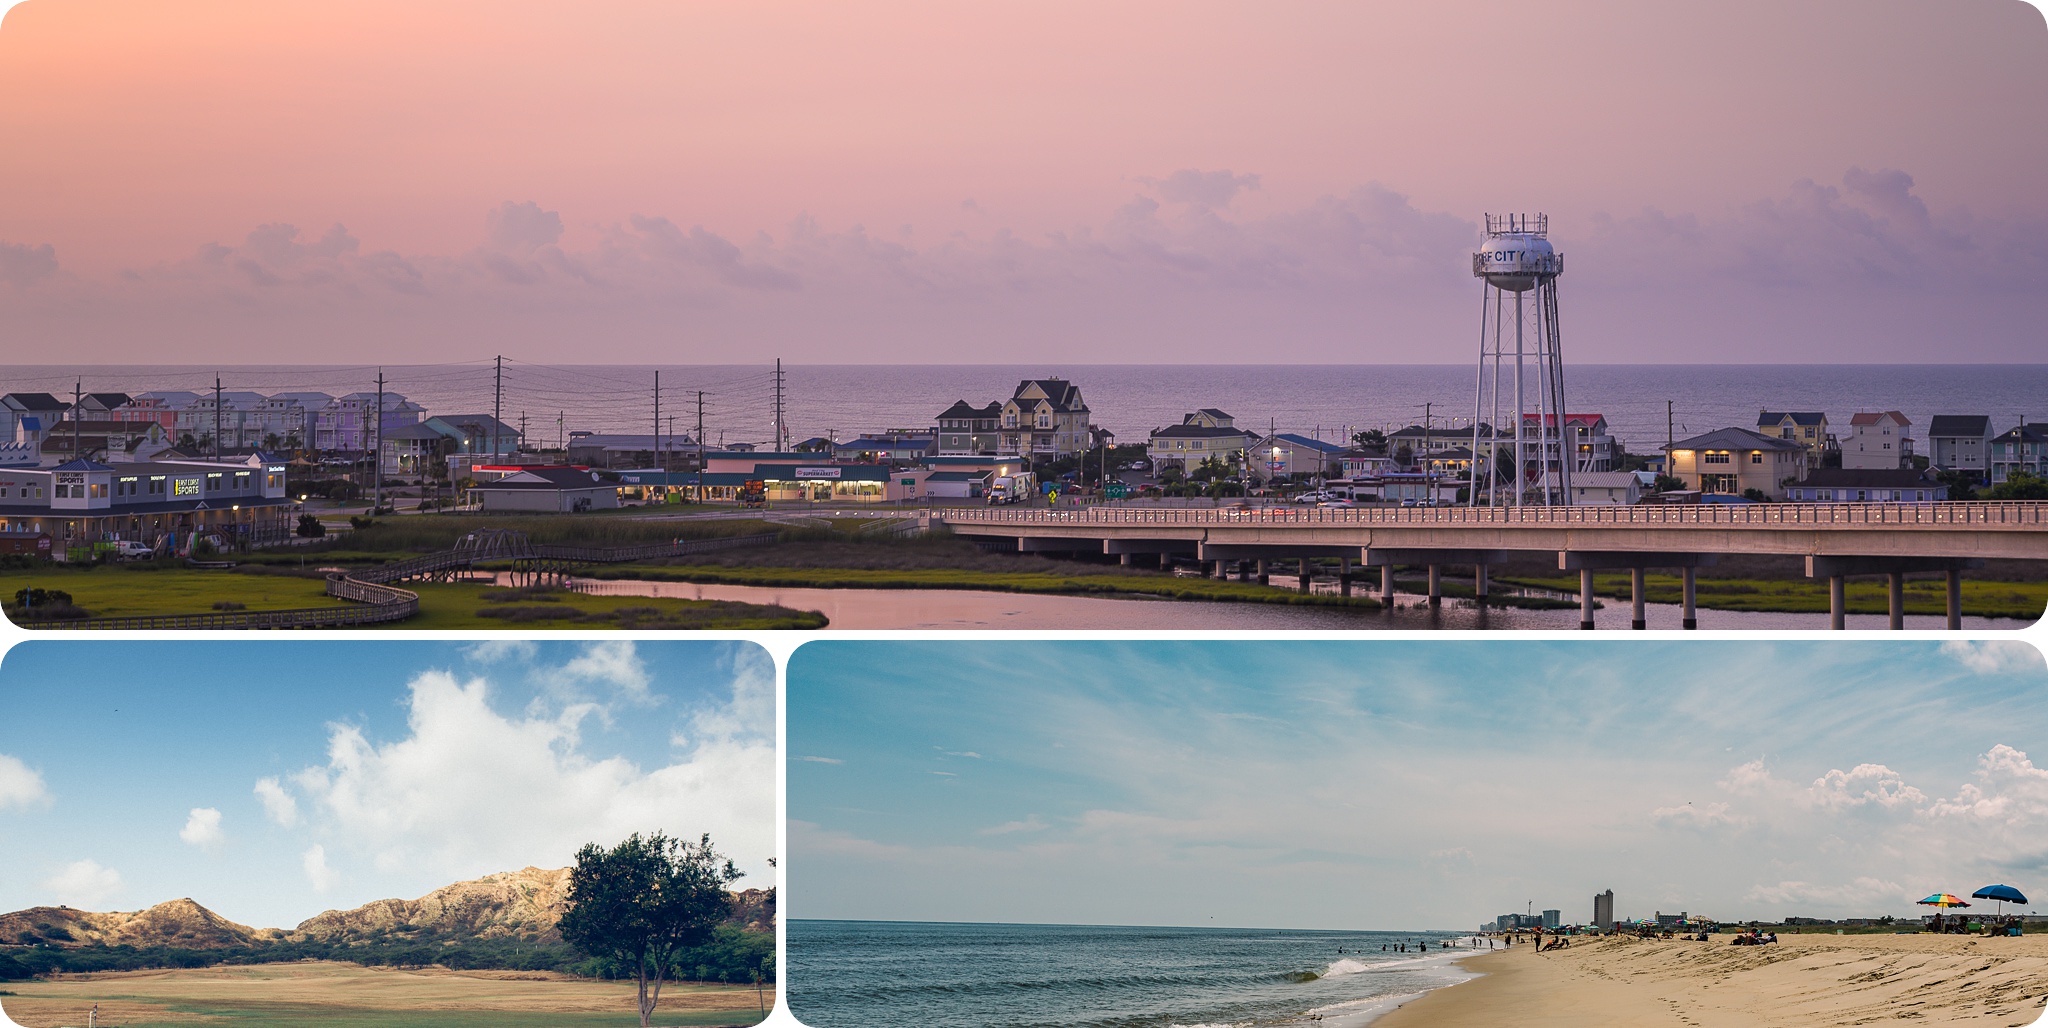
Uncomfortable with using new software for this project? No problem! Just crop in post; yes, you will lose resolution from your image, but if you aren’t planning to print and only share on the web, losing resolution isn’t a big deal. A typical panorama ratio is 1:2, but feel free to use any ratio that best shows off your subject; when stitching from a larger number of images you wouldn’t hit a standard ratio anyway. The images below were all taken at the native 3:2 camera ratio and then cropped in post.
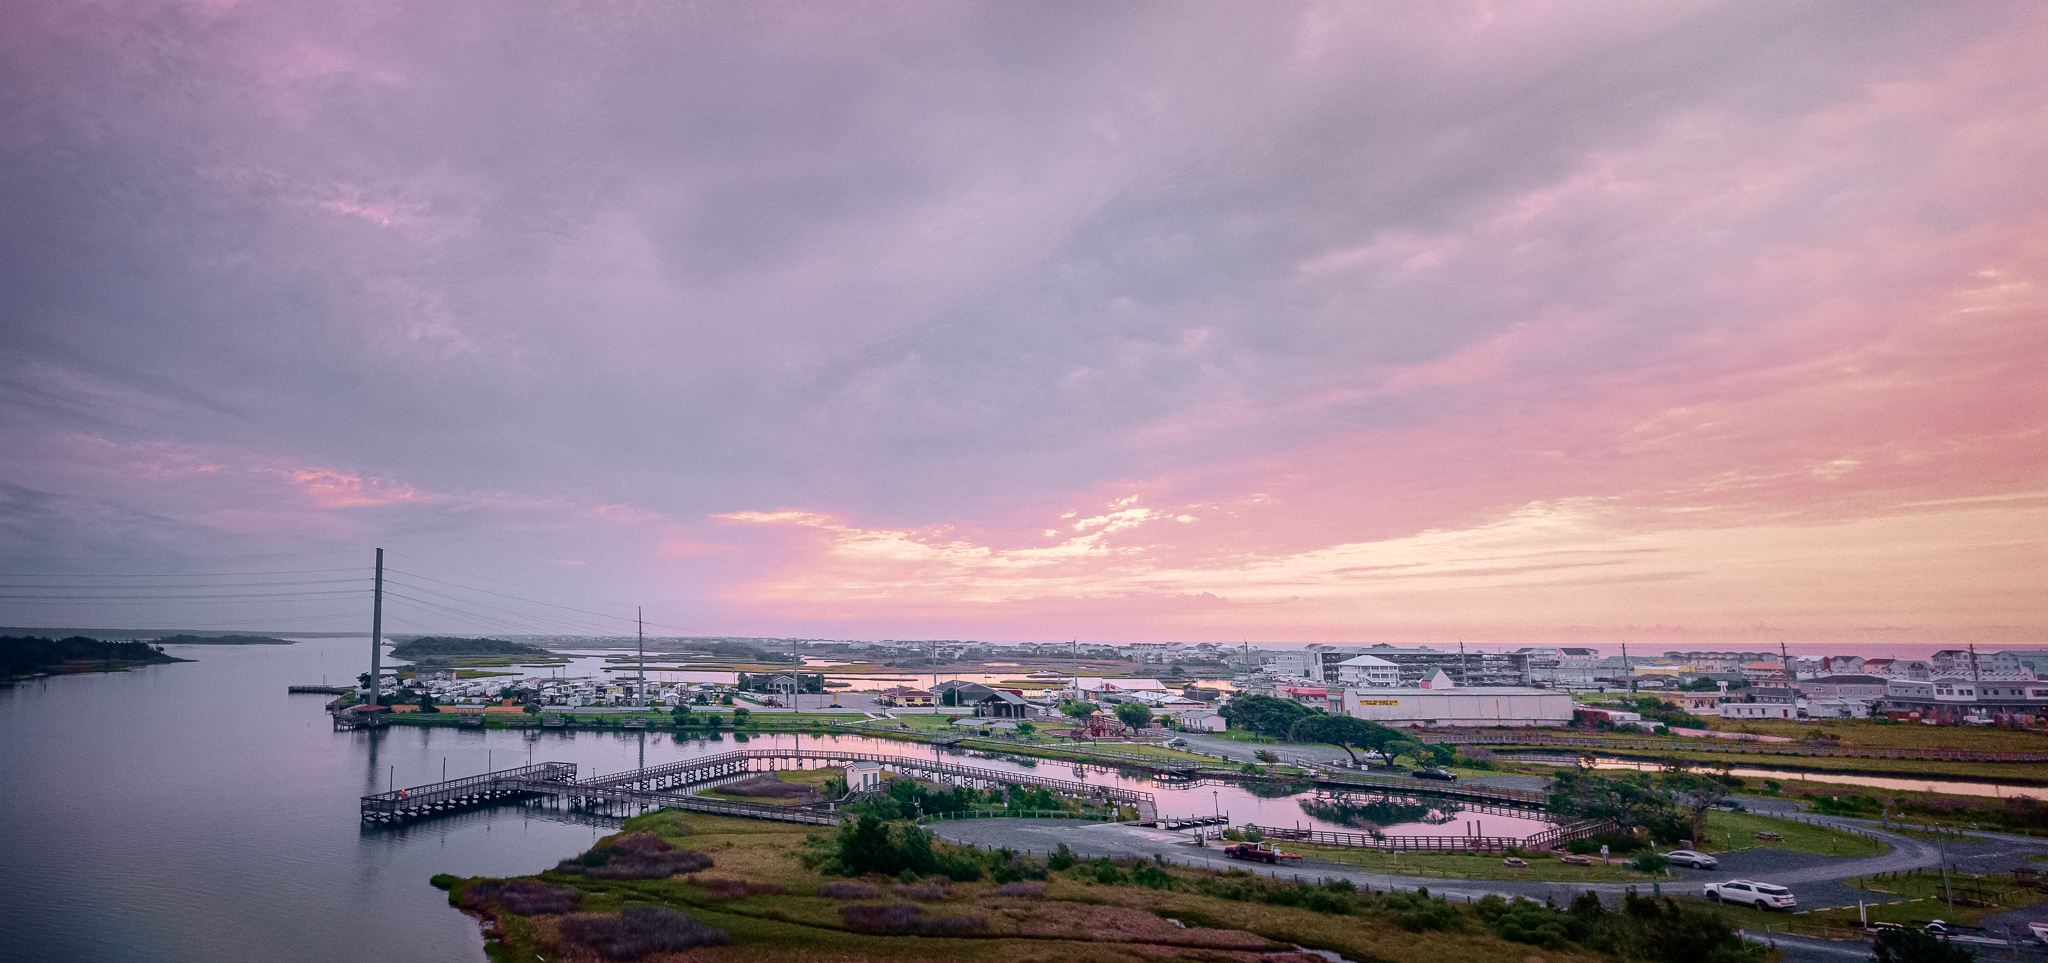
Using a phone for this project? Your phone should have a built-in panorama option in the photo app. Although you won’t have to worry about locking your focal point, you will want to take care to keep steady and level as you pan around. The next image I took with my phone; my husband and I were out for an early morning walk on vacation and I had not taken my camera with me; after seeing this view we went back the next day with camera and tripod in hand.
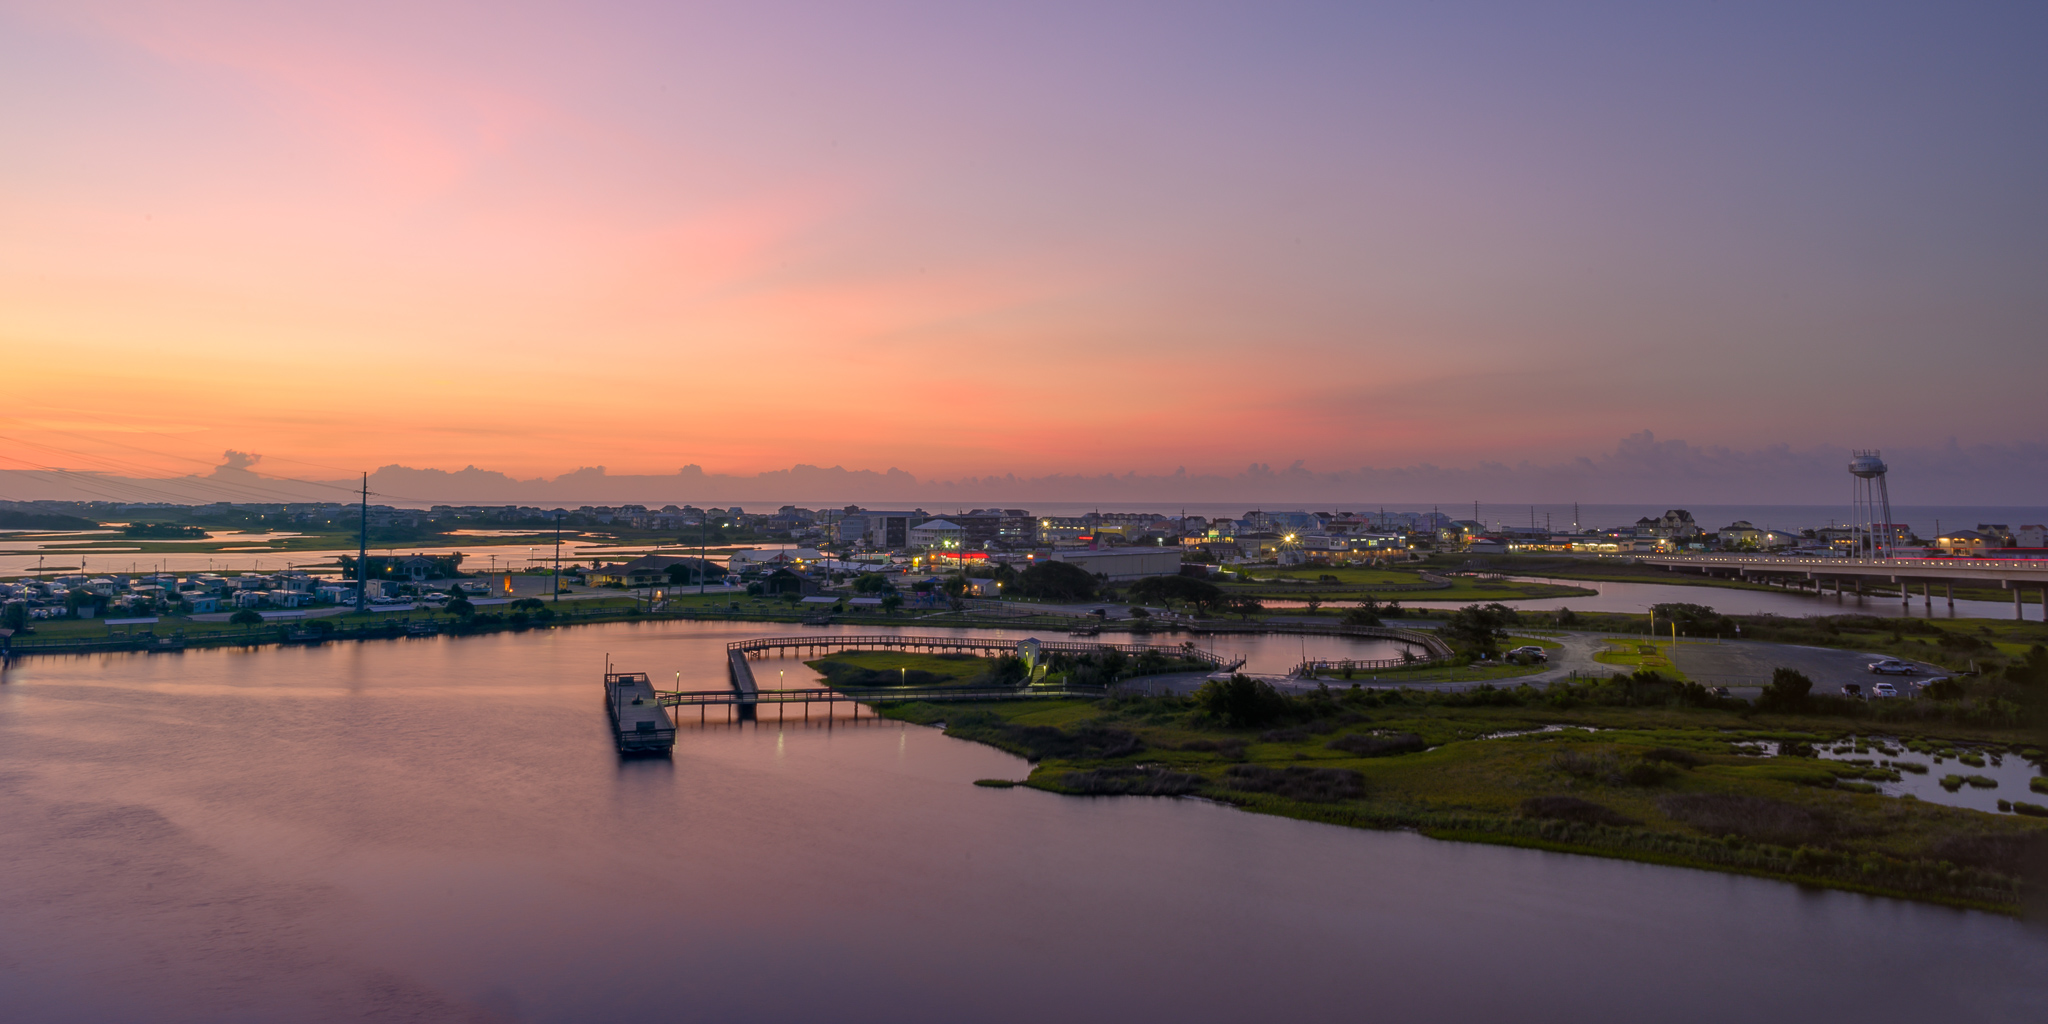
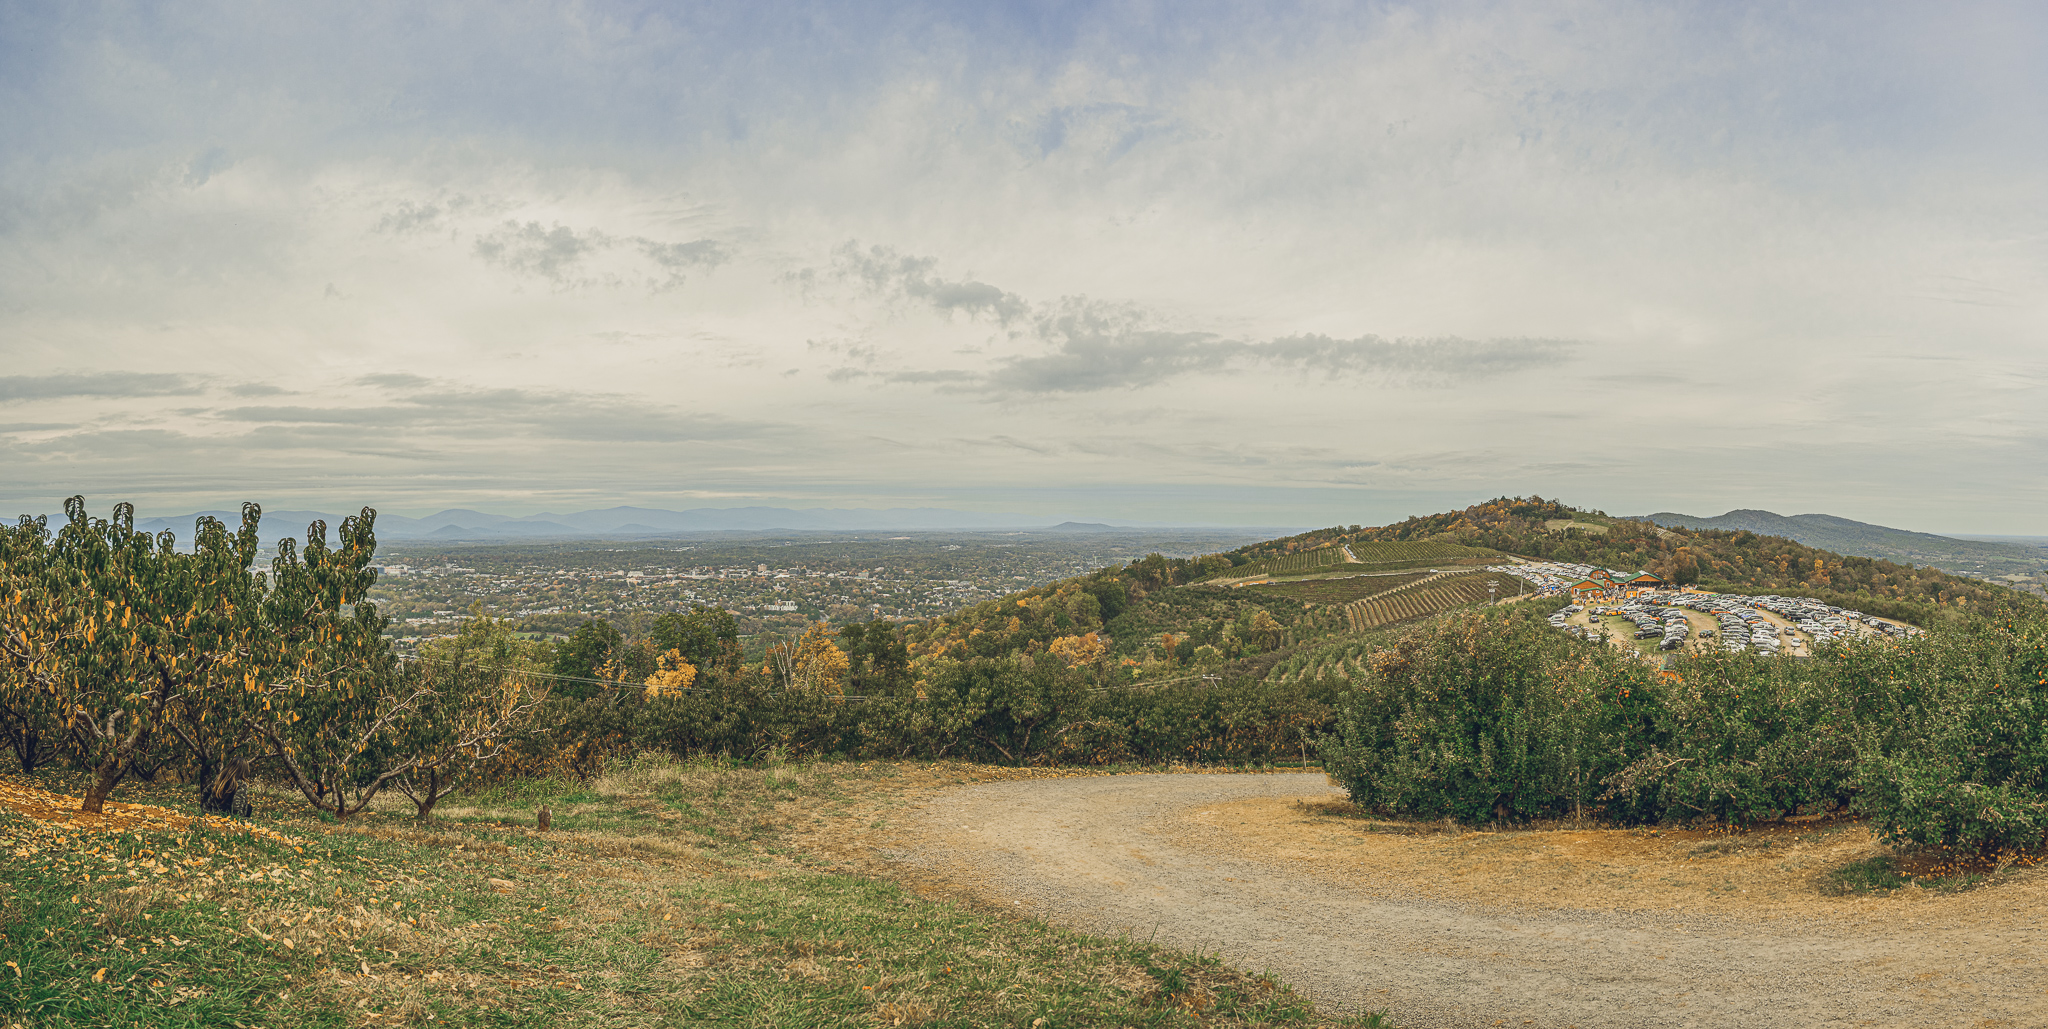
Here are a few others for inspiration.
This is the camera based image from the one above I took with my phone. I have prints of this one and the one following hanging in my house. Print your photos!

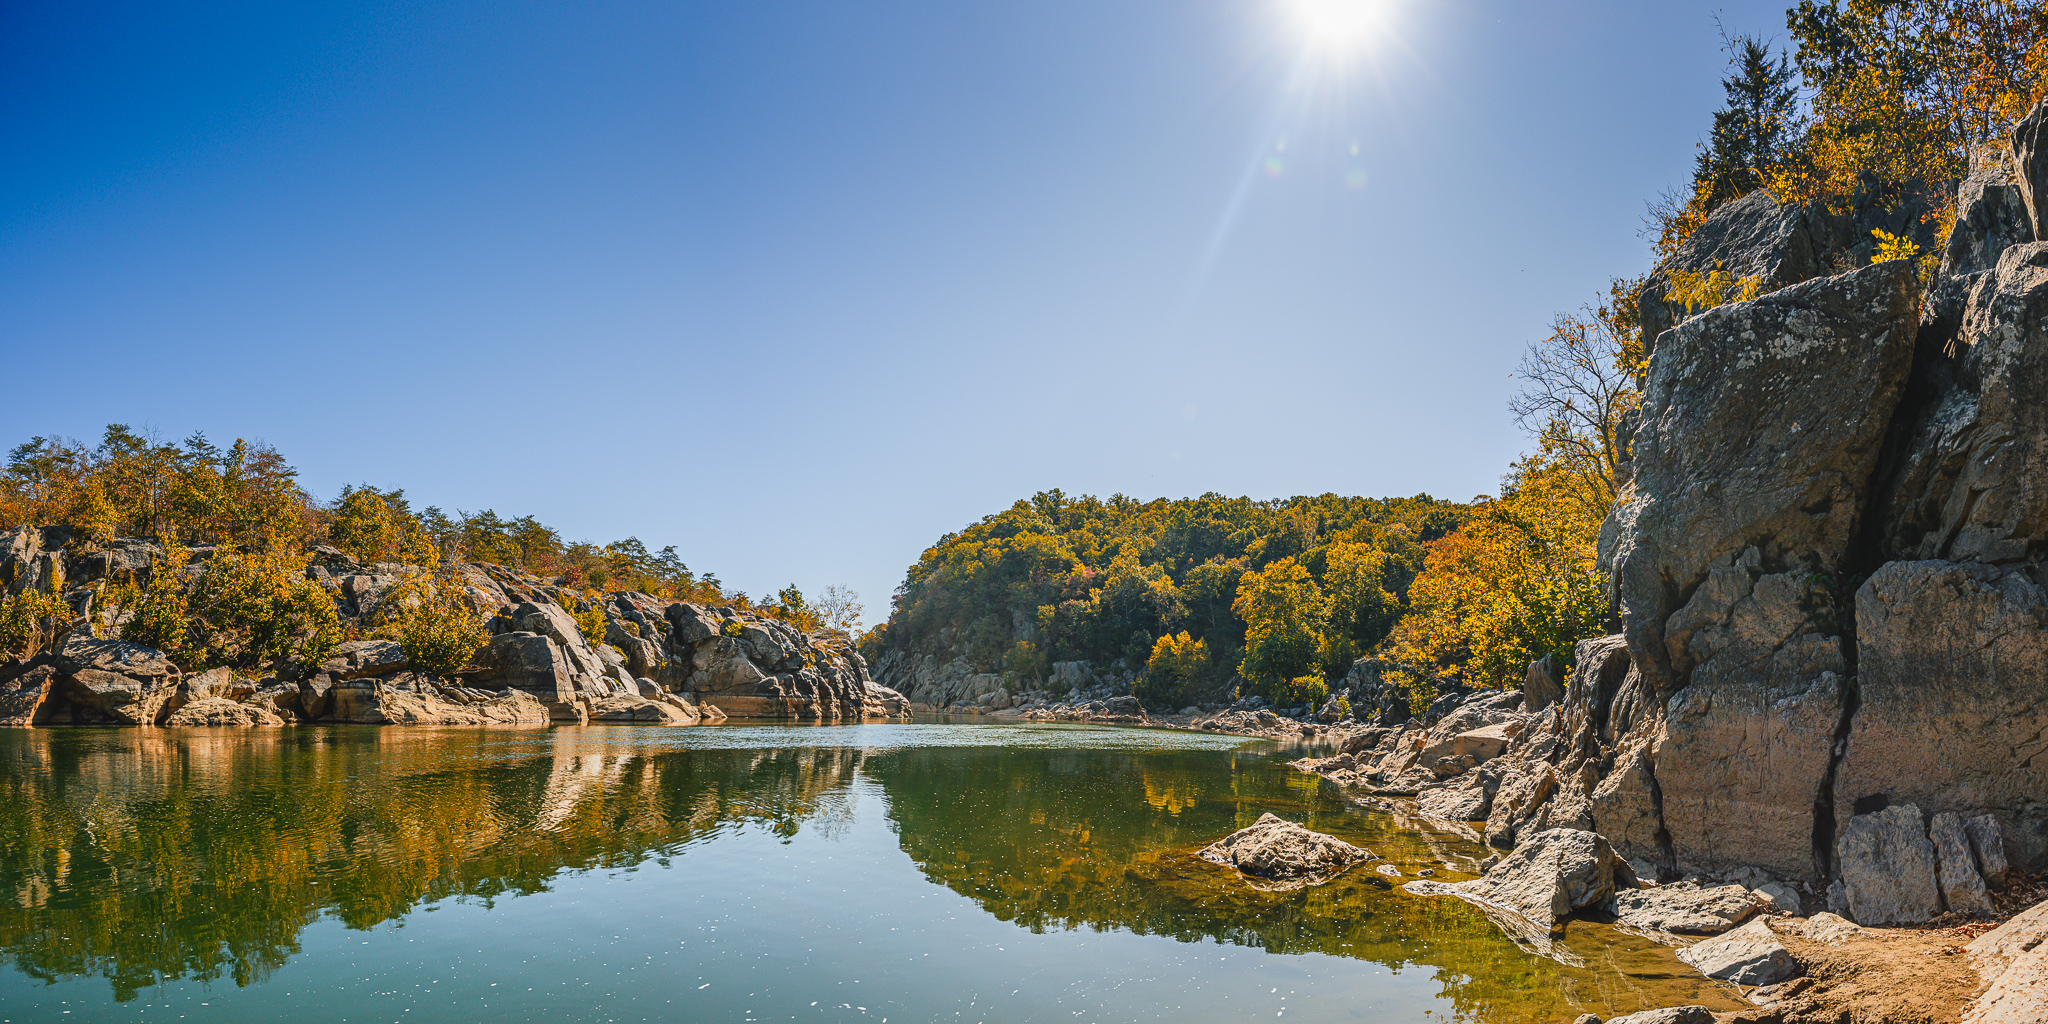
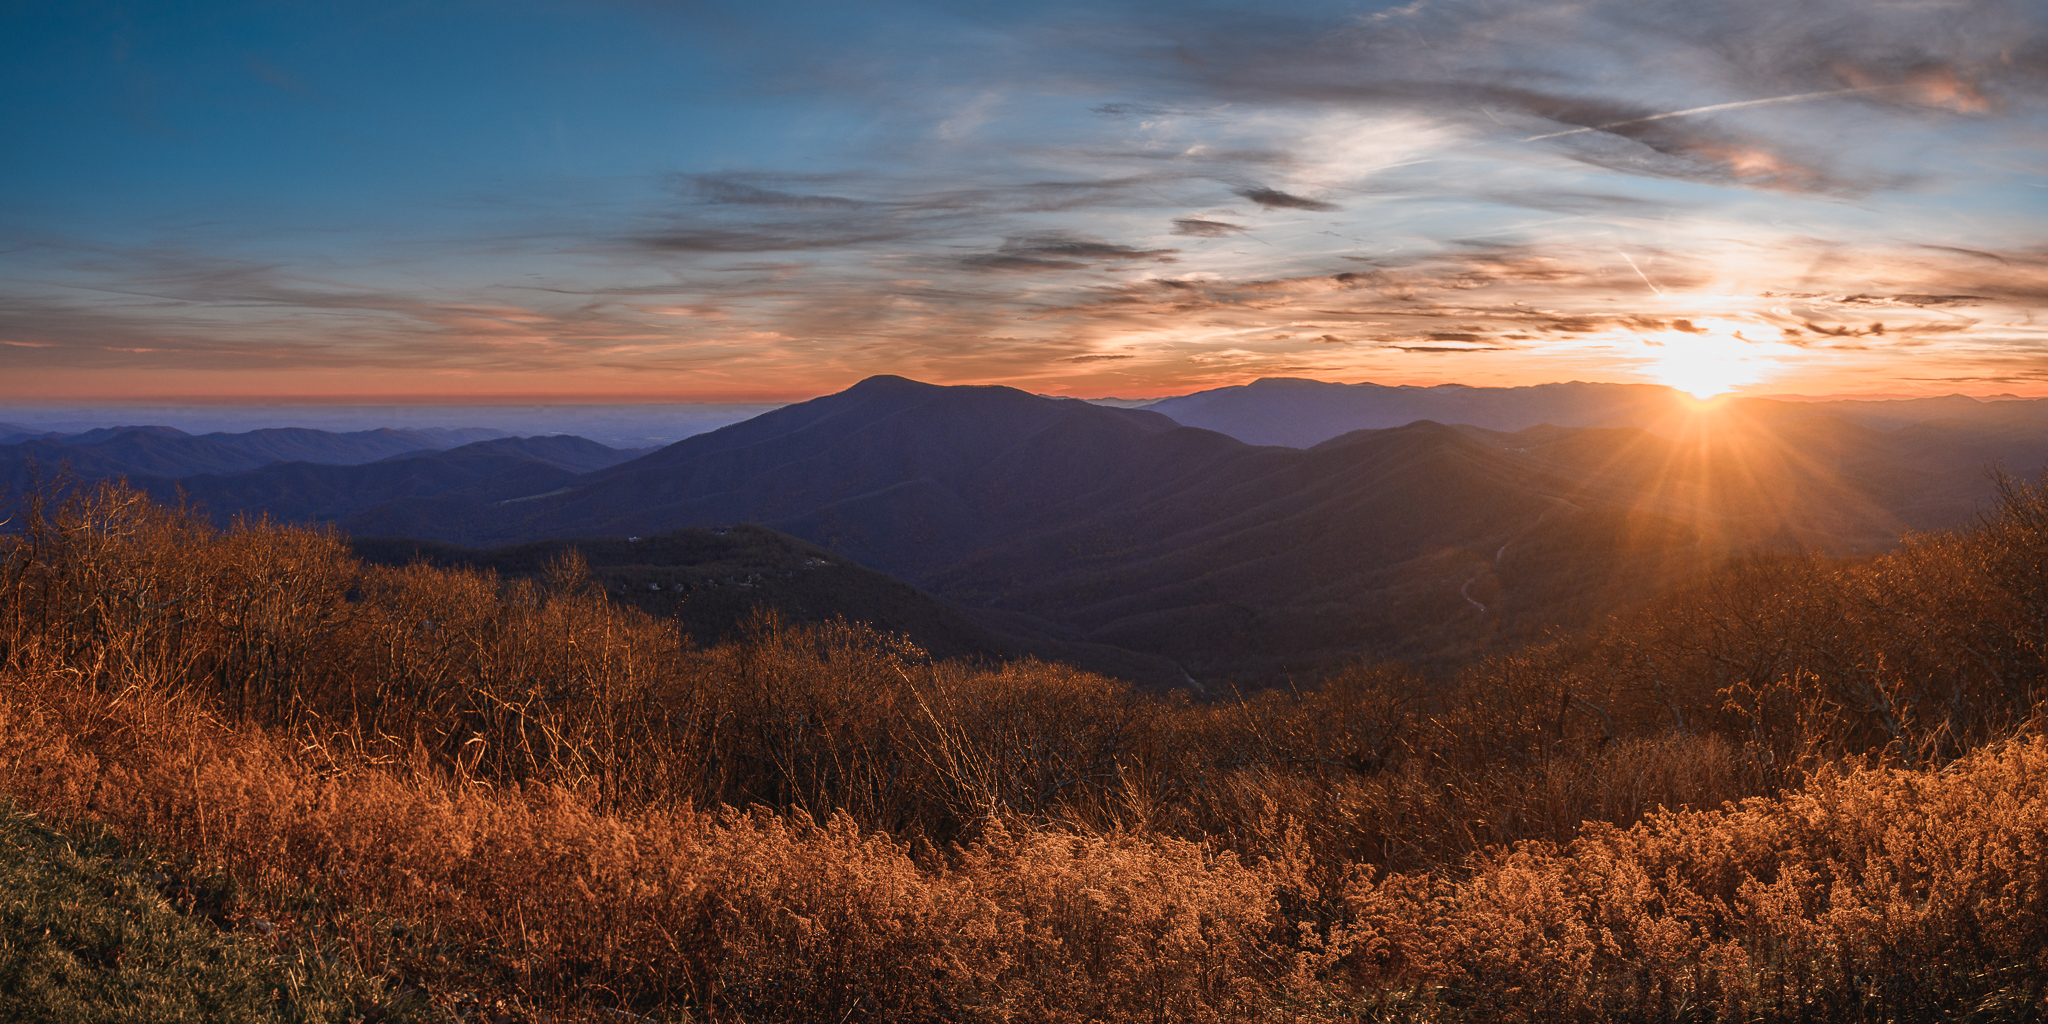
This image is from our second trip to Hawaii, by which point I learned to take my base images vertically.
Also, just a couple of housekeeping items to note; my kids are on spring break for the next two weeks; we have no family travel plans but I will be offline a bit more as I spend time with them, and next week I will be taking my daughter on a brief college tour for a few days (just the girls!) so please bear with me if I take a bit longer to get back with feedback on your images or am late in posting next week’s lesson (I am going to try to post it before I leave but we’ll see how that goes). Also, I’m sorry that I chose panorama as a lesson in the middle of March! Not sure why I didn’t plan for this in the summer with more scenic options, but here we go regardless.
Please also check out our long running panorama thread in the forums and also the weekly challenge thread, with entries closing today, March 13.
Week 11: Panorama
panorama: an unobstructed or complete view of an area in every direction

Welcome to Week 11! This week we are going to take a much wider view of things than we have in recent weeks. So wide in fact, that we are going to stitch photos together to create a very wide image.
You might ask why a panorama instead of using a wide angle. There are several reasons. One, a good wide angle lens can be upwards of $2,000. A panorama can be made with an inexpensive 50mm lens. Additionally, a wide angle lens has its own set of challenges of often lens distortion and skewing the edges into the frame. We will talk about wide angle later in the year, but for this challenge I would ask that you not use a wide angle lens even if you own one. The advantage to learning how to create panoramas is that you won’t feel limited by traveling with a normal to longer lens.
The panorama technique is not one that I employ often, but I’m always happy with my results when I do make them. I almost always make at least one when we go on a beach vacation. I typically create mine in Lightroom, since that is my editing program of choice, but there are a number of free options if you use other software. I haven’t personally tried anything other than LR or Photoshop, but here is a great list of some software for you to try if you don’t use the Adobe products.
There are several considerations to think about when making a panorama. The first one I learned the hard way, and it is that if you are making a horizontal final image, it is almost always better to compose your base images vertically. The very first panorama I made was in Hawaii on the top of Puu Ualakaa State Park comprised of 10 horizontally composed images, which resulted in a crop ratio of roughly 56:8. I do not recommend this method! However, I was a new photographer and I was utterly amazed by the view surrounding us on top of the mountain and knew I had to capture it in some fashion.

Here is a comparison of a panorama taken with horizontal images vs vertical images. In the first photo, I used five horizontal images to create a final horizontal image. Although I did capture as much of the building as I wanted, the final image seems a bit squashed and just really long. In the second image, I used six vertical images, and the end result is much more balanced with a good amount of sky and grass to flank the building.

Next, when taking the images that will make up your panorama, be sure to leave a considerable amount of overlap. You will want at least one third of an image to overlap with the next one to create a seamless stitch in the final photo. Yes, you will take a lot of images this way, but the end result will be worth the extra effort. I typically use anywhere between 4-7 vertical images in a horizontal panorama.
Here you can see all the images I used to make my final image following.


Lastly, do not refocus your images as you take them. I have my cameras set up with BBF, so I will compose the first image, set focus with the back button, and then each time I click the shutter button to take my series of images, the focus remains where I originally set it for the first image. If you do not use BBF, then switch over to manual focus, set your focus for the first image, then take your series (and remember to switch back to AF when you are done). I personally do not work on a tripod, and must take care to keep the camera on the same lateral plane across images; you don’t want to move your camera too much up and down as you go or your photos won’t line up properly. I like to tuck my arms into my body and then rotate from the waist as I shoot.
In terms of editing, you will have to decide what works best with your editing program of choice. In LR, the resulting image is still a raw (dng) file, so I can do my editing before or after stitching. I often do a little bit of both; the images I took the other day for today’s post I took with a lens that tends to vignette a bit so I corrected that before stitching together; in one image I set all the editing in addition to the vignette correction before stitching, and in others I only corrected the vignette and then edited the full panorama. If you are sending images out to a third party software, I would encourage you to do all raw edits first to ensure consistency throughout the image. And depending on how many images you stitch together, you might find a big variation in the light quality from one side to the other; this is normal (you can see this especially on the Hawaii photo above), and I generally do not try to make the exposure the same across the image and let one area be bright and the other shady depending on how the light falls. Of course, editing is a very personal choice and your approach might be different.
You can also make vertical panoramas. In this case, because we are flipping the orientation, you will want to take your images horizontally to create a final vertical image. When making vertical panoramas follow the same focus and composition techniques, but instead of rotating at the waist to pan, you will want to slightly hinge at the hips.

Uncomfortable with using new software for this project? No problem! Just crop in post; yes, you will lose resolution from your image, but if you aren’t planning to print and only share on the web, losing resolution isn’t a big deal. A typical panorama ratio is 1:2, but feel free to use any ratio that best shows off your subject; when stitching from a larger number of images you wouldn’t hit a standard ratio anyway. The images below were all taken at the native 3:2 camera ratio and then cropped in post.

Using a phone for this project? Your phone should have a built-in panorama option in the photo app. Although you won’t have to worry about locking your focal point, you will want to take care to keep steady and level as you pan around. The next image I took with my phone; my husband and I were out for an early morning walk on vacation and I had not taken my camera with me; after seeing this view we went back the next day with camera and tripod in hand.

Here are a few others for inspiration.
This is the camera based image from the one above I took with my phone. I have prints of this one and the one following hanging in my house. Print your photos!


This image is from our second trip to Hawaii, by which point I learned to take my base images vertically.


Also, just a couple of housekeeping items to note; my kids are on spring break for the next two weeks; we have no family travel plans but I will be offline a bit more as I spend time with them, and next week I will be taking my daughter on a brief college tour for a few days (just the girls!) so please bear with me if I take a bit longer to get back with feedback on your images or am late in posting next week’s lesson (I am going to try to post it before I leave but we’ll see how that goes). Also, I’m sorry that I chose panorama as a lesson in the middle of March! Not sure why I didn’t plan for this in the summer with more scenic options, but here we go regardless.
Please also check out our long running panorama thread in the forums and also the weekly challenge thread, with entries closing today, March 13.

