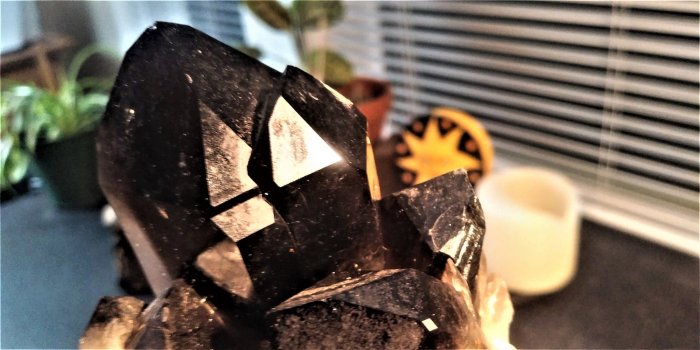
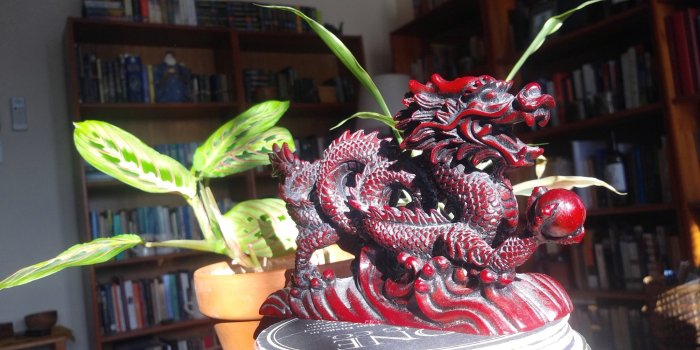
Welcome to our P52! This project is designed to get you out with your camera once a week in a meaningful way. Each week I will post a prompt for you to consider. The prompts are merely suggestions, and you are free to shoot off topic if you wish. All images posted must be taken by you, be safe for work and be taken with this project in mind. Please do not post archive photos. For a further discussion of the guidelines, please refer to this thread, and you can find the previous week linked there if you missed it.
Week 2: Shallow Depth of Field

50mm at f/1.8
Being able to take photos with a “blurry background” draws a lot of people into photography; I know I definitely was drawn to it when I first started out, wanting to take portraits of my small children with the effect. Although there is a case to make for sharpness throughout an image, using a shallow depth of field (DOF) brings attention directly to your subject with no distractions and the story of the photo is clear with this technique. Please note, this is not a macro challenge; that comes later in the year. So don’t worry about filling the frame with your subject, just work on isolating it from the background as much as possible.
Depth of field, whether shallow or deep, is determined by a number of factors. Many people think that a wide aperture is the only thing really needed, but focal length, distance to subject, and distance of subject to background are actually larger determiners of DOF than aperture alone. Using a 200mm lens at f/5.6 can create a shallower image than a 35mm at f/1.8. Aperture is not the sole consideration. That said, aperture does play a large part.
There are several different ways to achieve shallow DOF, and often you will employ some combination of techniques depending on what lens you are using. Here are things that I consider when shooting:

50mm at f/1.8

50mm at f/2.2

85mm at f/1.8

85mm @ f/1.8

35mm at f/1.8

85mm @ f/1.8

85mm at f/1.8

50mm at f/1.4 | Because the baby is relatively far away from the tree line in the back, and closer to the camera, we have him and the balloons sharp throughout despite the wide open aperture.

300mm at f/5.6 | In this image, the pink foxglove is isolated, but the background did not go to full blur; obviously I was not able to move a plant in my garden, but the background is blurred enough to give some visual reference to the location without being sharp throughout as it would be with a wider lens and the same framing.

600mm at f/6.3

600mm at f/6.3
Like last week’s challenge of low light, taking an image with a shallow depth of field requires a steady hand and good shooting techniques. Missed focus will show up more easily on an image with a small focal point, and that will ruin an image. Remember to use a suitably high shutter speed to prevent motion blur or camera shake, steady yourself, and don’t underexpose your subject, which will potentially add unwanted noise and softness to your edited image.
Keep in mind, you can also have some foreground interest in your image, which will also blur until your focal point. Using this technique will add some layering and depth to your image, although not at all necessary.

50mm at f/2.0

35mm at f/1.8
If you are joining this challenge with only your phone as a camera, your parameters will be a bit different, but you can make the most of the computational aspects of your phone camera by following the same principles of keeping your subject as far away as possible from the background and to shoot as close to the subject as possible. Make sure to use Portrait mode, which works with most newer iPhones, and the camera app software will blur out the background for you. Although it’s not as effective as using a big camera, it is better than no option at all.
I use an older iPhone, the 8+, and I think in newer phones this technique has been refined a bit, but here is an example of an image taken without and with Portrait mode.


Have fun this week and come back and share your images!
Week 2: Shallow Depth of Field
50mm at f/1.8
Being able to take photos with a “blurry background” draws a lot of people into photography; I know I definitely was drawn to it when I first started out, wanting to take portraits of my small children with the effect. Although there is a case to make for sharpness throughout an image, using a shallow depth of field (DOF) brings attention directly to your subject with no distractions and the story of the photo is clear with this technique. Please note, this is not a macro challenge; that comes later in the year. So don’t worry about filling the frame with your subject, just work on isolating it from the background as much as possible.
Depth of field, whether shallow or deep, is determined by a number of factors. Many people think that a wide aperture is the only thing really needed, but focal length, distance to subject, and distance of subject to background are actually larger determiners of DOF than aperture alone. Using a 200mm lens at f/5.6 can create a shallower image than a 35mm at f/1.8. Aperture is not the sole consideration. That said, aperture does play a large part.
There are several different ways to achieve shallow DOF, and often you will employ some combination of techniques depending on what lens you are using. Here are things that I consider when shooting:
- Shooting wide open. When employing this technique, use the widest aperture (smallest number) available on your lens. A 50m lens that opens to f/1.8 or wider is perfect for this challenge if you have one. Set your aperture to f/1.8 and start photographing.
50mm at f/1.8
50mm at f/2.2
- Get as close to your subject as possible. The closer you are to your subject, the smaller the area of focus. This is particularly important when working with shorter focal lengths. But of course pay attention to the minimum focusing distance; the goal isn’t to have a blurry subject by being *too* close. Make sure you are working within the limits of your specific lens, and leave enough working distance to make sure you catch focus on your intended area. This is also a great technique for portraits if you really want to focus on the eyes for a close up (I do not recommend this technique for formal headshots however). Just make sure that the subject is parallel to the camera or you will have one eye out of focus. If you must shoot slanted to the plane of focus, then focus on the eye nearest to the camera.
85mm at f/1.8
85mm @ f/1.8
35mm at f/1.8
- Have as much separation/space between your subject and the background. If you don’t have a lot of separation, your image may still be successful, but you will end up with a more patterned background than plain; you can use this to your creative advantage if you wish.
85mm @ f/1.8
85mm at f/1.8
50mm at f/1.4 | Because the baby is relatively far away from the tree line in the back, and closer to the camera, we have him and the balloons sharp throughout despite the wide open aperture.
300mm at f/5.6 | In this image, the pink foxglove is isolated, but the background did not go to full blur; obviously I was not able to move a plant in my garden, but the background is blurred enough to give some visual reference to the location without being sharp throughout as it would be with a wider lens and the same framing.
- Use a longer focal length. This is actually a bit of a misnomer, and if you frame your images similarly for two different focal lengths at the same aperture, you will end up with similar DOF in each; however, working with different focal lengths and keeping your subject to distance the same (different framing), the longer focal length will appear to have a shallower DOF.
600mm at f/6.3
600mm at f/6.3
Like last week’s challenge of low light, taking an image with a shallow depth of field requires a steady hand and good shooting techniques. Missed focus will show up more easily on an image with a small focal point, and that will ruin an image. Remember to use a suitably high shutter speed to prevent motion blur or camera shake, steady yourself, and don’t underexpose your subject, which will potentially add unwanted noise and softness to your edited image.
Keep in mind, you can also have some foreground interest in your image, which will also blur until your focal point. Using this technique will add some layering and depth to your image, although not at all necessary.
50mm at f/2.0
35mm at f/1.8
If you are joining this challenge with only your phone as a camera, your parameters will be a bit different, but you can make the most of the computational aspects of your phone camera by following the same principles of keeping your subject as far away as possible from the background and to shoot as close to the subject as possible. Make sure to use Portrait mode, which works with most newer iPhones, and the camera app software will blur out the background for you. Although it’s not as effective as using a big camera, it is better than no option at all.
I use an older iPhone, the 8+, and I think in newer phones this technique has been refined a bit, but here is an example of an image taken without and with Portrait mode.
Have fun this week and come back and share your images!
Last edited:


