Thank you @PaulD-UK @Slopes
I've just watched the SnazzyLabs video and I think I might actually splice the cable ribbon instead of soldering so I can replicate the ram door buttons.
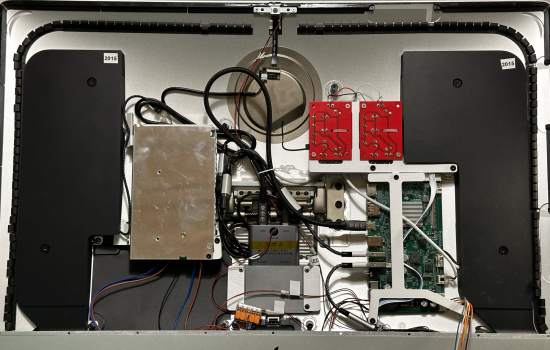
On a separate note, is anyone running the 200W PSU with the SA1 without any fans? I wanted to avoid it but I have touched the back of my screen earlier today (after running a couple of hours) and to my surprise it was warm, the board isnt even touching the enclosure. (I do use the 90W PD and use the USB hub)
I've just watched the SnazzyLabs video and I think I might actually splice the cable ribbon instead of soldering so I can replicate the ram door buttons.
On a separate note, is anyone running the 200W PSU with the SA1 without any fans? I wanted to avoid it but I have touched the back of my screen earlier today (after running a couple of hours) and to my surprise it was warm, the board isnt even touching the enclosure. (I do use the 90W PD and use the USB hub)