Become a MacRumors Supporter for $50/year with no ads, ability to filter front page stories, and private forums.
yea I can solder, and I think I have the PSU and power button figured out. I agree, I don't think I'll go with an iSight camera, they're obsolete. From what I understand the new FaceTime cameras have a different cable entirely and might not be as easy as the iSights to convert to USB or connect them to the controller.
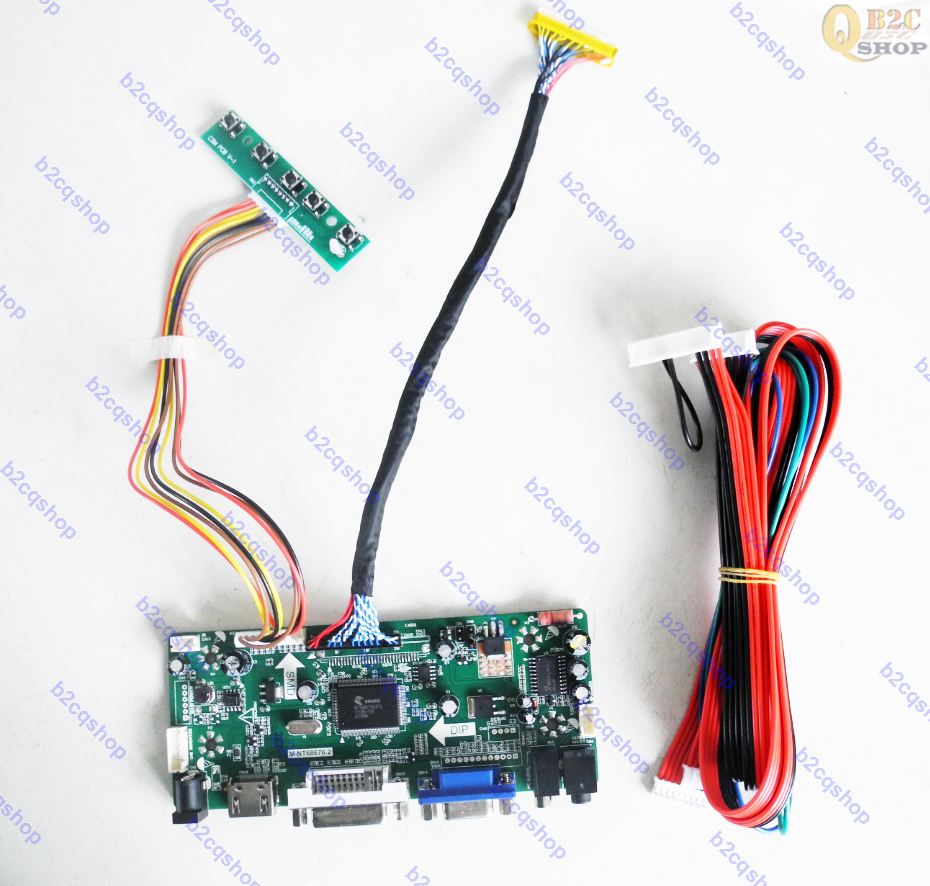
If you still have the working LCD, then go for it. It's nice to see those LCDs saved from the dumpster. Just read the description carefully and check the model number of your LCD.


27" 2K LCD driver board is around 75$, while the 5k driver board is quite pricey ($250)
 
If you still have the working LCD, then go for it. It's nice to see those LCDs saved from the dumpster. Just read the description carefully and check the model number of your LCD.


27" 2K LCD driver board is around 75$, while the 5k driver board is quite pricey ($250)
I realize this is an old post but can you confirm that this kit will work with a late 2014 27" 5k iMac? I'm just unsure which cable length is needed.

 
I realize this is an old post but can you confirm that this kit will work with a late 2014 27" 5k iMac? I'm just unsure which cable length is needed.
1. You have to check the model number of your LCD panel. iMac model name doesn't help here.
2. As the seller described his product as "for iMac", all cables have been thought of.
 
We have a late 2015 27” iMac retina 5K that is starting to fail. Is there a how-to specifically for doing this with one’s existing mac and not with parts from online?
 
We have a late 2015 27” iMac retina 5K that is starting to fail. Is there a how-to specifically for doing this with one’s existing mac and not with parts from online?

1. Remove the LCD panel

2. Remove the logic board

3. Check the LCD panel model number and place order of the compatible LCD driver board. Be noted that there are 2 kinds of driver board. The old one would required 2 DPs cable connected at the same time to display 5k (DP 1,2 version). The newer version need only 1 DP cable (DP 1,4 version).
Assemble the LCD driver board to the LCD panel outside the case. First test run.
H01b4cbd47516496fb3883ea1051702995.png

H63a7899bd32d451d8bbd68bf295dbc004.jpg


4. Solder the power button (to the green controller board on the left of the above picture), the power connection (on the original socket of iMac to the 24V power brick), modify the relevant cable like speakers and audio jack. Second test run.
(No guide available yet. You have to figure it out yourself.)

5. Put the set back to the aluminum case.

The below video is for a thick A1312 case. Your thin iMac case is much harder.
Wiring via the memory latch door, and stick stuff on the back of the case.
It's a little ugly but requires less drilling/grinding jobs.

 
  • Like
Reactions: Dayo
Register on MacRumors! This sidebar will go away, and you'll see fewer ads.