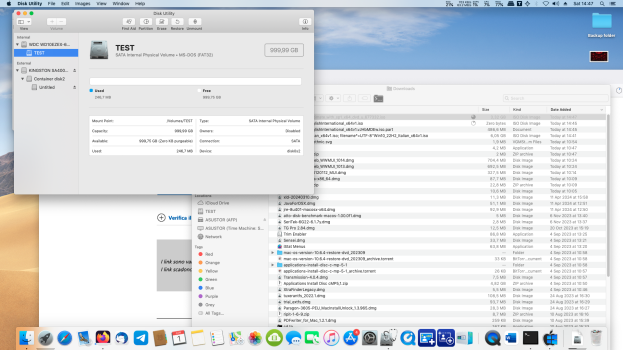
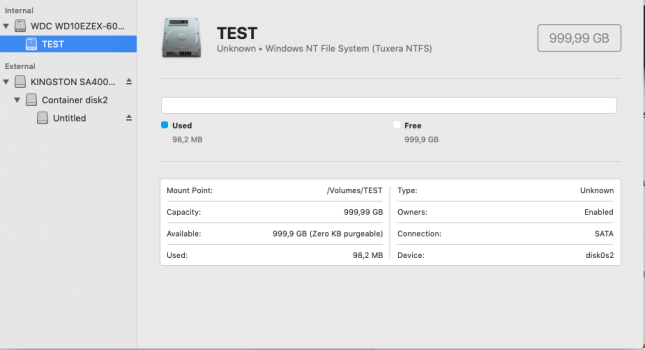
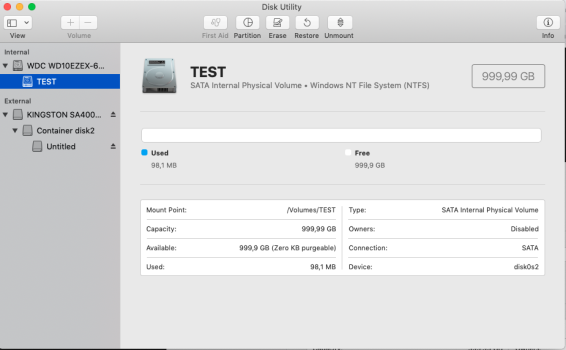
Installing Windows 10 in Legacy/Bios mode in classic Mac Pro is easy.
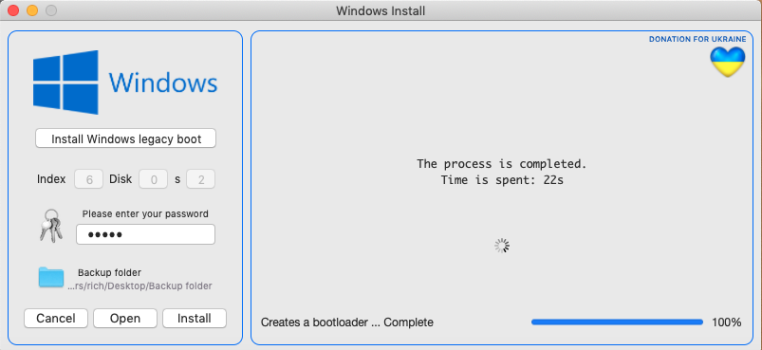
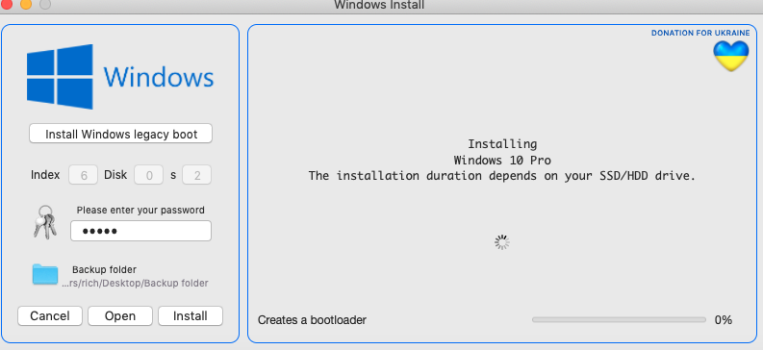
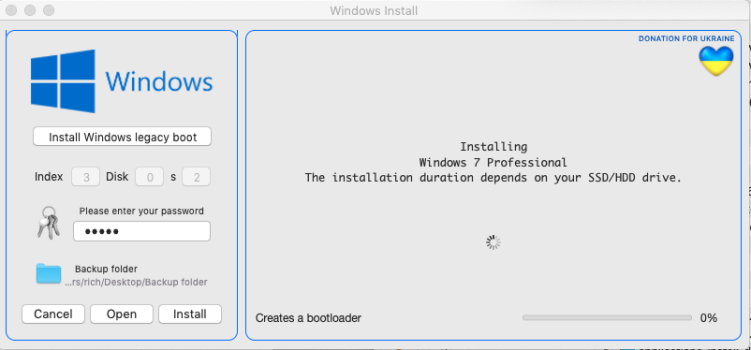
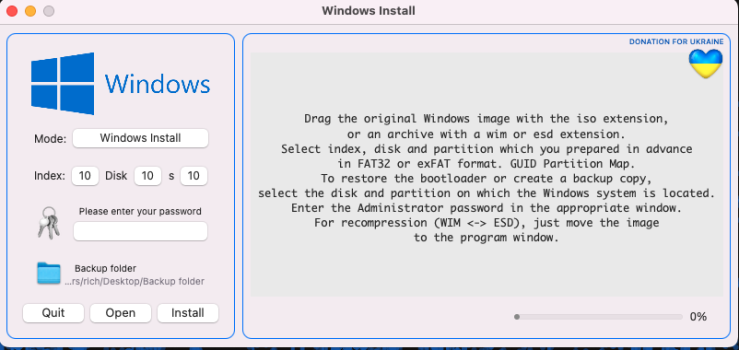
The latest and easiest solution is to use Windows Install software. If you want the manual approach please read below.
You will have to use a modified Bootcamp assistant, which I attached to this post or make your own using this guide. The installation has been tested on High Sierra partition with HFS+ partitioning scheme. The only limitation I am aware of is the limitation of the boot drive partition. Microsoft limitations:
Do not partition right up to the 2.2 TB limit, but leave some space. A good rule of thumb is that the Mac and Windows partitions added together should be less than 2 TB total.
If you choose to install a BIOS booting Windows on the 5 TB drive, then you will need to create an ExFAT formatted volume somewhere within the first 2.2 TB of the drive. Assuming disk5 is the identifier for your 5 TB drive, you could enter the command below to create a 500 GB partition for Windows:
Using gdisk convert the GPT partitioning scheme to hybrid MBR:
You can use gptsync application too for creating a

It looks like Monterey (and probably Big Sur) don't recognize a DVD as a valid
 alexlubbock.com
The modified
To select the Legacy Windows boot loader on the next boot you will need to enter into the Mac Boot Picker menu. For that you will need a video card with a GOP flashed vBios or patched firmware with GOP support. You can follow the instructions here.


The latest and easiest solution is to use Windows Install software. If you want the manual approach please read below.
You will have to use a modified Bootcamp assistant, which I attached to this post or make your own using this guide. The installation has been tested on High Sierra partition with HFS+ partitioning scheme. The only limitation I am aware of is the limitation of the boot drive partition. Microsoft limitations:
Apple has updated Bootcamp to support Macs with 3 TB hard drives, but I have not tested 3TB drives. For instance this is how I partitioned a 5TB drive:Now LBAs under MBR partitions are addressed using 32-bit values, the maximum of which is 2^32 or 4294967296. Each LBA on a hard drive corresponds to a 512-byte sector value (even on 4K advance format drives, they still appear as 512-byte sector drives to the OS), so the largest partition you can have in a MBR partitioned drive is 4294967296 * 512-bytes or 2,199,023,255,552 bytes.
Hard drive manufacturers define 1TB as 1 trillion bytes. If we use that definition then the largest 32-bit MBR partition would be 2.199TB (2,199,023,255,552 bytes / 1,000,000,000,000). If we define 1TB as 1024^4 bytes (TiB) then the largest 32-bit MBR partition would be 2TiB (2,199,023,255,552 bytes / 1,099,511,627,776).
Code:
diskutil partitionDisk /dev/disk3 GPT JHFS+ First 200G FAT32 BOOTCAMP 1600G JHFS+ Backup 0GIf you choose to install a BIOS booting Windows on the 5 TB drive, then you will need to create an ExFAT formatted volume somewhere within the first 2.2 TB of the drive. Assuming disk5 is the identifier for your 5 TB drive, you could enter the command below to create a 500 GB partition for Windows:
Code:
diskutil partitiondisk disk5 gpt exfat BootCamp 500G jhfs+ seagate RUsing gdisk convert the GPT partitioning scheme to hybrid MBR:
Code:
sudo gdisk /dev/disk3
GPT fdisk (gdisk) version 1.0.9

Warning: Devices opened with shared lock will not have their
partition table automatically reloaded!
Partition table scan:
  MBR: protective
  BSD: not present
  APM: not present
  GPT: present

Found valid GPT with protective MBR; using GPT.

Command (? for help): p
Disk /dev/disk3: 9767541168 sectors, 4.5 TiB
Sector size (logical): 512 bytes
Disk identifier (GUID): 9CA86ECA-D0BD-4514-8CEF-641A8F9EAE4E
Partition table holds up to 128 entries
Main partition table begins at sector 2 and ends at sector 33
First usable sector is 34, last usable sector is 9767541134
Partitions will be aligned on 8-sector boundaries
Total free space is 524541 sectors (256.1 MiB)

Number  Start (sector)    End (sector)  Size       Code  Name
   1              40          409639   200.0 MiB   EF00  EFI System Partition
   2          409640       390772495   186.1 GiB   AF00
   3       391034880      3516033023   1.5 TiB     0700
   4      3516033024      9767278983   2.9 TiB     AF00

Command (? for help): r

Recovery/transformation command (? for help): h

WARNING! Hybrid MBRs are flaky and dangerous! If you decide not to use one,
just hit the Enter key at the below prompt and your MBR partition table will
be untouched.

Type from one to three GPT partition numbers, separated by spaces, to be
added to the hybrid MBR, in sequence: 2 3 4
Place EFI GPT (0xEE) partition first in MBR (good for GRUB)? (Y/N): y

Creating entry for GPT partition #1 (MBR partition #2)
Enter an MBR hex code (default EF):
Set the bootable flag? (Y/N): n

Creating entry for GPT partition #2 (MBR partition #3)
Enter an MBR hex code (default AF):
Set the bootable flag? (Y/N): n

Creating entry for GPT partition #3 (MBR partition #4)
Enter an MBR hex code (default 07):
Set the bootable flag? (Y/N): y

Recovery/transformation command (? for help): w

Final checks complete. About to write GPT data. THIS WILL OVERWRITE EXISTING
PARTITIONS!!

Do you want to proceed? (Y/N): y
OK; writing new GUID partition table (GPT) to /dev/disk3.
Warning: Devices opened with shared lock will not have their
partition table automatically reloaded!
Warning: The kernel may continue to use old or deleted partitions.
You should reboot or remove the drive.
The operation has completed successfully.
You can use gptsync application too for creating a
hybrid MBR like this:
Code:
sudo gptsync -n /dev/disk3You could make a hybrid disk by using the Disk Utility application included with Sierra (or earlier). First, you install regular Sierra into a new partition or just boot from a USB installer for Sierra or earlier. When you're done, boot to regular Sierra or if using the USB installer in recovery, open the Disk utility, create the FAT partition, and you have a hybrid partition.
- If you are using 2TB or smaller disk you can use the modified Boot Camp Assistant. With this modified Boot Camp Assistant if you have one HFS+ drive it will offer to create the Bootcamp partition on that drive.
- If you have 2 HFS+ formatted disks it will offer to create the partition on the second drive.
- If you have more than 2 disk's formatted as HFS+ it WILL NOT be able to create a Bootcamp partition.
- Prepare an 8GB USB flash drive and format it with FAT32 partitioning scheme.
- Prepare a blank dual layer DVD-ROM disk and insert it in the DVD-ROM drive.
- Download the Windows ISO installer from Microsoft
- Create a Windows installer DVD:
Code:
hdiutil burn ~/Downloads/Win10_22H2_English_x64.iso- Open the bootcamp assistant and check these options:
It looks like Monterey (and probably Big Sur) don't recognize a DVD as a valid
Windows installer. In case like this use this to create the USB installer so that Bootcamp Assistant can proceed and convert the GPT to a hybrid partition and create the Bootcamp partition:
Make a bootable Windows 10 USB drive from a Mac | Alex Lubbock
How-to guide on making a bootable Windows 10 USB drive on a Mac
Bootcamp Assistant creates a FAT32 USB drive and the install.wim file if bigger than 4gb cannot be written to it. You will still need the Windows DVD as the cMP can't boot in legacy mode without it.To select the Legacy Windows boot loader on the next boot you will need to enter into the Mac Boot Picker menu. For that you will need a video card with a GOP flashed vBios or patched firmware with GOP support. You can follow the instructions here.
- Upon boot to the Boot Picker menu select this entry:
- At the screen where it asks you to select your installation partition select the FAT32 formatted partition and FORMAT IT (DO NOT DELETE).Continue installing. At the first reboot keep the OPTION button pressed to enter the Boot Picker menu.
- Highlight the
Windowsselection and press (keep pressed) CONTROL and after that ENTER. This will bless the Windows selection:
- Continue installing Windows. Just remember your USB drive with the Boot Camp software should be attached at all times until you login to the Windows desktop. When you login to the desktop the Boot Camp Assistant will automatically install. It will be version 5.1.5621. It supports:
- System Requirements
- MacBook Air (11-inch & 13-inch, Mid 2011)
- MacBook Air (11-inch & 13-inch, Mid 2012)
- MacBook Pro (15-inch & 17-inch, Mid 2010)
- MacBook Pro (13-inch, & 15-inch, Early 2011)
- MacBook Pro (17-inch, Early 2011)
- MacBook Pro (13-inch,15-inch & 17-inch Late 2011)
- MacBook Pro (13-inch & 15-inch, Mid 2012)
- MacBook Pro (Retina, Mid 2012)
- MacBook Pro (Retina, 13-inch, Late 2012)
- MacBook Pro (Retina, 13-inch and 15-inch, Early 2013)
- Mac Pro (Early 2009)
- Mac Pro (Mid 2010)
- Mac Pro (Mid 2012)
- Mac mini (Mid 2011)
- Mac mini (Late 2012)
- iMac (27-inch, Mid 2010)
- iMac (21.5-inch & 27-inch, Mid 2011)
- iMac (21.5-inch & 27-inch, Late 2012)
- iMac (21.5-inch) Early 2013
- Windows 7, Windows 8, and Windows 8.1, 64 bit
- Keep the Windows DVD-ROM disk and the USB in a safe place in case you need to repair/reinstall Windows.
Attachments
Last edited:


