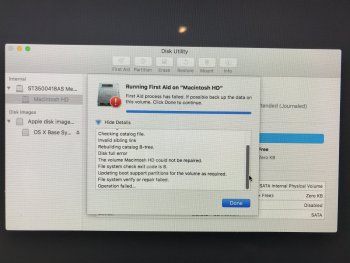
I found a solution that worked for me!
I created an bootable USB with an old version and overwrote the Contents folder with the one from a "new" version of Sierra. Admittedly, I found an old version of MacOS Sierra on a torrent site (the official link for the old version did not work) but otherwise the process is the same.
For anybody else having this issue, here is a step by step guide.
You will need:
- A Mac.
- A USB drive (16 gb minimum). This will be reformatted, so make sure you do not have any files on it before you begin, because this process will delete all the contents of the drive.
- An older version of MacOS Sierra. I won’t link the one I found on as a torrent.
- The newest version of MacOS Sierra. I used this link on Apple’s Support site:
http://updates-http.cdn-apple.com/2...5f4-0015-4c41-9f44-39d3d2aca067/InstallOS.dmg.
- Patience.
How-to:
1. Download the old macOS Sierra 10.12.5 (I used a torrent site). Once downloaded, open the .pkg file. It looks like your current system will try to install Sierra on top of your current system, but it won’t. It will simply put the “Install macOS Sierra” package in your Applications folder. We will need that in the next step.
2. Create a bootable USB with the version of Sierra in your Applications folder. I used the app Install Disc Creator. Be sure to select the correct USB drive from the drop down! Once the Install Disc Creator is done (it might take some time), it will show you a dialog box saying the install drive has been made. Close the app.
3. Let the USB drive stay in your computer.
4. Go to your Applications folder and locate the “Install macOS Sierra” folder used to create the USB drive. When you find it, delete it.
5. Download the new version of macOS Sierra from the link above.
6. Once downloaded, open the .pkg file as you did with the old version of macOS Sierra. It will now place the “new” “Install macOS Sierra” file in the Applications folder, just like before.
7. Right-click the file and select “Show package contents”.
8. Copy the “Contents” folder. This is what we need to overwrite the Contents folder currently on the USB drive.
9. Now navigate to the USB you created.
10. Right-click the “Install macOS Sierra” on the USB and select “Show package contents”.
11. Now paste the “new” Contents folder so it replaces the “old” Contents folder.
Once done overwriting, eject the USB and plug it into your Mac Pro. Boot from the USB by holding down the Option key (or Alt key on a Windows keyboard), and hopefully it will install!
Hope that helps 😌
Happy holidays.


