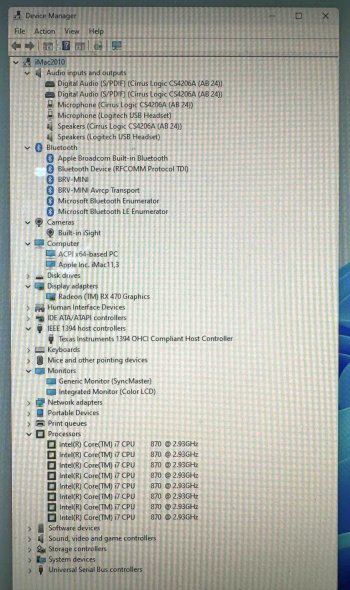
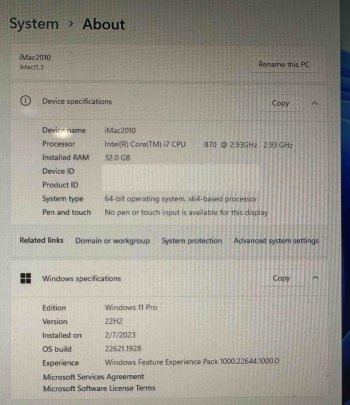
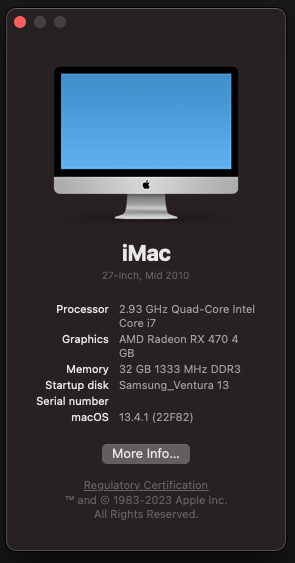
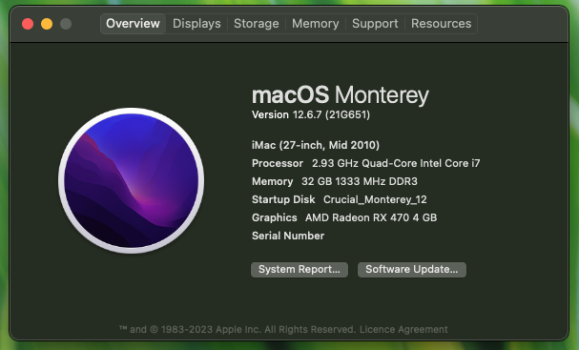
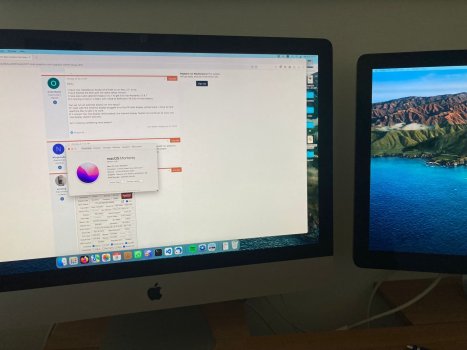
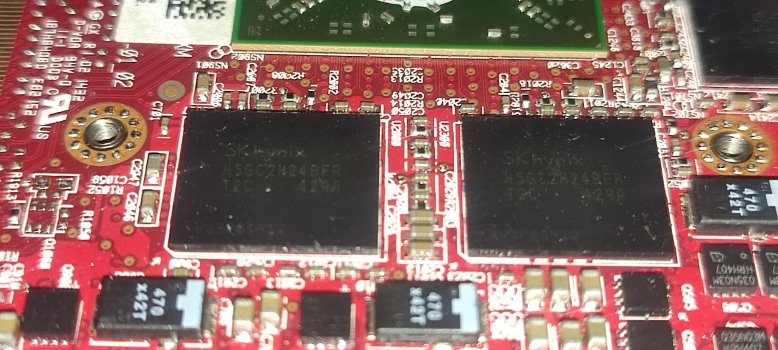
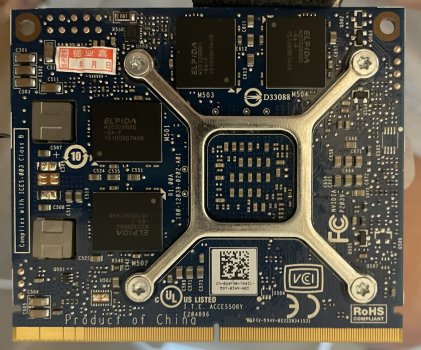
This is my option, I also use linux. As I understand it, you need to find a TV to connect via the display port and I will see a picture on both monitors. After that, I need to install a new mac os open core / then everything will work as it should on one monitor, will I be able to give it back and use my fast linux?
i flashing 480GOPreduced_power - ok?
ps/ my salesman said he has 50 cards 480
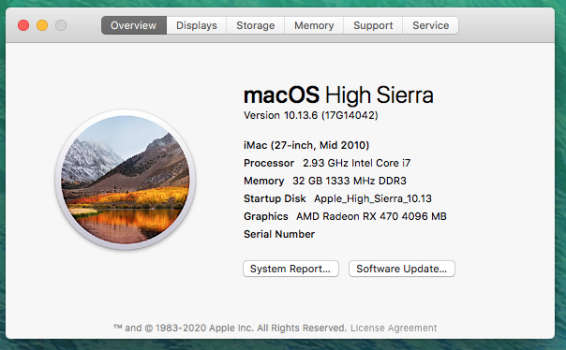
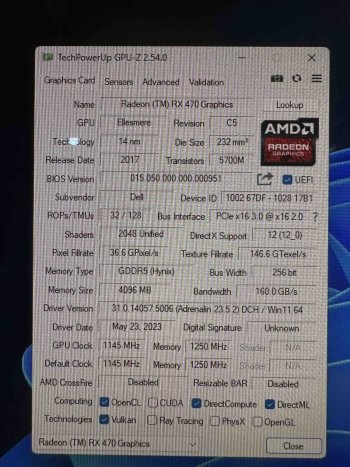
It seems the RX480 (some could be a RX470 in disguise with hacked vBIOS) is back in supply. Now much cheaper than what I paid 3 years ago. Currently you can find one at ~US$80 in AlliExpress while the WX4150, which has a Metal score of only ~1/3 to 1/2 of that of RX480, is sold at ~$115. May be it is related to the lower compatibility of the former since v1.0 board runs only in iMac 2009 & 2010 while the rare to find v1.1 capable in iMac 2011. Also the former requires a 3 pipe heat sink for adequate heat dissipation while the latter can reuse the 2 pipe heat sink present in most iMac.
I got a purported RX480 with a hacked BIOS (recognised as RX580 in OSX & Windows). I flashed it with the RX480 GOP vBIOS here and it works well and shows its true identity as RX470. But anyway, the difference in performance between the RX470 & RX480 are so small that it can be neglected.
I have tested the latest EG vBIOS for RX480 and it works wonder.
My iMac has 3 internal SSDs - one for High Sierra, one for Monterey, and one for Ventura.
Windows 11 22H2 is installed on an external USB flash drive.
The High Sierra SSD is connected to the primary SATA 0 as default boot drive upon NVRAM reset (Command-Option-P-R) for troubleshooting if needed through the native Apple BootPicker.
The latest OCLP is also installed on this High Sierra SSD for booting into Monterey or Ventura or Windows 11.
I removed the internal DVD to install the
USB3 hack for my iMac 2010. Thus, Windows 11 runs reliably on the external USB flash drive connected to the USB3 ports. The only drawback is that the USB3 ports are not bootable natively (not shown in Apple Bootpicker but ok in OCLP Bootpicker) and connection to the drive would be lost if allowed to sleep.
I tested the latest Diablo 4 under Windows 11. It is completely playable even in medium graphic settings.
The point to note is that you must tune down the power draw of the GPU to 67W by editing the vBIOS with Polaris BIOS Editor, otherwise the iMac would abruptly shutdown on launching the game.
Thus, I can delay my upgrade to M2 Mac for some more time.

========
BTW, with regard to AMD VBIOS flashing, now I prefer the OC OpenShell method.
It is mentioned in Answer 5 to Question 3 of Spoiler 8 FAQ in the 1st Wiki post.
Although it is said to be for experts, I find it to be the most convenient and easy one instead of the others.
While MacNB2 gave a detailed account
here, I investigate and explore it further to simplify the procedure in my iMac.
He gave a zip package with a BOOT folder and amdvbflash.efi within.
But for us with OCLP loaded onto the internal drive, the OpenShell is already installed. Thus the BOOT folder isn't needed.
The steps are as followed:
Download the
ESP Mounter pro v1.9.1 and run it to mount the EFI partition with OCLP installed on your Desktop.
On opening the EFI partition, you will see only a System folder and perhaps a BOOTLOG file. The EFI folder is hidden on the EFI partition and not accessible.
Download
Kilometre (v1.32 for High Sierra, and v1.42 for Ventura) and run it with the Options of Hide Mac and Unix invisible files unchecked. Then in the opened Desktop window of Kilometre, you can click-open the EFI partition to now see the EFI folder with the APPLE folder and OC folder within.
I just create a AMD folder under the EFI folder co-existing with the APPLE & OC folder.
Put the amdvbflash.efi and the various RX470/480 VBIOS into that AMD folder. It won't be overwritten by any new OCLP that you install onto the boot drive.
Restart your iMac to OCLP BootPicker and press spacebar to bring up the UEFIShell Menu.
Navigate to and activate the OpenShell.
Then note the first listed FSXX with the command: map -b
Change to that FS by typing: FSXX (where XX is the 1st one listed above)
Change directory to the AMD folder we previously created: cd EFI/AMD
List the files within the AMD folder: ls
You should be able to see the amdvbflash.efi and the various vBIOS put there.
Just follow the other steps outlined by MacNB2.
To find out the adapter no. of your AMD GPU: amdvbflash -i
To flash your new.ROM: amdvbflash -p 0 new.rom
where 0 is the adapter number you got from above, and new.rom the rom file you want to flash into your AMD card.
You may give a force flash by adding in the command: -f
That may be needed in case of ID mismatch.


