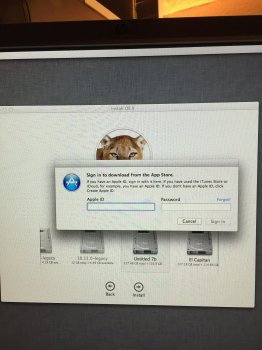
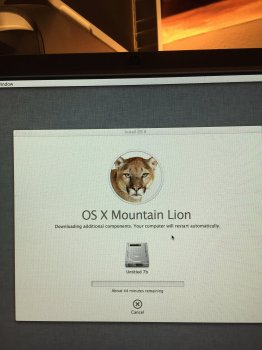
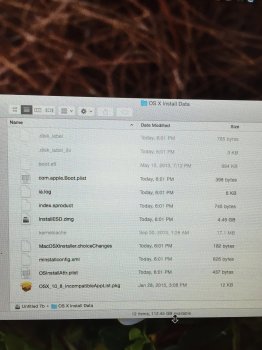
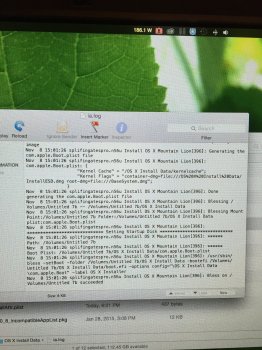
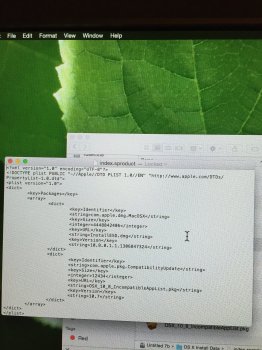
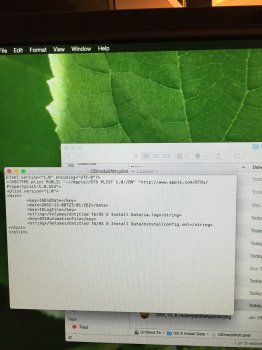
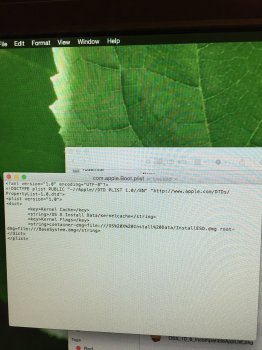
Preliminary draft of an installation procedure of Pike's boot.efi (version 3.1) on an old Mac Pro.
Please, notice that, as indicated, this is a draft.
It may contain errors and it should be revised by knowledgable developers/users, who can, and should, add to it or modify it as they see fit.
DO NOT QUOTE this guide outside of this thread.
Guide for installing OS X 10.11 El Capitan on a Mac Pro 1,1 or 2,1 with the boot.efi method without directly resorting to a more modern computer
Based on Hennesie2000’s similar guide for OS X 10.10 Yosemite
Although there are at least two more methods to achieve the same results, this one, pioneered by Tiamo and Jabbawok, is presented as probably the easiest. The others require either a second computer to effect the installation or modification of the installer itself during the installation procedure, which requires several reboots in that version. In addition, the single-step “createinstallmedia” method has been confirmed by several users to damage hardware in certain circumstances.
I have tried to be as complete and clear in this guide as possible. Although the installation itself requires only one reboot, this is an intricate procedure. I am not responsible for any damage that may occur as a result of this guide.
Things you will need
1. A Mac Pro 1,1 or 2,1 with an upgraded video card (7300GT or X1900XT will not work), assumed to be running Yosemite.
2. An 8GB or larger thumb drive or, preferably, an 8GB blank partition in one of the Mac Pro internal drives.
3. The latest version of Pacifist. It can be downloaded from charlessoft.com.
4. A copy of the El Capitan Installation application from the App Store. Unless you’ve managed to somehow fake its board identifier (for instance, using Pike’s boot.efi version 3.1 in Yosemite), you can’t use your old Mac Pro to download it. Only for this you will need either a virtual machine running Yosemite or a more modern Mac.
5. Choose either the “black” or the “grey” version of Pike’s boot.efi. It can be downloaded from
http://piker-alpha.github.io/macosxbootloader/.
Creation of a universal stand-alone self-booting El Capitan installer
1. In Terminal you will need to show hidden file using the following commands:
defaults write com.apple.finder AppleShowAllFiles YES
killall Finder
2. Right-click on the downloaded El Capitan Installer app and click Show Package Contents.
3. Browse to the folder /Contents/SharedSupport.
4. Double-click to mount “InstallESD.dmg”.
5. Open up Disk Utility and drag BaseSystem.dmg to the side bar (in Disk Utility).
6. Click on BaseSystem.dmg in Disk Utility and select the Restore tab.
7. Set the BaseSystem.dmg as the source and choose the thumb drive or the 8GB internal blank partition (formatted as HFS+) as the destination.
8. Restore the image to that destination.
9. If you so desire, rename the thumb drive or the internal partition. For instance, I named mine “Install”.
10. Use the Finder to browse the newly restored installer. Go to the folder /System/Installation on the installer and delete the “Packages” alias file.
11. Go back to the mounted InstallESD.dmg and drag the “Packages” folder to the installer into the /System/Installation folder where the alias file used to be.
12. Copy the “BaseSystem.dmg” and “BaseSystem.chunklist” files to the root of the installer.
13. On the installer, go to /System/Installation/Packages/ and right-click on Essentials.pkg. Open it with Pacifist. Within Pacifist, navigate to /System/Library/Kernels/. There you will see a file named “kernel”.
14. Using the Finder, on the installer, create a folder named “Kernels” [without the quotation marks] in /System/Library/ and open the new folder.
15. Drag the “kernel” file from Pacifist to the Finder window where the “Kernels” folder is open.
16. To hide the hidden files again, enter this in Terminal:
defaults write com.apple.finder AppleShowAllFiles NO
killall Finder
Modification of the universal stand-alone self-booting El Capitan installer so that it will run on an old Mac Pro (after which it will no longer be “universal”, but specifically tailored to the 32-bit EFI of these Mac Pro models)
Although some of the following steps may be carried out using the Finder and additional applications, using the Terminal accomplishes all that is required without extra aid. For the sake of explanation, it is assumed that your installer disk is named “Install” and that your copy of boot.efi is located in your Downloads folder on your Yosemite disk. Adapt names and paths if yours are different. The first time you enter “sudo”, you’ll be prompted for your administrative password.
Some of the steps below might not be strictly necessary, or they might be executed slightly differently, or in a different order, but these are known to work as posted.
1. Use the Terminal to replace Apple’s stock boot.efi with Pike’s boot.efi in /usr/standalone/i386 of the installer disk, and give it the normal rights and ownership:
cd /Volumes/Install/usr/standalone/i386
cp ~/Downloads/boot.efi .
chmod 644 boot.efi
sudo chown root:wheel boot.efi
2. Use the Terminal to replace Apple’s stock bootbase.efi with Pike’s boot.efi in /System/Library/CoreServices of the installer disk:
cd /Volumes/Install/System/Library/CoreServices
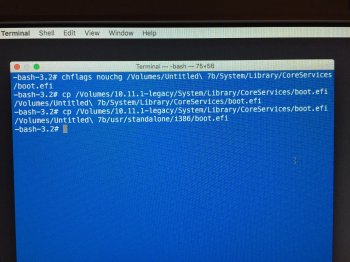
cp ~/Downloads/boot.efi bootbase.efi
chmod 644 bootbase.efi
sudo chown root:wheel bootbase.efi
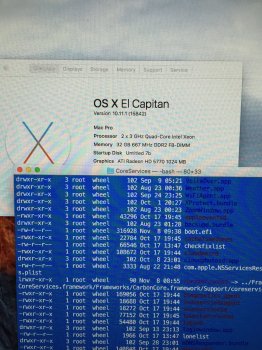
3. Use the Terminal to replace Apple’s stock boot.efi with Pike’s boot.efi in /System/Library/CoreServices of the installer disk (this assumes you are still in the same folder as above):
chflags nouchg boot.efi
cp ~/Downloads/boot.efi .
chflags uchg boot.efi
chmod 644 boot.efi
sudo chown root:wheel boot.efi
Installation of El Capitan on an old Mac Pro using the modified installer
This guide does NOT address “special” cases, such as installation on RAID systems or Fusion drives. It is assumed that users advanced enough to use such configurations will know how to adapt the following instructions to their particular case.
1. Boot from the installer by holding option after the boot chime.
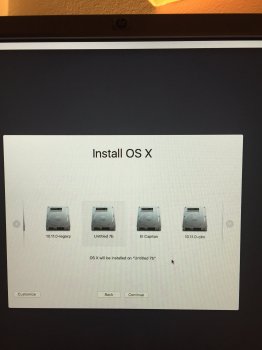
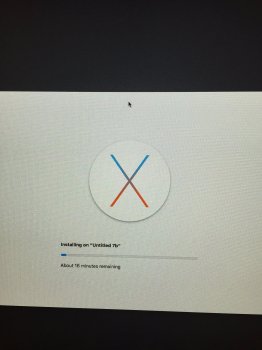
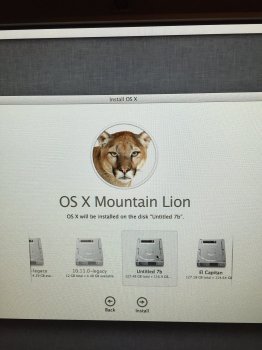
2. Follow the normal OS X install process.
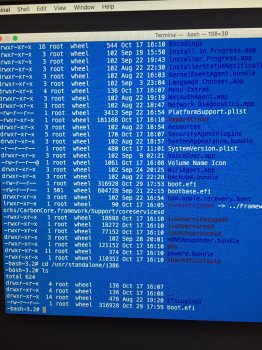
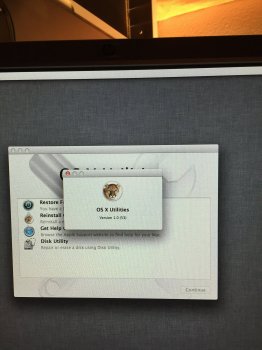
3. Make sure you are in front of your computer when the process is about to end. Don’t let it reboot, because, if it does, your Mac Pro will fail to boot, as the installer does not install Pike’s boot.efi to the target disk. So, when the installer says your computer is going to restart, go to the installer Utilities menu and launch Terminal. The following instructions assume that your target disk (the one El Capitan has just been installed on) is named “Macintosh HD” and that your installer name is “Install”. Adapt names if yours are different. Some of the steps below might not be strictly necessary, or they might be executed slightly differently, or in a different order, but these are known to work as posted. There’s no need to use “sudo” or change permissions, since the installer is the superuser and it has all possible rights (there’s no “rootless” in this setting).
4. Use the Terminal to replace Apple’s stock boot.efi with Pike’s boot.efi in /usr/standalone/i386 of the target disk, and give it the normal rights and ownership:
cd /Volumes/Macintosh\ HD/usr/standalone/i386
cp /Volumes/Install/usr/standalone/i386/boot.efi .
5. Use the Terminal to replace Apple’s stock boot.efi with Pike’s boot.efi in /System/Library/CoreServices of the target disk:
cd /Volumes/Macintosh\ HD/ System/Library/CoreServices
chflags nouchg boot.efi
cp /Volumes/Install/usr/standalone/i386/boot.efi .
chflags uchg boot.efi
6. Use the Terminal to replace Apple’s stock boot.efi with Pike’s boot.efi in your newly created Recovery HD.
a. Find out what the identifier of that partition is. Enter the following
diskutil list
A list of disk/partitions will be presented. Locate one named “Recovery HD” located on the same disk as your newly installed El Capitan live partition. The last column of that “Recovery HD” will show the name of its identifier. Let’s assume it is “disk3s3”.
b. Mount the Recovery HD:
diskutil mount disk3s3
c. Effect the replacement:
cd /Volumes/Recovery\ HD/com.apple.recovery.boot
chflags nouchg boot.efi
cp /Volumes/Install/usr/standalone/i386/boot.efi .
chflags uchg boot.efi
cd /Volumes
d. Unmount the Recovery HD:
diskutil unmount disk3s3
7. Although this might not be necessary, using the installer, choose Startup Disk and select your new El Capitan partition and reboot. Enjoy.
Final observations
With the above procedure an old Mac Pro (1,1 or 2,1) will behave as if it were a Mac Pro 3,1, capable of natively running El Capitan (and of downloading it from the App Store). Everything will work, but there’s ONE problem: If an El Capitan system update were to include a newer version of Apple’s stock boot.efi, it would overwrite Pike’s version, thereby rendering your El Capitan disk/partition non-bootable. For now, for this scenario there are four possible solutions:
1. The first solution, which is NOT recommended, nor will it be explained in detail, would consist in disabling SIP, thereby downgrading El Capitan’s security to the level of Yosemite’s. Once SIP is disabled, a launch daemon, such as the “PikeYoseFix” could trivially be run on every launch, whereby Pike’s boot.efi would overwrite whatever stock boot.efi might have been installed by a system update.
2. The second solution, which is NOT recommended, nor will it be explained in detail, would use a hack (there is at least one) to interactively disable SIP without rebooting, again making it possible for a launch daemon to do its job. After rebooting, the hack could be run once more to turn SIP on again.
3. The third solution, which won’t be explained in detail, would be to temporarily disable SIP the official way (that is, from the Terminal of the Recovery HD), reboot into the live El Capitan environment, where the PikeYoseFix or a similar daemon would be able to do its job after a system update. Once the update ended and El Capitan booted safely once again, the user would need to go back to the Recovery HD, enable SIP and reboot once again. Since this process would require something like five reboots, I fail to see its advantage over the fourth solution.
4. The fourth solution has the advantage of being straightforward and not requiring fiddling with SIP, but it requires the use of the Terminal. These are the steps that the user should follow:
a. When a system update is released, download and install it as usual. If you are certain the system update DID NOT contain a newer version of boot.efi, the procedure has ended. Reboot as usual and go about your business. However, if you know that it contained a newer boot.efi or are uncertain about it, there’s the chance that the system update might have overwritten not just your live El Capitan copies of Pike’s boot.efi, but the Recovery HD copy as well. Therefore, we are going to use the Install disk/partition to restore them.
b. When you hear the chime at boot time, press Option (Alt). Choose your Install disk/partition.
c. The installer will boot. Go to its Utilities menu and launch Terminal.
d. Assuming that your target disk (the one El Capitan has just been updated on) is named “Macintosh HD” and that your installer name is “Install” (adapt names if yours are different), follow steps 4-7 of the previous section.


