I’ve got some gps window thingsNo suction cups? They say you can get the glass off with your fingernails but I couldn’t with light to moderate prying and I didn’t want to try prying too hard.
I saw one guy online do it with a toilet plunger though. 🤣
Got a tip for us?
Let us know
Become a MacRumors Supporter for $50/year with no ads, ability to filter front page stories, and private forums.
HELP! 2009 iMac issues.
- Thread starter rwh63
- Start date
- Sort by reaction score
You are using an out of date browser. It may not display this or other websites correctly.
You should upgrade or use an alternative browser.
You should upgrade or use an alternative browser.
hopefully i will be prepared to work on this friday-sunday. it would be nice to have it up and running this weekend. obviously will require an OS download. best way to accomplish that?
anyone want to create a simple step by step list to follow? anything else i should do once inside, like cleaning fans?
anyone want to create a simple step by step list to follow? anything else i should do once inside, like cleaning fans?
Lots of step by step instructions already out there. eg. YouTube, iFixit.
Definitely clean it out. Having a couple of compressed air cans and maybe a soft brush will help. (Keep your glass and screen away and cover them so they don't get covered in dust.)
You can download the OS from the Apple App Store, but I find the easiest way is to install Dosdude's High Sierra patcher and use their built in feature to download High Sierra, straight from Apple. (The feature just downloads a clean version of the OS. It doesn't actually patch it unless you tell it to. You don't need to patch it since that machine is already officially supported by High Sierra.)
anyone want to create a simple step by step list to follow?
The iFixit guide that I linked to earlier in this thread should be sufficient in that respect.
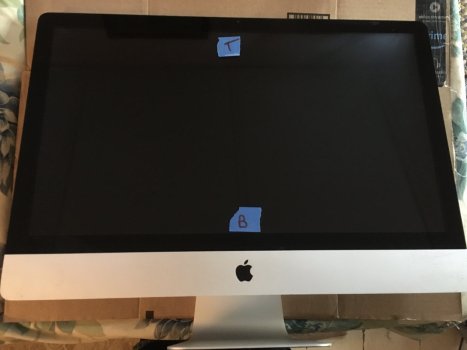
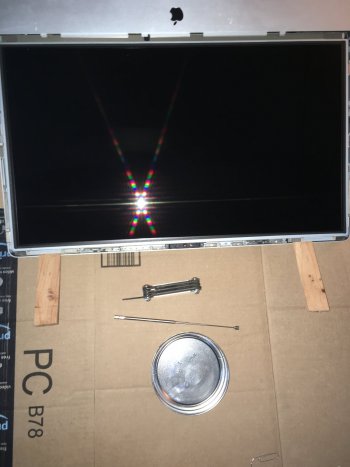
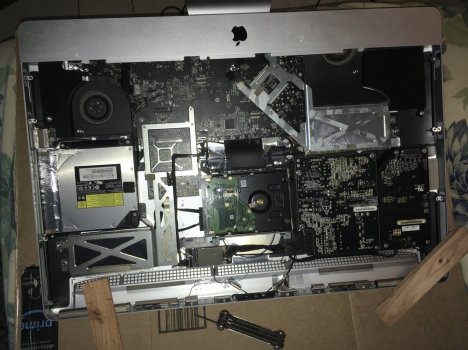
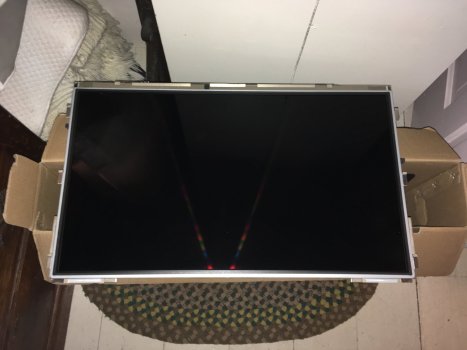
(Sort of) live updates:
1) removed glass panel with suction devices
2) moved #10 torx screws with tool, used magnet tool to secure screws
3) pried LCD corners up and secured with wood shims
1) removed glass panel with suction devices
2) moved #10 torx screws with tool, used magnet tool to secure screws
3) pried LCD corners up and secured with wood shims
Attachments
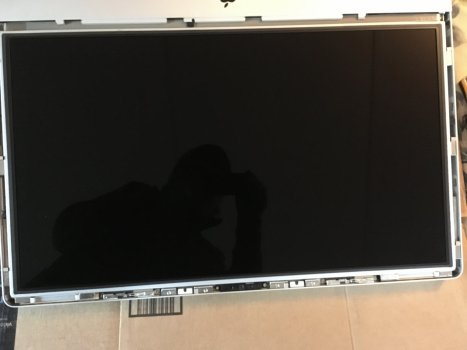
4) detached cables
5) lifted LCD
5) lifted LCD
Attachments
-
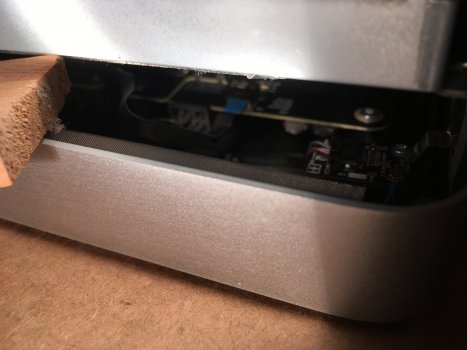 88C8F915-CC96-47B8-8C98-11C70D1308D3.jpeg348.6 KB · Views: 101
 -
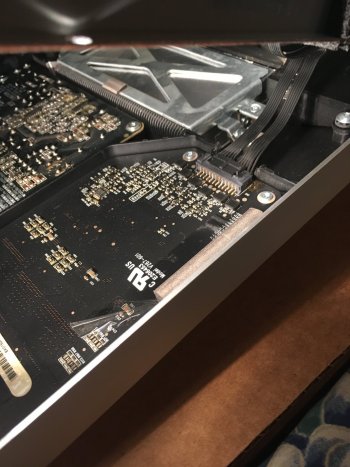 153D221D-8AAA-4502-B00B-831548D728C5.jpeg434.5 KB · Views: 104
 -
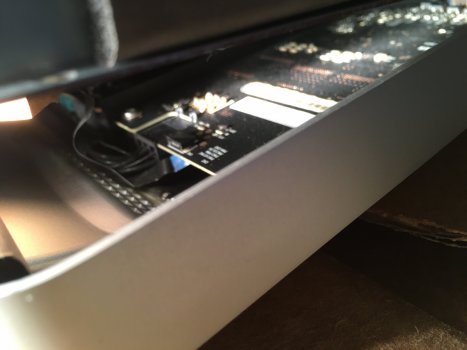 BE6E1669-7CD4-4E57-A5A3-D8E5A9879117.jpeg227.2 KB · Views: 98
 -
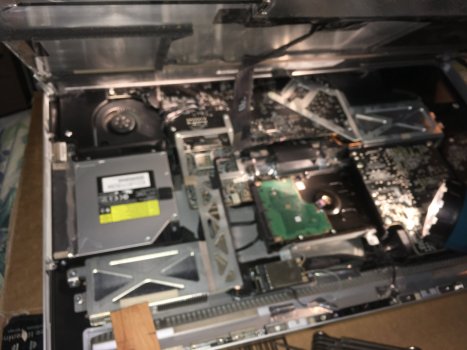 63C3D5CD-2FDA-4AD0-914F-A9055B6D0158.jpeg340.2 KB · Views: 115
 -
 0D8EB0FF-C154-4365-B494-625AC225EEDC.jpeg514 KB · Views: 107
 -
 E7393E19-AAF9-4496-BE67-BFCB42CC960C.jpeg255.6 KB · Views: 104
 -
 7CE4BA2B-CA81-4C05-BF73-ADBA41CF6456.jpeg573 KB · Views: 103
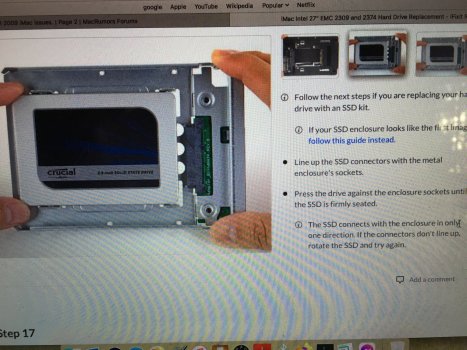
No. You need the silver metal bracket though. That is what you'll screw that 2.5" SSD to 3.5" adapter into.Ok, I think I am a little stuck at step 16 of the ifixit directions. Am I supposed to dismount the green board in the old drive and transfer it over?
You're looking at the wrong teardown then.Further along doesn’t look like my set up. Note says it is using a 2017 iMac as a demo.
ok, it was one short timer linked earlier in the discussion (https://www.ifixit.com/Guide/iMac+Intel+27-Inch+EMC+2309+and+2374+Hard+Drive+Replacement/1634). i'll have to search.
That's the right teardown. It's a 2009, not a 2017.ok, it was one short timer linked earlier in the discussion (https://www.ifixit.com/Guide/iMac+Intel+27-Inch+EMC+2309+and+2374+Hard+Drive+Replacement/1634). i'll have to search.
That teardown is using a special third party sensor-enabled SATA cable, but as mentioned earlier in the thread here, it is unnecessary. The specific pictures for the sensor-enabled SATA cable install are from a 2017 though.
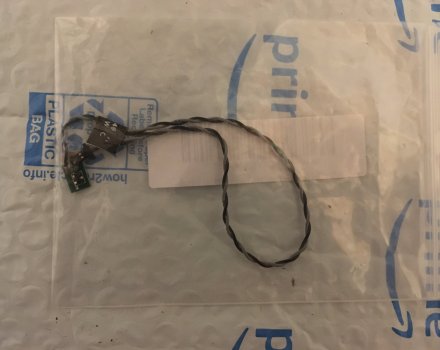
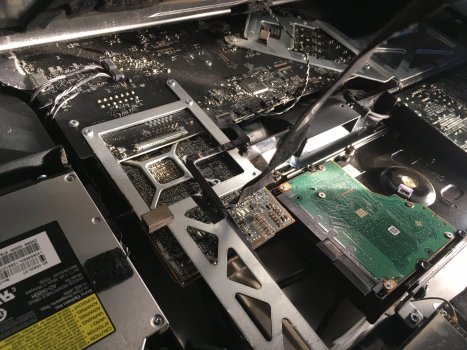
At this point what you need to do is use your optical drive temperature sensor cable. Plug that in to where the HD temperature sensor cable was plugged in on the motherboard. And then stick the adhesive sensor part of that new optical drive temperature sensor cable to the SSD, once the SSD is installed. (Plug the existing SATA and power cables into the SSD.)
Last edited:
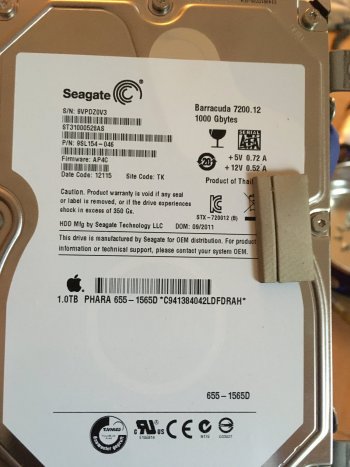
Sounds like it. The machine was discontinued in 2010.Also my oldHD has a date code of 12115. And a DOM date of 09/2011. Was this replaced before?
ok, so here is where i am at:
the ifixit directions are correct, up to a point. the temp sensor cable that was plugged into the motherboard, which i disconnected to remove the lcd, ran up to the back of the lcd. what was that for? and, instead of routing the replacement sensor like that, i should attach the sticky to the ssd near the gold ssd connectors?
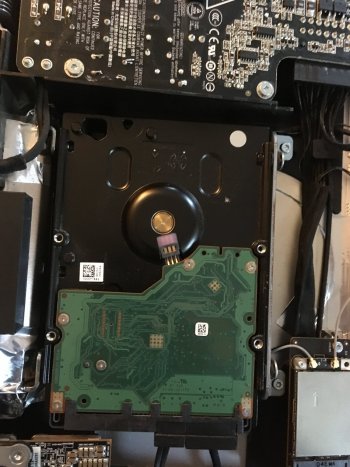
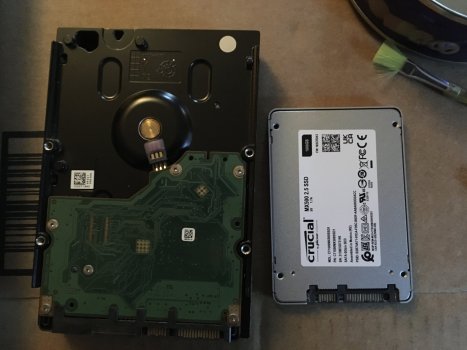
on the 2011 hd, there is a third input. i guess that was not necessary being plugged into a 2009?
small question: does it matter which side of the ssd is up? the natural plug arrangement has the crucial nameplate down.
also, trying to figure out the way to attach the ssd to the new bracket holder.
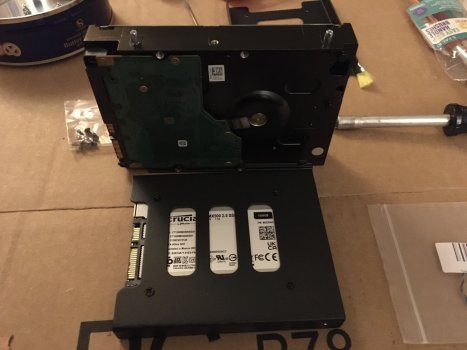
looks like the bracket bottom faces up (on top). can i use the old hardware, or is the included bracket hardware necessary?
looks like i have to pull the rubber spacer grommets off of the old mounting bar to use the included screws.
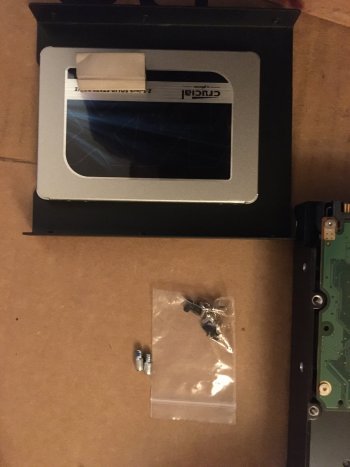
and, new mounting pins are not included, and the old ones don't fit the pre-drilled holes (to big). the bracket included 4 black screws and 4 silver screws (with attached washers).
You just described its purpose in that sentence.ok, so here is where i am at:
the ifixit directions are correct, up to a point. the temp sensor cable that was plugged into the motherboard, which i disconnected to remove the lcd, ran up to the back of the lcd. what was that for?
Just line up everything (screw holes, SATA/power cable attachments) the same way it was installed in the iMac before.also, trying to figure out the way to attach the ssd to the new bracket holder.
On my bracket, the bracket was attached to the underside of the SSD.
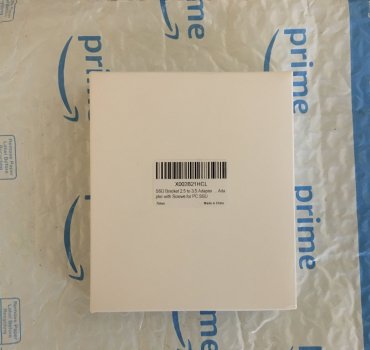
None of those screws fit the underside of the SSD? If not, you'll have to buy new ones.Suggestions? No mounting pins included. Box and ad site mentions PC, not Mac.
EDIT:
I see you already screwed in the SSD. I don't understand your question then.
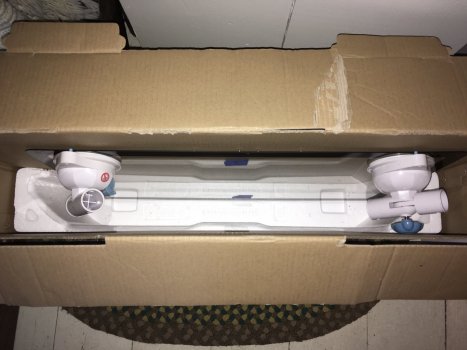
my question here was that the old hard drive had pins (see pic) that securely mount one side in (also see ifixit directions). the old pins don't fit in the new bracket, and none are provided. maybe the bracket and ssd and so light i don't have to secure the other side.None of those screws fit the underside of the SSD? If not, you'll have to buy new ones.
EDIT:
I see you already screwed in the SSD. I don't understand your question then.
Register on MacRumors! This sidebar will go away, and you'll see fewer ads.


