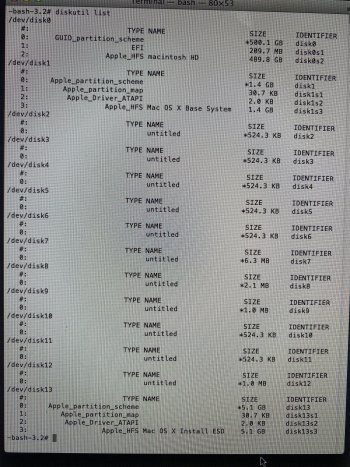
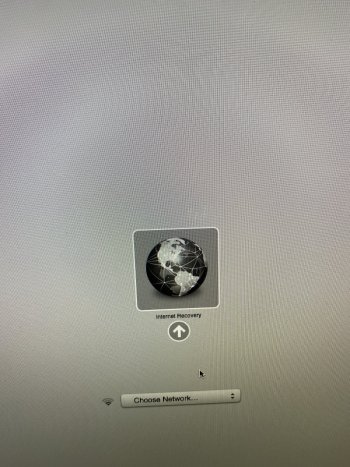
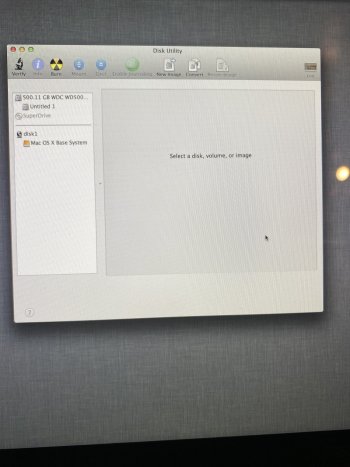
I’m not quiet sure as it was my brother’s, but I think he told me it was running El Capitan!What OS version were you running on the 2012?
I ask because that model did not come from the factory with Internet recovery. The feature was added by a later firmware upgrade that was installed as part of an OS update (I think it was Lion).
Got a tip for us?
Let us know
Become a MacRumors Supporter for $50/year with no ads, ability to filter front page stories, and private forums.
HELP! HD locked on reinstall!
- Thread starter flashyx
- Start date
- Sort by reaction score
You are using an out of date browser. It may not display this or other websites correctly.
You should upgrade or use an alternative browser.
You should upgrade or use an alternative browser.
Internet recovery should work then. What do you see if you hold command-option-r at startup?I’m not quiet sure as it was my brother’s, but I think he told me it was running El Capitan!
It takes me to OS X Utilities Menu.Internet recovery should work then. What do you see if you hold command-option-r at startup?
Tried it two different ways: holding the commands and then turning it on and only holding the commands after booting…
Do you have access to another Mac that you could use to download the OS and make a USB key installer?
Do you have access to another Mac that you could use to download the OS and make a USB key installer?
Yes, I do.Do you have access to another Mac that you could use to download the OS and make a USB key installer?
Don’t know how to do it though!
Yes, I do.
Don’t know how to do it though!
Create a bootable installer for macOS - Apple Support
You can use a USB flash drive or other secondary volume as a startup disk from which to install the Mac operating system. These steps are primarily for system administrators and other experienced users.
This link explains. Let us know if you get stuck.
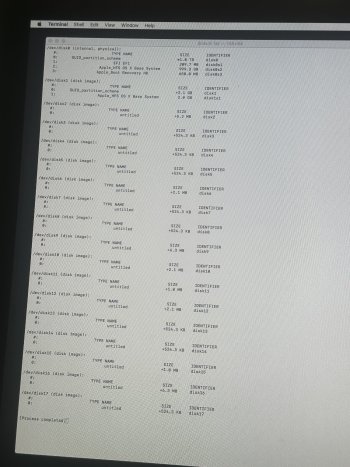
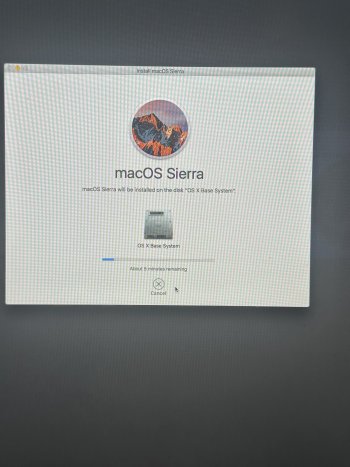
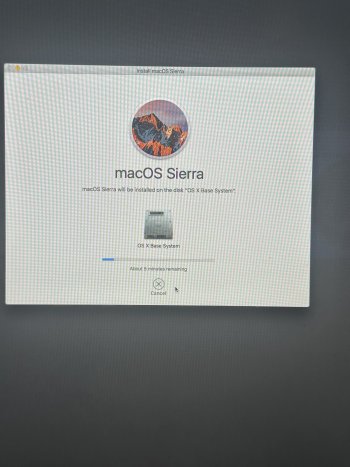
This is the same exact problem I am having.Im not able to install because the second hard drive on the picture is still locked. And,...View attachment 640786
Attachments
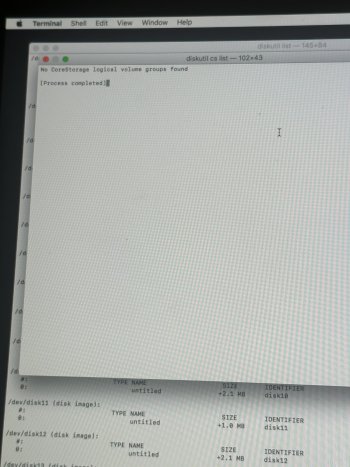
This is the same exact problem I am having.You have something odd going on there. Normally there would be only one core storage volume listed that is the Fusion'd single logical volume.
Run this and tell me what it says. This will show the layout of the core storage volume.
Code:diskutil cs list
Attachments
Where i put my apple id? Replacing “untitled” with my apple id name?Actually it worked with another apple ID. Thanks for the help !! You're amazing.
For people with the same problem: you need the use an apple id that you used to install/buy lion on your imac (that's the only thing I can think of why it worked)
Klaudiahoxha -
The "way forward" for you is:
1. Create a bootable USB flashdrive (I suggest using the free "Install Disk Creator" app)
2. Boot the Mac from the flashdrive
3. Open disk utility, go to the view menu (if there is one) and choose "show all devices"
4. Select the topmost item that represents the physical drive inside.
5. ERASE IT to "Mac OS extended, journaling enabled, GUID partition format"
6. When the erase is done, quit disk utility and open the OS installer
7. Let the OS installer do its thing. It will take a little while and the Mac may "go dark" and then restart one or more times.
8. When done, you should see the initial setup screen -- start clicking through.
9. When asked if you wish to migrate from another drive, connect your backup, point the way to it. Give Setup Assistant time to digest everything. I suggest you migrate everything.
10. When done, you should see your login screen.
I am having a hard time marking a bootable USB Flash drive. I am using a windows laptop to do it and it complicated.Klaudiahoxha -
The "way forward" for you is:
1. Create a bootable USB flashdrive (I suggest using the free "Install Disk Creator" app)
2. Boot the Mac from the flashdrive
3. Open disk utility, go to the view menu (if there is one) and choose "show all devices"
4. Select the topmost item that represents the physical drive inside.
5. ERASE IT to "Mac OS extended, journaling enabled, GUID partition format"
6. When the erase is done, quit disk utility and open the OS installer
7. Let the OS installer do its thing. It will take a little while and the Mac may "go dark" and then restart one or more times.
8. When done, you should see the initial setup screen -- start clicking through.
9. When asked if you wish to migrate from another drive, connect your backup, point the way to it. Give Setup Assistant time to digest everything. I suggest you migrate everything.
10. When done, you should see your login screen.
"I am having a hard time marking a bootable USB Flash drive. I am using a windows laptop to do it and it complicated."
This is something that is best done "on a Mac", using either "Install Disk Creator" or "Diskmaker X".
However, there's another way -- you can also boot to INTERNET recovery (this IS NOT "the recovery partition").
You haven't told us WHICH Mac you have and WHAT YEAR it was made.
This is important information.
Internet recovery works only on Macs from 2011 and later. It also works on SOME (not all) 2010 Macs.
You can try internet recovery by doing this:
Power down, all the way off.
Press the power on button and IMMEDIATELY HOLD DOWN
Command-OPTION-R
... and KEEP HOLDING THEM DOWN FOR A WHILE.
You will see the spinning globe that indicates that internet recovery is loading.
It takes a while, be patient (you can let go of the keyboard once you see this).
If you are connecting via wifi, you'll be asked for your wifi password.
Enter it.
When you get to the internet utilities, open disk utility.
IF THERE IS A VIEW MENU, you must go to it and choose "show all devices".
(if there IS NOT a view menu, ignore this).
If you look at the list on the left, the topmost item should be the physical drive inside.
This is what you need to erase.
Click it and choose "Mac OS extended, journaling enabled, GUID partition format".
When the erase is done, quit disk utility and open the OS installer, and start clicking through.
WARNING:
The above will WIPE OUT all your data -- so you need a backup!
@Weaselboy Hi there I’ve been scrolling & skimming up and down these reviewers about all day now and sure can relate on so many levels and thought I had came into a conclusion that my hard drive might be useless only because I’ve read about it on a few of your response on here. Since I bought this used iMac then having to reinstall iMacOS Sierra within 3secs away of completion an error always occurring . & so lead me trying to do the internet recovery. Seeing the globe twirling but didn’t prompt me to cnnct to my wifi instead it took me & kept me waiting at the apple logo for hours. So I attempt doing this process quite a few Time just to see if I’m doing it right until eventually I gave up and give it a rest & noticing my desktop screen was pretty hot. Not sure if that is normal. Anywho I had let that cool down & of course decided to start it up doing that internet recovery thing but I used holding down shift key command then R. So now I am at the latest software I believe. Mac OS X Lion 10.7. Im actually afraid to take the next step and could use your knowledge. Highly appreciated it
Can you tell us what year and model Mac you are on?So now I am at the latest software I believe. Mac OS X Lion 10.7. Im actually afraid to take the next step and could use your knowledge. Highly appreciated it
So you now have it up and running on Lion?
No well I’m still having to reinstall the lion. I went on this website where I was able to download the software from apple support while being stuck in internet recovery. Partition, add a volume “lion” Got that that done but now my terminal still not readingCan you tell us what year and model Mac you are on?
So you now have it up and running on Lion?
I
Mac 2013
Can you tell us what year and model Mac you are on?
So you now have it up and running on Lion?
Mac 2013
Can you explain what lead up to all this?No well I’m still having to reinstall the lion. I went on this website where I was able to download the software from apple support while being stuck in internet recovery. Partition, add a volume “lion” Got that that done but now my terminal still not reading
I decided to buy this older model of imac just recently on offer up just cause its what i can afford. Didnt think it would be an issue now knowing that apple doesnt deal/work with older models puts me in this situationCan you explain what lead up to all this?
Follow the instructions in this post to format the drive, then install the OS.@Weaselboy can you tell me what i can do from here please
@Weaselboy Im in internet recovery but it doesnt give me that option to show all device in disk utility
You are on an older OS version, so it may look a little different. In Disk Utility, can you see the disk drive at the top of the tree like in my screenshot?@Weaselboy Im in internet recovery but it doesnt give me that option to show all device in disk utility
YesYou are on an older OS version, so it may look a little different. In Disk Utility, can you see the disk drive at the top of the tree like in my screenshot?
Attachments
Register on MacRumors! This sidebar will go away, and you'll see fewer ads.


