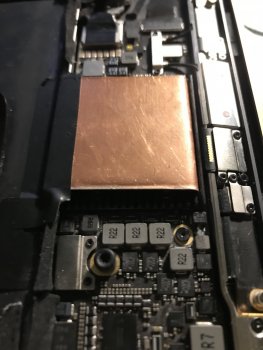
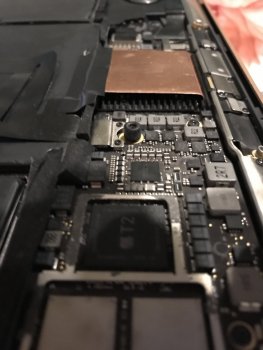
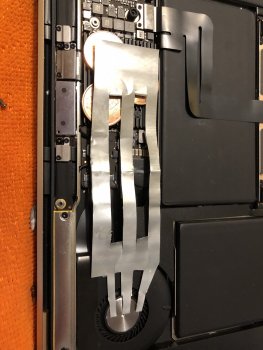
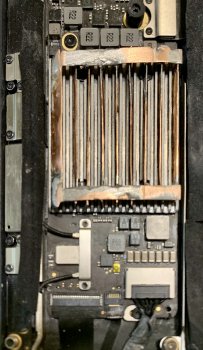
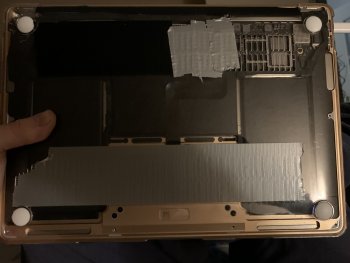
I've recently received new and shiny MBA 2020 i7/16GB/1TB to replace my much loved and trusted MBA 2015 i7. But I was very disappointed to find out the extent of the throttling issue — my single-core Geekbench scores varied between 1100s and 900s after multiple runs, which is a big difference, considering that my old MBA 2015 consistently pulled ~850 on the single core. Soon I found this thread and decided to try the copper shim mod.
Modification process
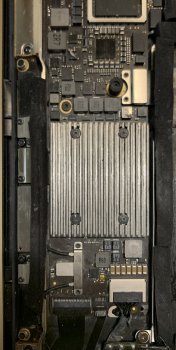
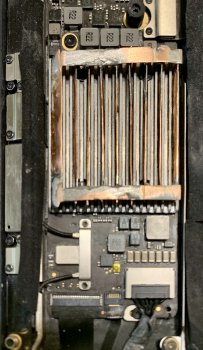
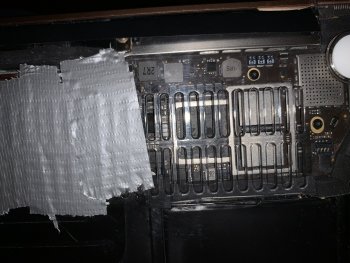
After I've removed the back cover and the heatsink, I've discovered the familiar blob of the black paste that everyone here has seen already.
View attachment 915469
From the looks of it the paste started to dry out already and cracked a bit. I don't think this will be a good heat conductor in the long run.
View attachment 915470
Removing the paste I've noticed what some have mentioned here — it is very thick.
View attachment 915471
Then I've applied some Arctic Silver on both dies in a thin layer (half a grain of rice). Initially I wanted to test just the thermal paste replacement, without the copper mod. But below you can see the result of placing the heatsink on top of the CPU that has been covered with Arctic Silver.
View attachment 915472
The gap is so big that it doesn't even touch the CPU! And here I am thinking that heatsink has to touch the CPU die.
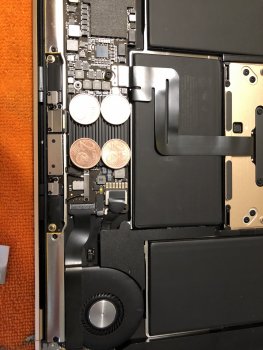
So I've added copper shims to the mix. I've had some 15x15x0.3mm, and it turned out to be more than enough. As soon as I've placed the heatsink with the shims, it immediately stuck to the Arctic Silver.
Testing
I wanted to be thorough, so I made a lot of tests before and after the mod, under similar conditions. My macOS is fully fresh, I didn't migrate to it just yet, so there are no apps, nothing.
I've idled before every Cinebench run and before the first Geekbench run until temperatures reached low values. I've also tested with the maximum fan speed (8k) with TG Pro to see how that affects the results, because the system usually increases the fan speed quite slowly.
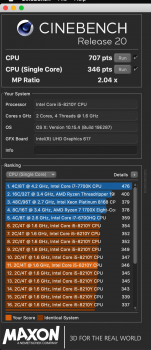
Here are a lot of screenshots for those of you who'd like to see some context. All results are summarized in a table below.
Before
Idle
View attachment 915478
Geekbench 1st run
View attachment 915473 View attachment 915474
After
Idle
View attachment 915481
Geekbench 1st run
View attachment 915479 View attachment 915480
Results
| Single-Core
(before) | Multi-Core
(before) | Single-Core
(after) | Multi-Core
(after) |
Geekbench
(1st run) | 1169 | 2621 | 1265 (+8%) | 3397 (+30%) |
Geekbench
(2nd run) | 1006 | 2473 | 1174 (+17%) | 3046 (+23%) |
Geekbench
(3rd run) | 1078 | 2606 | 1176 (+9%) | 3022 (+16%) |
Geekbench
(max fan) | 1238 | 3212 | 1264 (+2%) | 3765 (+17%) |
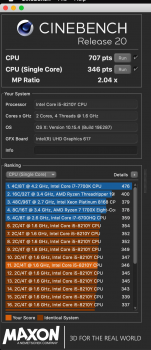
| Cinebench | - | 903 | - | 1056 (+17%) |
Cinebench
(max fan) | - | 1029 | - | 1141 (+11%) |
Single-core results are significant, but multi-core results are dramatic! What's more, during the tests I could clearly see that the CPU temperature doesn't jump to 100°C instantly with the copper shim added (I'll attach some extra screenshots in the post below).
Single-core performance is practically maxed with the copper shim, and the temperature doesn't reach full 100°C during the first half of the Geekbench test anymore.
I don't know, if this is an oversight on Apple's part or a simple way to save a few extra bucks during the assembly — putting some think paste and screwing the heatsink that doesn't touch the CPU is faster and safer, of course — but it just shows that that CPU in MBA 2020 can behave much better even without the complete redesign of the cooling system.
[automerge]1589581897[/automerge]
And here are a couple more screenshots showing the temperature charts during the Cinebench testing. It's obvious that with the copper shim installed the temperature doesn't rises so dramatically, which in the real life scenarios might keep the CPU cooler for much longer.
Before the shim mod
View attachment 915487
After the mod
View attachment 915486


