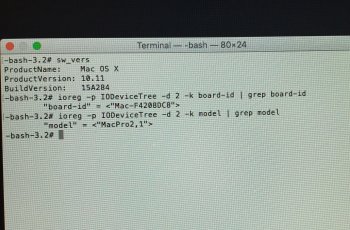
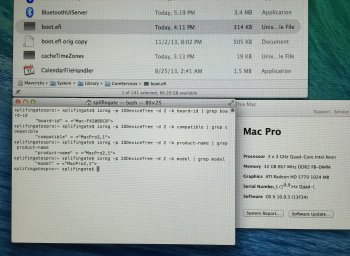
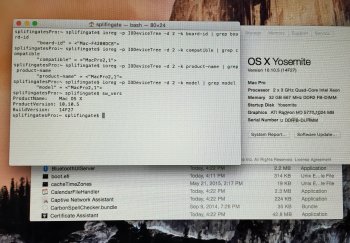
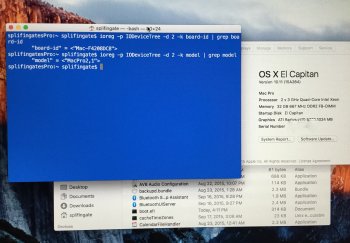
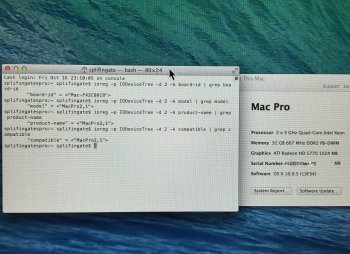
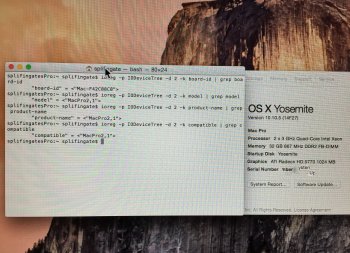
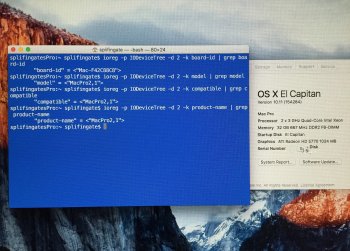
Mike, uploading the installer (without considering the time it'll take you to download it) will take much longer than creating one from scratch. For this reason, I'm enclosing a relatively detailed (though imperfect) guide to the installation of El Capitan on an old Mac Pro. Let me know if you find this feasible. Also, notice that the guide DOES NOT mention the modification of /Library/Preferences/SystemConfiguration/com.apple.Boot.plist, which in my case was necessary (otherwise, the installer wouldn't boot). So, here's the guide. If you are so kind, make whatever corrections you deem fit:
Guide for installing OS X 10.11 El Capitan on a Mac Pro 1,1 or 2,1 with the boot.efi method without directly resorting to a more modern computer
Based on Hennesie2000’s similar guide for OS X 10.10 Yosemite
I have tried to be as complete and clear in this guide as possible. However, this is an intricate procedure. I am not responsible for any damages that may occur as a result of this guide.
Things you will need
1. A Mac Pro 1,1 or 2,1 with an upgraded video card (7300GT or X1900XT will not work).
2. An 8GB or larger thumb drive or, preferably, an 8GB blank partition in one of the Mac Pro internal drives.
3. The latest version of Pacifist. It can be downloaded from charlessoft.com.
4. An application called Flat Package Editor. It can be found at on
https://developer.apple.com/downloads/index.action. You will need to login and then search for “Auxiliary Tools” and download the “Late July 2012” dmg. Once downloaded, mount the DMG and right-click PackageMaker then show the contents. Browse to the /Contents/Resource folder and you will see the Flat Package Editor there. Copy that to your Utilities folder.
5. A copy of the El Capitan Install App from the App Store. You can’t use your old Mac Pro to download it. For this you will need either a virtual machine running Yosemite or a more modern Mac.
6. Choose either the “black” or the “grey” version of Pike’s boot.efi and download both boot.efi and bootbase.efi according to your choice. They can be downloaded from
http://piker-alpha.github.io/macosxbootloader/.
Creation of a generic stand-alone El Capitan installer
1. In Terminal you will need to show hidden file using the following commands:
defaults write com.apple.finder AppleShowAllFiles YES
killall Finder
2. Right-click on the downloaded El Capitan Installer app and click show package contents.
3. Browse to the folder /Contents/SharedSupport.
4. Double-click to mount “InstallESD.dmg”.
5. Open up Disk Utility and drag BaseSystem.dmg to the side bar (in Disk Utility).
6. Click on BaseSystem.dmg in Disk Utility and select the Restore tab.
7. Set the BaseSystem.dmg as the source and choose the thumb drive or the 8GB internal blank partition (formatted as HFS+) as the destination.
8. Restore the image to that destination.
9. If you so desire, rename the thumb drive or the internal partition. For instance, I named mine “Install”.
10. Use the Finder to browse the newly restored installer. Go to the folder /System/Installation on the installer and delete the “Packages” alias file.
11. Go back to the mounted InstallESD.dmg and drag the “Packages” folder to the installer into the /System/Installation folder where the alias file used to be.
12. Copy the “BaseSystem.dmg” and “BaseSystem.chunklist” files to the root of the installer.
13. On the installer, go to /System/Installation/Packages/ and right-click on Essentials.pkg. Open it with Pacifist. Within Pacifist, navigate to /System/Library/Kernels/. There you will see a file named “kernel”.
14. Using the Finder, on the installer, create a folder named “Kernels” [without the quotation marks] in /System/Library/ and open the new folder.
15. Drag the “kernel” file from Pacifist to the Finder window where the “Kernels” folder is open.
16. To hide the hidden files again, enter this in Terminal:
defaults write com.apple.finder AppleShowAllFiles NO
killall Finder
Modification of the generic stand-alone El Capitan installer so that it will run on an old Mac Pro
1. Using the Finder, on the installer, navigate to System/Installation/Packages.
2. Right-click OSInstall.mpkg and open it with the Flat Package Editor.
3. Click and drag the “Distribution” file to your desktop and then open that using the text editor.
4. Scroll down a little bit until you see “var platformSupportValues=[...” [without the quotation marks]. That is followed by a bunch of board ID. For the Mac Pro 1,1 and 2,1 you will need to add "Mac-F4208DC8","Mac-F4208DA9" [it is imperative that such ID be surrounded by non-curly quotation marks]. Add them to the beginning of the list. You can copy the following line, including the last comma (without the carriage return that follows it), and then paste it to “Distribution”:
"Mac-F4208DC8","Mac-F4208DA9",
5. Save the edited Distribution file.
6. In the Flat Package Editor window, with the Distribution file highlighted, click Delete.
7. Now drag the edited Distribution file into the window and save the package file.
8. Also in the Packages folder you will need to modify the InstallableMachines.plist file with the same to above board ID again following the syntax.
9. You have to modify the PlatformSupport.plist located in the System/Library/CoreServices folder, again adding the two board IDs in the correct syntax.
10. And now we come to the most crucial part: including Pike’s boot.efi on the installer. For this, replace the boot.efi files located in System/Library/CoreServices and usr/standalone/i386 with Pike’s boot.efi that you previously downloaded as indicated earlier.
11. Finally, replace the bootbase.efi file located in System/Library/CoreServices with Pike’s bootbase.efi that you previously downloaded as indicated earlier.
Installation of El Capitan on an old Mac Pro using the modified installer
1. Boot from the installer by holding option after the boot chime.
2. Follow the normal OS X install process.
3. Make sure you are in front of your computer when the process is about to end. Don’t let it reboot, because, if it does, your Mac Pro will fail to boot, as the installer does not install Pike’s boot.efi to the target disk. You’ll have to use the installer Terminal to replace the boot.efi files located in System/Library/CoreServices and usr/standalone/i386 with the file Pike’s boot.efi that you previously downloaded as indicated earlier. In case you didn’t stop the reboot, you’ll need to reboot to the installer and, without installing the system, go to the Terminal and replace both boot.efi files.
4. Although this might not be necessary, using the installer, choose Startup Disk and select your now El Capitan partition and reboot.
Modification of the Recovery HD partition so that it will be bootable on the Old Mac Pro
Finally, within El Capitan itself, open the Terminal and enter
diskutil list
You will see a list of disks and partitions. One of them, of the type “Apple_Boot”, will be named “Recovery HD” and it will be located on the same disk as your new El Capitan partition (possibly called “Macintosh HD”). Notice its disk identifier in the last column to the right. Let’s suppose the identifier is “disk3s3”. Using the Terminal, enter the following:
diskutil mount disk3s3
The El Capitan Recovery HD will appear on your desktop. Using the Terminal, you’ll have to replace the boot.efi file located in /com.apple.recovery.boot with Pike’s boot.efi that you previously downloaded as indicated earlier. Notice that this modified Recovery HD will now boot the old Mac Pro, but, if you were to use it to reinstall El Capitan, you would still need to use the Terminal to replace both copies of the stock boot.efi with Pike’s modified version. Finally, using the Terminal, enter:
diskutil unmount disk3s3


