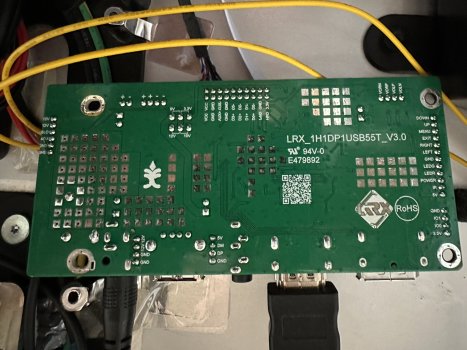
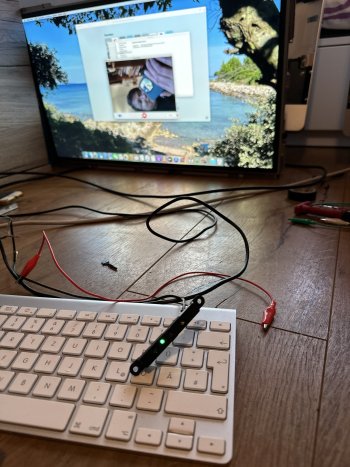
My brightness direction works fine. I am not sure that it could be the problem/solution, but in my setup the 12V and GND to the original inverter are coming from the Chinese board, and not directly from the external PSU. I use PWM module as well.Thanks to you, I was able to turn my old 2010 iMac, which I was about to throw away, into a working monitor yesterday. I used an apple backlight inverter and connected the wires according to the following scheme. ➡️
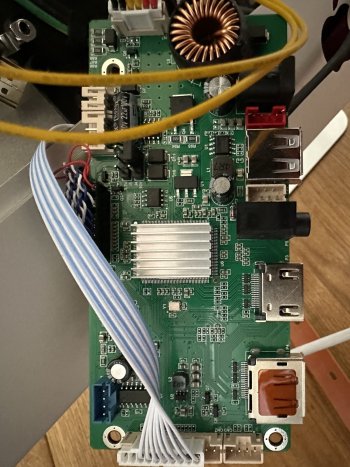
I connected 12V and GND directly from the power supply. It`s work. But when I increase the brightness in the settings, the screen gets dimmer, and at zero brightness, it is at its highest
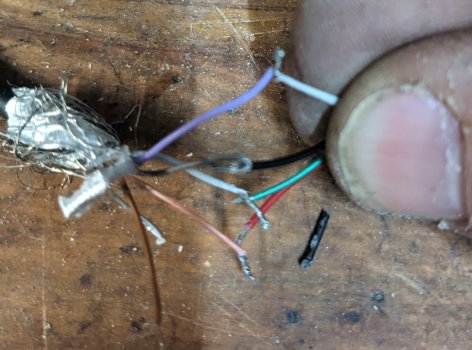
China Inverter Apple Inverter 12V 12V 12V 12V ADJ PWN BL_ON BL_On GND GND GND GND where is the mistake?
I also want to try connecting the built-in speakers and see if I can route USB to the webcam. Is it possible?
Just to brag about it
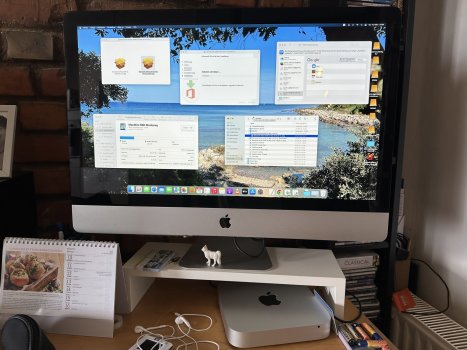
the brightness is quite high for me at 100% in my setup, so I actually keep it at 70-75% as it uses less power (70-75W depending on what's on the screen - lighter colours use more power), and it is easier on the eyes At full brightness the power consumption of my setup is 105-110W.
Last edited: