What’s this newer R1811? I thought the v4 firmware was the latest variant?@yurazazik With the R1811 board the DSC switch is in the OSD Advance Menu Option.
With the older V04 firmware it is the last option at the bottom of the page.
With the new Blue OSD version DSC is on the 2nd page of the Advance options, so you have to scroll down to the 2nd page where it's the 3rd choice.
You do need Better Display to see what effect it is having.
Is there any way to get this newer (v5?) firmware? Maybe it fixes the DCC control problem.
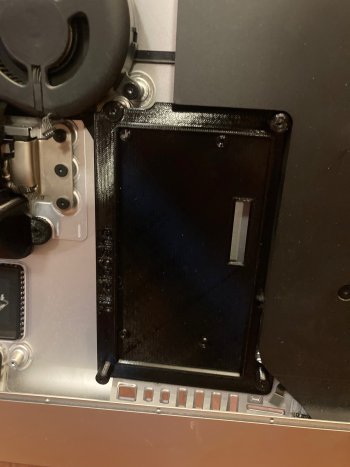
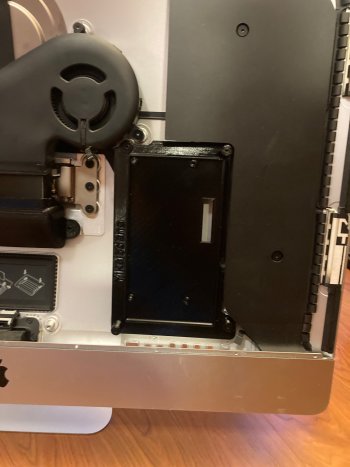
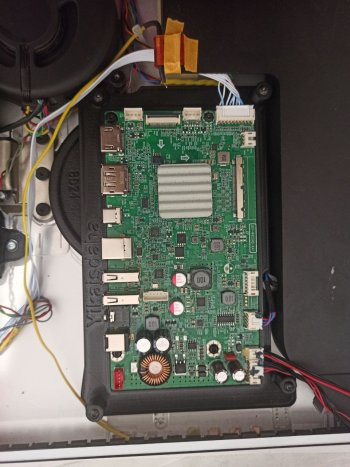
Does anyone have photos showing the R1811 connected properly to the CC board?The R1811 on its own does about 450 nits. With the DZ-0818 constant current board this increases to about 550 nits.
For normal use 450 is absolutely fine because you are not going to be doing colour accurate work with direct light shining on the screen.
In fact selecting the P3 colour mode reduces the maximum brightness of the screen slightly, presumably to maintain accuracy, so I don’t think it’s necessary to use the CC Backlight board.
My CC board decreases brightness. I couldn’t figure it out. StoneTaskin was no help.
") I’m eating the cost of the CC board, leaving it disconnected, and moving on.
I’m eating the cost of the CC board, leaving it disconnected, and moving on.