I just uploaded a BigSurBaseSystemfix disk, updated for any generic BigSur 11.x beta (also non beta should work), simply restore through DiskUtility this DMG :
Shared with Dropbox

www.dropbox.com
- minimum requirement 1 GB USB drive for an external modified recovery patcher (with BigSurFixes included)
to add an updated BigSur Installer app:
- an already downloaded InstallAssistant.pkg and unpacked to Applications folder
- 16 GB USB drive to add also the updated SharedSupport.dmg (typically size is 12.3 GB)
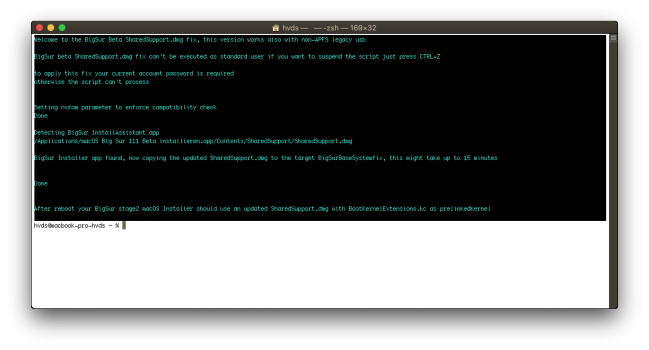
after restored the patched BigSurBaseSystemfix, you can use the same disk for any next beta releases, simply use this attached script I wrote for copying the updated SharedSupport.dmg to the target BigSurBaseSystemfix disk.
Thank you jackluke, and congratulations. You have devised a very convenient procedure to make an installer which is updateable for a whole series of betas, and applicable to the very old legacy USB machines.
I just successfully used it to create a new USB installer for 11.1 beta, and used the result to install successfully.
Used these steps to make the installer (maybe too detailed for many - sorry):
1) downloaded your BigSurSharedSupportfix.zip, unzip to get the BigSurSharedSupportfix.command
2) downloaded your BigSurBaseSystemfix.dmg
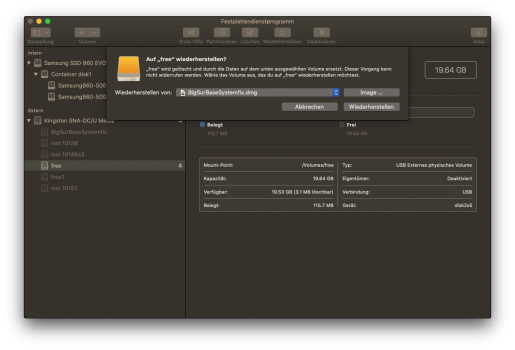
3) plug in the USB medium to be used as the USB installer (formatted Mac OS extended (journaled)) and start Disk Utility
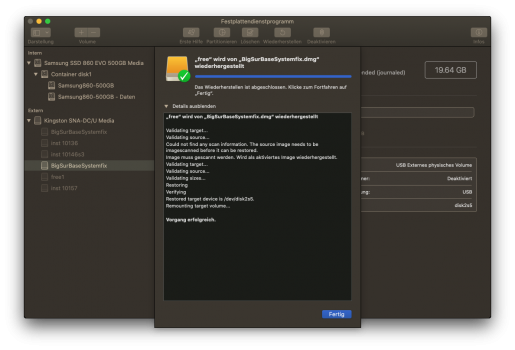
4) select Restore in Disk Utility, to the USB medium, with BigSurBaseSystemfix.dmg as the Image to be restored to the USB medium (photos 1+2).
These four steps are needed once, and new versions (betas or releases) can be included in the USB medium as they appear, as follows:
5) have the USB medium plugged in
6) have the installer app you want to install from, in /Applications. It gets there by downloading and running a full installer's InstallAssistant.app
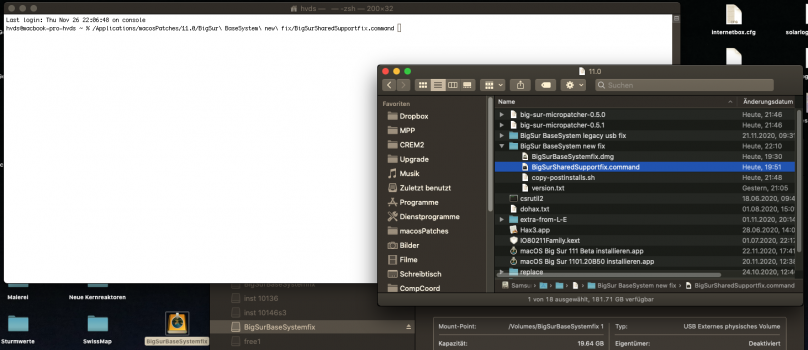
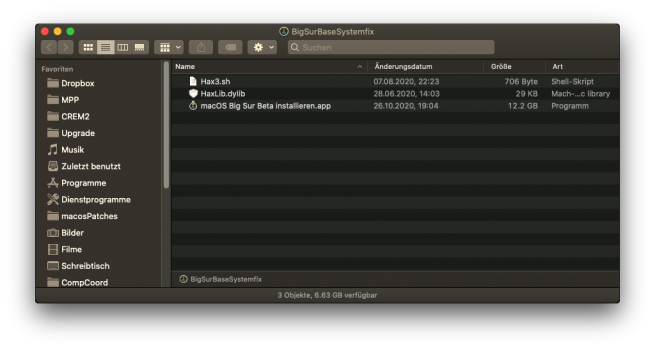
7) open a terminal and run BigSurSharedSupportfix.command in it, e.g. by drag/drop from a Finder window (photos 3+4), or run the command by simply double-clicking it. This may take some 10-15 minutes as it has to transfer the largest part of the system, i.e. SharedSupport.dmg. The contents of the resulting USB installer is in photo 5.
These three steps can be executed again with the same USB medium when a new version arrives.
The installer should boot fine and can be used as the ones made with previous jackluke procedures, i.e. BigSur BaseSystem legacy usb fix/fix2.command.
To recall this installation procedure:
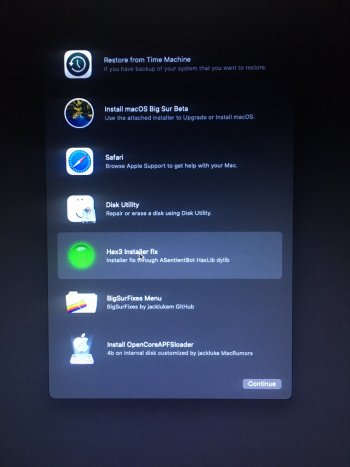
a) boot the USB installer (photo 6)
b) run Hax3 installer fix from main window and confirm it (photos 7+8)
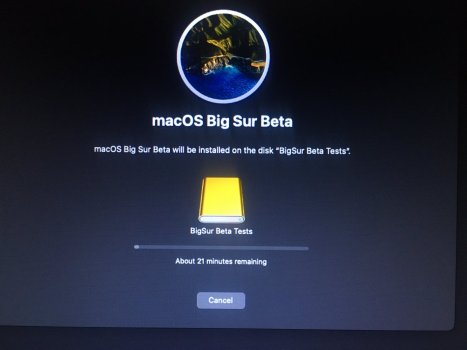
c) start the installer, select the target disk, and its stage 1 should proceed (photo 9).
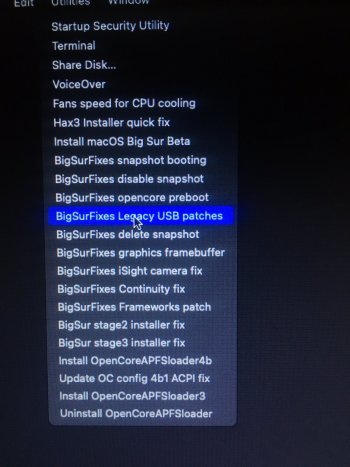
Depending on the location of your target disk (internal SATA, external USB) and whether your machine is a legacy USB or more modern one, the process will proceed to the end or will require rebooting to the USB installer to apply stage 2 installer fix and Legacy USB patches (an alternative to stage 3 installer fix). Choose them from the Utilities pulldown menu.
BigSur should be able to boot now. Anyway in the end boot again the USB installer to apply post-install patches like graphics framebuffer, Framework, etc., from the Utilities pulldown menu (photo 10).
@jackluke, I hope it got it right...
")