Another issue I have with Catalina is finding the pic root of my AHCI controller to make my Tempo pice ssd internal (it has Catalina os), also in a few days I will install a Lycom DT-120 /w 1TB NVME (but for a scratch disk, not for os)
and would like to know in general if it is only cosmetic that these SSDs look external. Will it cause a issue in the future and with performance?
Well, (like almost all questions of Life, the Universe, and Everything) it's explained in the first post, but let's have a go at it again.
I tried to maintain the sophisticated formatting of the original post as I'm quoting it extensively below.
First, go and open your System Information (Apple → About this Mac → System Report). Go to the PCI section and look there:
As you can see, my controller doesn't even bother with having it's own name, it uses the vendor/device combination instead. Yours may be different, therefore follow the arrows above to find your combination by dropping 0x from both vendor and device ID. In my case, it all comes down to 1cc1 and 8201.
Now, the bus we are all about here is PCI, so obviously the full string is pci1cc1,8201. We just don't like spaces in our strings, do we?
I will use pci
xxxx,
yyyy as your string in the next command, OK? You will need to adjust that by yourself.
Now, head to your Terminal and enter:
curl -L https://github.com/acidanthera/gfxutil/releases/download/1.80b/gfxutil-1.80b-RELEASE.zip | tar -xf - && rm -r gfxutil.dSYM && chmod +x gfxutil && ./gfxutil -f pcixxxx,yyyy
Obviously, do not copy the whole command above and paste it to the Terminal. It will only work if you used your actual
xxxx and
yyyy values.
This command, apart from downloading the script and setting it as an executable (you
don't see this part below, as I already downloaded the script), renders the following outcome:
To surprise of no one, what you got here is my (and once you use your
xxxx and
yyyy it's gonna be yours) canonical form of the PCI path of the NVMe controller. Or any other PCI device that you may have in your computer and identified using the System Information as laid out above.
And now back to the first post:
1. Open the OpenCore configuration file
- Open Terminal
- Find the EFI volume of Disk A by entering:
diskutil list
The identifier should be something like
diskAs1. Replace the actual identifier in the following step.
- Mount the EFI volume by entering:
sudo diskutil mount /dev/diskAs1
You may need to authorize this. The volume should mount as
/Volumes/EFI and appear as EFI in Finder.
- Navigate to /Volumes/EFI/EFI/OC and copy config.plist to your home folder, Desktop or wherever you see it fit.
- Open this copied config.plist with TextEdit or any other app capable of opening plain text files.
2. Add the built-in property
- Locate the DeviceProperties key (it's easy with the cmd-F or "Find")
- If this is your first time adding device properties, replace
by
XML:
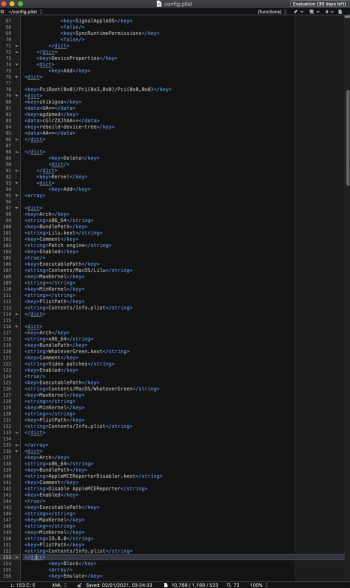
<key>Add</key>
<dict>
<key>PciRoot(0x0)/Pci(0x0,0x0)/Pci(0x0,0x0)</key>
<dict>
<key>built-in</key>
<data>AA==</data>
</dict>

</dict>
You sure know which string you need to replace in the code above. You got it from running the
gfxutil script (pro tip: it's the
PciRoot(0x0)/Pci(0x0,0x0)/Pci(0x0,0x0) string).
3. Verify the configuration
- Save and close config.plist you just used.
- In Terminal, enter:
plutil -convert xml1
- Now add a single space
- Now drag your modified config.plist into Terminal (so the Terminal will show the full path to this file)
- Add a single space AGAIN
- Keep at Terminal and just type
&& plutil
- and a space
- Drag your modified config.plist AGAIN into Terminal (I guess you already know why).
- Finally, the time has come to press Enter. Do it!
You should see
config.plist: OK. If not, recheck all the steps.
4. Load the configuration
- In Finder, go back to /Volumes/EFI/EFI/OC
- Rename the existing config.plist to config.plist.bak just in case everything was going to crash after the edits you made.
- Now copy the edited config.plist to /Volumes/EFI/EFI/OC
- Reboot
Now this is
almost a cosmetic change. It does not do anything in regards of performance. There are
some installers (Adobe, I'm looking at you!) that will deny installation to what they think is an external drive. Well, perhaps they do not do it any more. Still, the difference in color is a clear visual clue to what is internal and what is not and I like it.
(Not that you can't change the disk icon itself. However, merely changing the icon is
purely cosmetic and the disk will be considered external anyway. The procedure above makes it internal to the system as God himself intended.)
Thank you for flying with... oh, not this one. Thank you for reading all the posts in this thread and I hope your disk will become internal in a jiffy.


