Become a MacRumors Supporter for $50/year with no ads, ability to filter front page stories, and private forums.

smartandee

macrumors newbie
Oct 23, 2023
3
3
That's a JRY-W9CUHD-AA1 board, mentioned in post #556 earlier in this thread.

It's specification reads "Type-c interface supports 5120*2880 60HZ 8bit color depth..."
So its not 10 bit, as the more expensive boards are - except for the U49.
Info from the bottom of the View More specs list on this page.

More details here - from a seller who has been used by others in this thread (for other products):

Is 8-bit vs 10-bit really noticeable? Just doing average stuff, no 100% true-to-color things
I can get this JRY-W9CUHD-AA1 direct from Stone Taskin for €130 vs. €304 for the R1811 board....
 
Last edited:

PaulD-UK

macrumors 6502a
Oct 23, 2009
870
470
The only real comparison in this thread of 8/10-bit difference is post #274, with an 8-bit U49 board:

8 bit color though instead of 10 bits is the only drawback right? does it make much of a difference?
Yes, 8-bit is the only drawback.

But not an issue for me - I've got Apple XDR as well and made this "imac" monitor as a second one, not seeing any real difference in the quality :)

But I'm not a designer, using for my tech. work.
 
  • Like
Reactions: jag001

Mik-ko

macrumors newbie
Oct 24, 2023
1
0
Hi all,

I'm converting a late 2015 iMac and I just ordered a Haijing T19 - hope it turns out to be a good choice. While I wait for the board to arrive I have time to prepare the chassis. Which tape/adhesive would you recommend for attaching the screen? I would be interested to buy a roll of the stuff if possible (the iFixit adhesive kit seems expensive and I might do a second monitor also in the near future). I have no experience on these, so links to good alternatives will be much appreciated.
 

PaulD-UK

macrumors 6502a
Oct 23, 2009
870
470
It HAS to be double-sided with a central core of soft porous foam.
So special tape for this job.

If you use ordinary double-sided adhesive tape (as sold for iPhone/iPad repair etc) you will have an impossible task of getting the screen off any time you want to open it in future.

eBay (in this region, probably yours as well) has lots of retailers of cheaper kits specially made to fit, and some of them are good quality and do the job properly.

I don't think anyone else on this long thread has reported fitting a T19, so please keep us informed as to how it turns out ;)
 
Last edited:
  • Like
Reactions: Mik-ko

jag001

macrumors newbie
Oct 13, 2023
25
27
So the T18 board arrived quite quickly, and very carefully packaged from Haijing Cool... quick check its all good with a 12v 4A supply and so far feeling positive! Need to see how it goes for brightness once I juice it up with a 19/24v supply but I can't wait to get some time to sit and complete the build and 3d printed parts etc.
 

Attachments

  • IMG_7347.jpeg
    IMG_7347.jpeg
    425.8 KB · Views: 205
  • Like
Reactions: PaulD-UK

PaulD-UK

macrumors 6502a
Oct 23, 2009
870
470
Nice work!
It's quite possible that the higher 24v power won't make a huge difference in screen brightness if the board runs OK at 12v.
The R1811 is voltage regulated down to 12v (by a jumper on the board) to feed the backlight inverter.

The higher voltage is to allow USB-C PD charging to a laptop - which needs 20v.
Please let us know the result ;)
 
  • Like
Reactions: jag001

Regulus67

macrumors 6502a
Aug 9, 2023
521
495
Värmland, Sweden
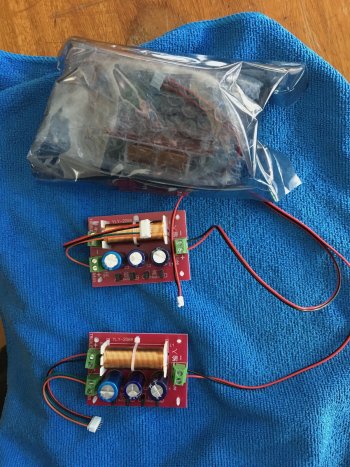
Just noticed the eBay-UK supplier of my R1811 is now selling kits to use the iMac speakers with the R9A18/R1811's inbuilt audio amp. Kit consists of crossovers and cables so no modification is necessary.

Also kits for making 2011 iMac A1312 27" - and iPads 1,2,and 3,4, and iPad Air 1, iPad 5 - into HDMI monitors.
I received my kit yesterday.
Did the installation according to the instruction, but there is no sound at all.

So I went back to one of your previous posts. Where you mention that the pins are not labeled correctly on the R1811.

The R1811's audio speaker amp is very good for everyday purposes - much better than I expected.
The correct pinout is L+ L- R- R+, top to bottom.

EDIT: The internal amplifier definitely has better max volume with a single internal speaker at 4 ohms on each channel.
With 8 ohms/channel loading its not really loud enough for quietly recorded audio.

Could this be the reason I have no sound? As I can see by the contact cables that the + cables are not top and bottom.

IMG_7008.jpeg
 

Attachments

  • IMG_7002.jpeg
    IMG_7002.jpeg
    778.7 KB · Views: 104

PaulD-UK

macrumors 6502a
Oct 23, 2009
870
470
Have you got the monitor selected in the audio output menu?
The crossed wires will not affect the sound output but will give you out of phase audio (low bass).
Just swap the wires at the input of the right crossover.
 

Regulus67

macrumors 6502a
Aug 9, 2023
521
495
Värmland, Sweden
I have three options, internal speaker, headphones and G1-27 Displayport on the Mac Pro 7.1.
I route the sound to the R1811 with a 3.5mm cable plugged in both ends.
The 3.5mm jack is input on the R1811, right?
If it is output, then that would be why there is no sound
 

PaulD-UK

macrumors 6502a
Oct 23, 2009
870
470
No! That’s a headphone output on the R1811.
Select G1-27 to get audio from your Mac to the R1811, via the DP cable.

Use Monitor Control or Better Display freeware from GitHub, or eqMac to control the audio level.
 
  • Love
Reactions: Regulus67

Regulus67

macrumors 6502a
Aug 9, 2023
521
495
Värmland, Sweden
Thank you ! You are a champ 👍 I unplugged the audio cable, as you told me.
The sound is great now 😊

edit:
I have a remote that came with the R1811. That works great for sound volume control
 
Last edited:
  • Like
Reactions: PaulD-UK

Regulus67

macrumors 6502a
Aug 9, 2023
521
495
Värmland, Sweden
I can't believe how stuck I got in my mindset. As the card is built inside the iMac, I failed to realise that is only one option. So of course the card should have outlets as well 🤣

Now that I have everything I wanted in my DIY 5k, the next step will be to set it up properly.
As for now, I still use masking tape to prevent the display from falling off. That way I am able to open it easily whenever I need to.
I am considering to use magnets instead. Even if I have a few sets of tape from iFixIt, for the 27-inch models.
But first, I have to clean up the cable management (both inside and outside) and maybe make proper port outlets.
The power and DP are routed through the back opening, where the memory hatch was.

edit: I had no idea that sound could be sent to a DisplayPort
 
Last edited:
  • Like
Reactions: PaulD-UK

rik_st

macrumors newbie
Nov 5, 2023
11
5
Hi, everyone! Looking for building 5k display from my iMac 27 5k A1419, as already got MacBook Pro 14 on 1m pro. iMac is too slow after m1pro.

1. So, what is better R1811 or T19? Aliexpress seller can't check/confirm that T19 supports HDR10.
2. Are there any troubles with dust between screen and glass after installation?
3. What is the best way to connect MacBook via Type-с or HDMI-Type-c?
4. How to get plastic details for printing in 3D?
 

PaulD-UK

macrumors 6502a
Oct 23, 2009
870
470
I haven't seen any reports from a Hajing T19 build - no one has reported completing a build in this thread yet.
Lots of people have built very successful R1811 conversions.
It's the Hajing T18 that supports USB-C. T19 is DP and HDMI only.

The screen glass is bonded to the screen itself, so if dust gets in that is a fault in the screen seal - nothing to do with it being in a DIY build.

Because using the USB-C PD connection on laptops charges the laptop, it increases the power requirements for the board by 2-3 times, which can make the board run considerably hotter.
Since most DIY builds don't a provide proper cooling solution for the sealed iMac case, this is probably 'not a good thing'.
Mostly people prefer to use a USB-C to DP (8K) cable, which provides identical performance but keeps the board cooler.

USB-C and DP are electronically the same thing in terms of the video signal encoding so the cable is simple - and effective.
USB-C to HDMI need active signal conversion so maybe is more complex.
The Hajing T19 is the only board that is spec'ed HDMI 2.1 for 5K. All the rest use USB-c/DP for 5K - or 2xDP.
HDMI 2.0 only gives 4K.

My guess, based on my own experience with a R1811, is that NONE of the available boards support HDR properly at 5K.
They may well do at 4K but I don't have experience of that.

With HDR enabled on my M1 Mac mini I can get extremely bright vivid colours on the screen, but the colour accuracy is compromised, so I never use it.

The various boards are all different sizes with different mounting hole configuration.
So mounting them is measure-and-fit process.
People who have used 3D printing have measured and manufactured for themselves...
 
Last edited:
  • Like
Reactions: rik_st

thewilewizzard

macrumors newbie
Nov 6, 2023
12
9
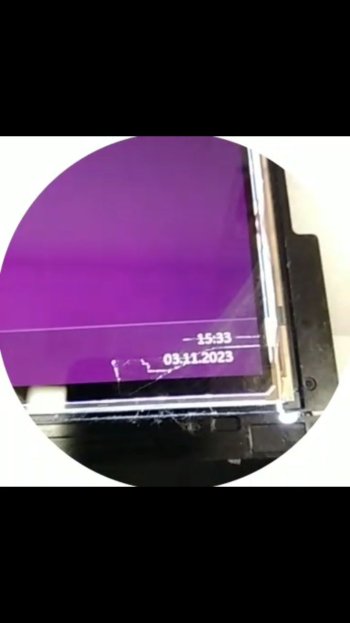
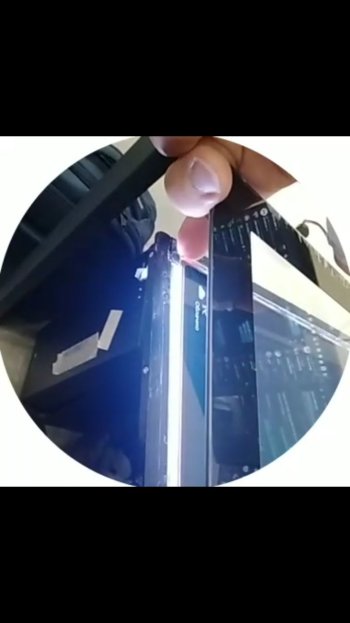
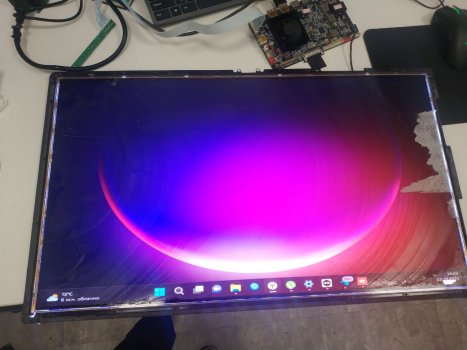
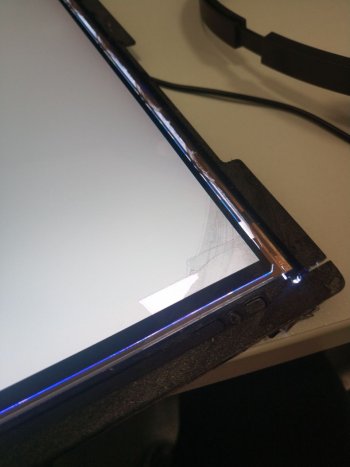
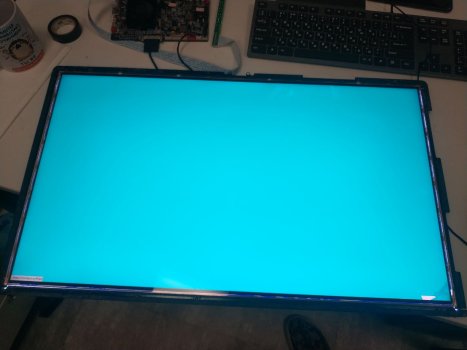
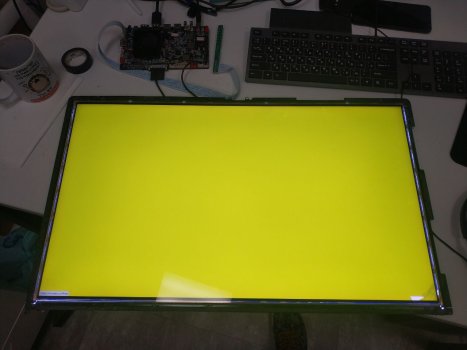
Товарищи. Всех приветствую. Я из России и хотел бы поделиться своим опытом. Достал разбитую матрицу imac 5k lm270qq1 и решил переклеить на ней стекло от imac 2010 и собрать в том же корпусе. С помощью молибденовой струны 0.1 mm и паяльного фена. Работали мы вдвоем с моим другом, он грел феном, а я работал струной. Первое что я сделал, это снял металлическую панель и оставил только сэндвич из стекла и матрицы (светоотражающие рассеивающие пленки убрал в сторону, что было большой ошибкой) сейчас я думаю, что расклеить матрицу можно не вынимая ее из металлического корпуса. После того, как я снял стекло, принялся укладывать пленки на свое место, что было очень непросто сделать, они постоянно соскальзывают со своего места, поэтому я прихватил их малярным скотчем. После этого я прикрутил к корпусу пластиковые направляющие и уже окончательно отцентрировал все пленки и матрицу в корпусе. ДАльше было самое сложное - отчистить матрицу от клея oca и в этом мне помог спрей MECHANIC 8333, что в свою очередь очень похоже на ацетон по запаху и по тому как он уничтожает пластик. После того как я отчистил матрицу, я начал замазывать черным герметиком область, где видно светящийся ореол от подсветки и после того, как он окончательно высох, я отцентрировал стекло и приклеил его на герметик с обратной стороны пластиковых направляющих. Обошлось конечно не без ошибок, при снятии стекла молибденовой струной, повредил поляризационный фильтр и теперь там немного не четкое изображение, кусочки пришлось клеить на прозрачный клей. Выложу сюда фото работы, в не очень хорошем качестве, может быть будет полезно
 

Attachments

  • photo_5352645831100060268_y.jpg
    photo_5352645831100060268_y.jpg
    38.1 KB · Views: 114
  • photo_5352645831100060267_y.jpg
    photo_5352645831100060267_y.jpg
    45 KB · Views: 122
  • photo_5352645831100060275_y.jpg
    photo_5352645831100060275_y.jpg
    124.3 KB · Views: 125
  • photo_5352645831100060274_y.jpg
    photo_5352645831100060274_y.jpg
    146.2 KB · Views: 116
  • 40c6eb2e-0553-4a53-8ad3-83c573488732.jpg
    40c6eb2e-0553-4a53-8ad3-83c573488732.jpg
    75.6 KB · Views: 126
  • photo_5352645831100060266_y.jpg
    photo_5352645831100060266_y.jpg
    30.9 KB · Views: 119
  • bfee302b-21bc-4d8e-acb3-3c811c5801e4.jpg
    bfee302b-21bc-4d8e-acb3-3c811c5801e4.jpg
    125.9 KB · Views: 124
  • 1c7039b8-e5fb-4712-88d3-244bf211d345.jpg
    1c7039b8-e5fb-4712-88d3-244bf211d345.jpg
    80.6 KB · Views: 115
  • f2ee9dda-3582-4eba-9c11-be2a83386949.jpg
    f2ee9dda-3582-4eba-9c11-be2a83386949.jpg
    77.8 KB · Views: 110
  • 5c20773a-4916-4c54-9b05-27ee70d64902.jpg
    5c20773a-4916-4c54-9b05-27ee70d64902.jpg
    83.9 KB · Views: 108
  • 0e0b5ec6-08c8-4d6f-b775-b2fa93e5c421.jpg
    0e0b5ec6-08c8-4d6f-b775-b2fa93e5c421.jpg
    70.5 KB · Views: 111
  • ce223b9d-f864-4d27-a01b-9ce74c971df6.jpg
    ce223b9d-f864-4d27-a01b-9ce74c971df6.jpg
    73.2 KB · Views: 107
  • f245b649-7ef3-4e75-9c0f-02a0ed01cdb3.jpg
    f245b649-7ef3-4e75-9c0f-02a0ed01cdb3.jpg
    95.9 KB · Views: 106
  • ac6e9590-4afa-4f9b-81d7-5676941f500d.jpg
    ac6e9590-4afa-4f9b-81d7-5676941f500d.jpg
    85 KB · Views: 103
  • 747a8816-7370-488f-b829-143d95923b2a.jpg
    747a8816-7370-488f-b829-143d95923b2a.jpg
    71.2 KB · Views: 112

thewilewizzard

macrumors newbie
Nov 6, 2023
12
9
Здравствуйте! That's certainly a first in this thread - replacing the broken bonded front glass from an A1419 with the glass from a 2010 iMac!
Как накоплю денег, я собираюсь повторить это и могу снять подробное видео. Так же у меня есть матрица 2к, и я хотел сделать монитор по тому же принципу, но на ней оказался сломан дешифратор. Действие это очень трудоемкое, поэтому в планах сделать еще оин такой в будущем с 5к матрицей.
 

jag001

macrumors newbie
Oct 13, 2023
25
27
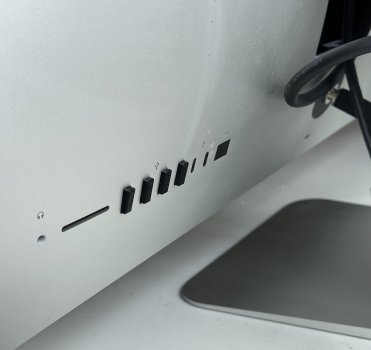
Ok... some T18 progress shots... 4 control buttons printed and working in the 4 USB-A slots (plus original power button connected) and other ports blanked, IEC power removed and replaced with a heavy duty DC input, screen taped into place and running up against my iMac Pro. I'll get some internal shots when I next have it open to finish off the extension ports which I am carefully cutting into the original RAM door.

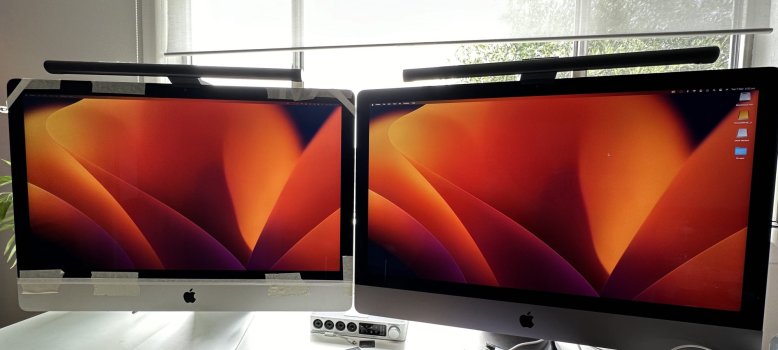
So far so good - its been running all day on my desk for work and is imperceptibly close to the iMac Pro in brightness, colour and accuracy, whilst the panel seems to be running far cooler than the front or back of the iMac Pro (I opted for an external power brick so I can swap input to my caravan when needed).

Might stay this way a week or so before I go digging around in there for the final time though 😆
 

Attachments

  • IMG_7376 2.jpeg
    IMG_7376 2.jpeg
    204.3 KB · Views: 234
  • IMG_7377.jpeg
    IMG_7377.jpeg
    320 KB · Views: 232
Last edited:

jag001

macrumors newbie
Oct 13, 2023
25
27
And regarding my fears on not getting full brightness from the panel I happened to pull up 2 predominately white webpages today on each screen only to now realise the T18 is actually brighter than the full iMac Pro 2017 max brightness...
 

jag001

macrumors newbie
Oct 13, 2023
25
27
That's good to hear. :cool:
Which version of the screen are you using with your T18?
It’s the 2017 iMac - a LM270QQ1-SDC1. I bought a converter board to up the brightness but it’s totally not necessary with the T18… and with the power brick kept external the iMac screen and enclosure are barely warming up even running full brightness over a 8+ hour work day. So far so good!
 
  • Like
Reactions: PaulD-UK and rik_st

Aiwi

macrumors member
Oct 21, 2010
94
89
The time has finally come for me to convert my 2017 5K iMac.

What I have yet to find is a conversion that keeps the stock iMac look. This is what my project aims to achieve.

The stock look is achieved using the Thunderbolt 3 ports as input for both USB-C and DisplayPort. The USB A ports and the Ethernet port have full functionality. When using the USB-C input, all data transfer and charging (90W PD) of the source computer is be done using just one cable.

The FaceTime camera, microphones and speakers are all integrated just like the original iMac.

(In the image below I have not yet pulled the protective sheet from the adhesive strips, as I am still stress testing everything)

I won't post all the pictures and steps here, as it is just too much. Instead go to my 5K-iMac-Studio-Display-Stock-Look GitHub page to read all the details. There you also have the parts list. In short, it cost me about USD400 to do the conversion, not including the original iMac.

Another feature is that it has HDMI 2.1, enabling 5K input on both HDMI ports (At 422).

After shots:
image60.jpg


image61.jpg


image2.jpg


Original design:
image8.jpg


Updated design:
image77.jpg

image78.jpg


image15.jpg

image26.jpg
 
Last edited:

PaulD-UK

macrumors 6502a
Oct 23, 2009
870
470
Excellent write-up of an interesting project 🙂
Thank you.
Does the manufacturer of the R1811 with HDMI 2.1 have a web page, or do other AilExpress vendors sell it?

I tried the same audio amp as you, but found the R1811 board's own audio amp was less noisy and easier to use.
 

Aiwi

macrumors member
Oct 21, 2010
94
89
Excellent write-up of an interesting project 🙂
Thank you.
Does the manufacturer of the R1811 with HDMI 2.1 have a web page, or do other AilExpress vendors sell it?

I tried the same audio amp as you, but found the R1811 board's own audio amp was less noisy and easier to use.

I found one of their webpages ages ago, but it was not updated and I am unable to find it today. This is the listing on their official store on Taobao (domestic Chinese e-commerce platform). If you have a friend who understands Chinese (or if you do) you can chat with them there to get your questions answered.
 
  • Like
Reactions: PaulD-UK

smartandee

macrumors newbie
Oct 23, 2023
3
3
Is 8-bit vs 10-bit really noticeable? Just doing average stuff, no 100% true-to-color things
I can get this JRY-W9CUHD-AA1 direct from Stone Taskin for €130 vs. €304 for the R1811 board....
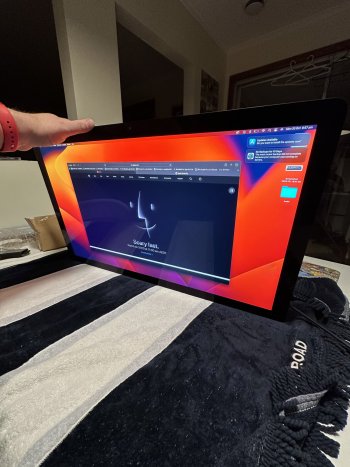
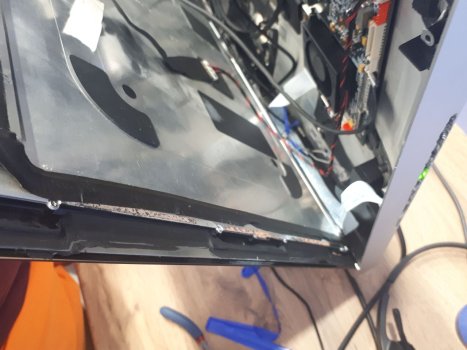
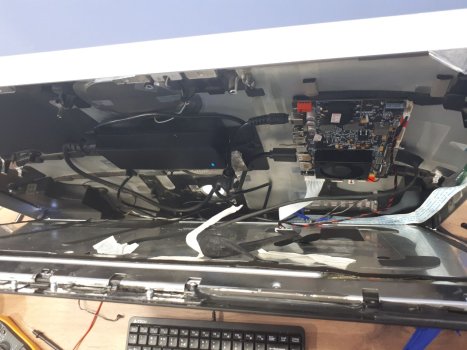
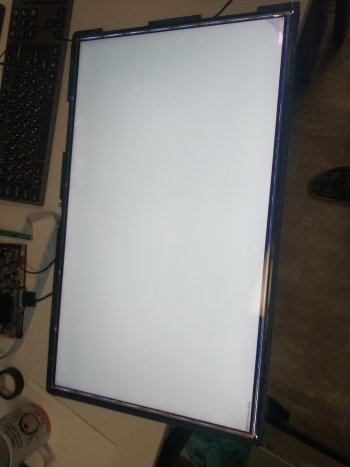
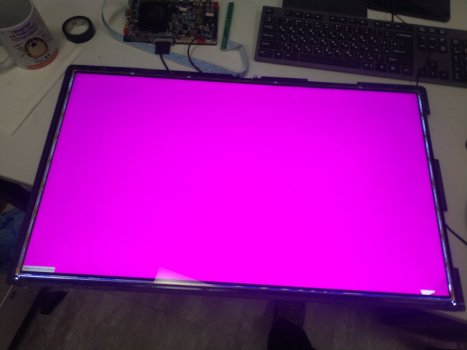
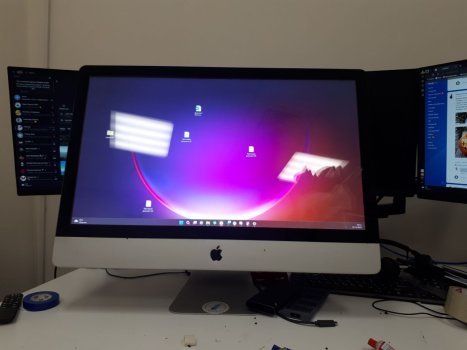
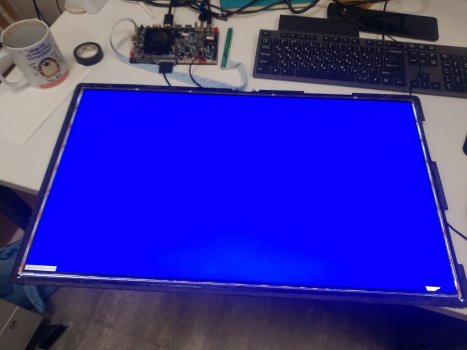
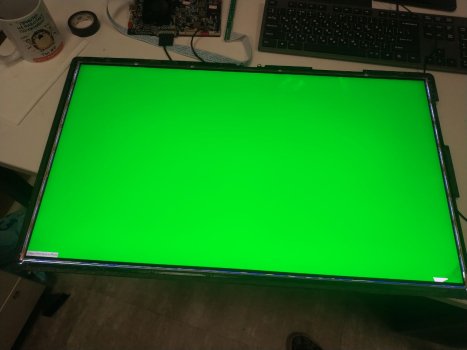
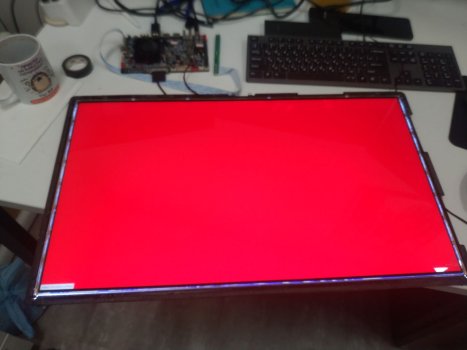
I ordered the "cheap" JRY-W9CUHD-AA1 board. Arrived today and is working fine so far. Attached with only 1 USB-C Cable to my Macbook Air M1. Works straight, no settings needed
I ordered here: 27 '' iMac A1419 A2115 5K LCD Controller With DP Type-c Driver Board
Paid around €190 incl. shipment and import taxes
more details when finally mounted
1.jpg
2.jpg
 
Register on MacRumors! This sidebar will go away, and you'll see fewer ads.