Updating Big Sur Volume on late 2013 iMac
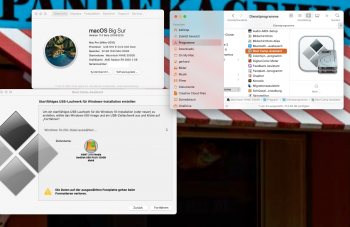
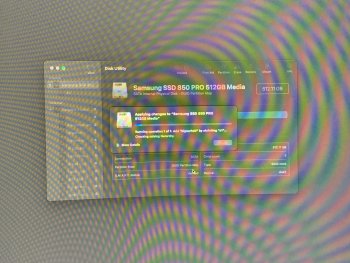
Just hit a snag when trying to update my iMac late 2013 from beta 2 to beta 3. Previously I'd done a clean install from Catalina so didn't see this problem. Catalina doesn't see my Big Sur volume it says it has unsupported disk features. So when running the Big Sur Beta installer on Catalina it doesn't see my Big Sur volume. Big Sur is on an external USB 3 SSD drive. I'm gonna have to make a usb thumb drive installer and patch it with
https://github.com/barrykn/big-sur-micropatcher
Spoiler alert: it worked 😀
Using Big Sur micro patcher
Step 1: Obtain a copy of the macOS Big Sur Developer Preview and use createinstallmedia as usual to create a bootable USB stick with the installer and recovery environment, as you would on a supported Mac. This patcher is easier to use if the installer USB stick is not renamed after createinstallmedia is used, but it can still work if the USB stick has been renamed (see next step).
Use the 'createinstallmedia' command in Terminal
- Connect the USB flash drive or other volume that you're using for the bootable installer. Make sure that it has at least 12GB of available storage.
- Open Terminal, which is in the Utilities folder of your Applications folder.
- Type or paste one of the following commands in Terminal. These assume that the installer is still in your Applications folder, and MyVolume is the name of the USB flash drive or other volume you're using. If it has a different name, replace MyVolume in these commands with the name of your volume.
sudo /Applications/Install\ macOS\ Big\ Sur\ Beta.app/Contents/Resources/createinstallmedia --volume /Volumes/MyVolume
To see the names of your volumes in terminal type:
ls /Volumes
My thumb drive volume name is Kingston
sudo /Applications/Install\ macOS\ Big\ Sur\ Beta.app/Contents/Resources/createinstallmedia --volume /Volumes/Kingston
Ready to start.
To continue we need to erase the volume at /Volumes/Kingston.
If you wish to continue type (Y) then press return: y
Erasing disk: 0%... 10%... 20%... 30%... 100%
Copying to disk: 0%... 10%... 20%... 30%... 40%... 50%... 60%... 70%... 80%... 90%... 100%
Making disk bootable...
Copying boot files...
Install media now available at "/Volumes/Install macOS Big Sur Beta"
Step 2: Download this micropatcher, then run micropatcher.sh to patch the USB stick. (If you are viewing this on GitHub, and you probably are, then click "Clone" then "Download ZIP".) If the USB stick has been renamed or micropatcher.sh is otherwise unable to find the USB stick, then try specifying the pathname of the USB stick to micropatcher.sh. The easiest way to do that is to open a Terminal window, drag and drop micropatcher.sh into the Terminal window, go back to Finder, choose Computer from the Go menu, drag and drop the USB stick into the Terminal window, then press Return.
~/Downloads/big-sur-micropatcher-main/micropatcher.sh /Volumes/Install\ macOS\ Big\ Sur\ Beta
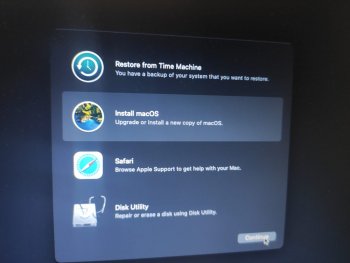
Step 3: Boot from the USB stick. Hold the option key on boot. Select install macOS Big Sur beta.
View attachment 940107
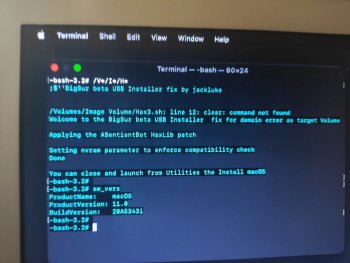
Step 4: Open Terminal (in the Utilities menu), type cmd and equals key to make the text larger if required then run
/Volumes/Image\ Volume/set-vars.sh
This script will change boot-args and csrutil settings as needed, and also set things up so the Installer will run properly. Don't forget that tab completion is your friend! You can type /V<tab>/I<tab>/se<tab> at the command prompt -- that's much less typing! (Run /Volumes/Image\ Volume/set-vars.sh -v instead if you want verbose boot, which can be very useful for troubleshooting.)
View attachment 940113
Step 5: Quit Terminal then start the Installer as you would on a supported Mac.
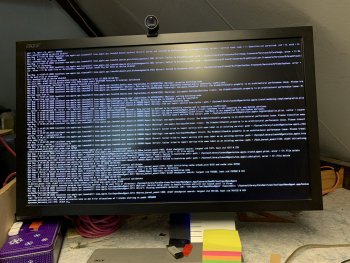
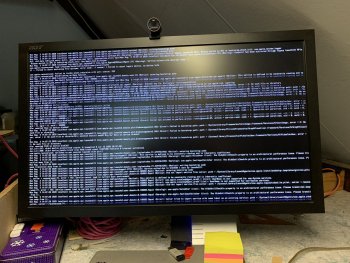
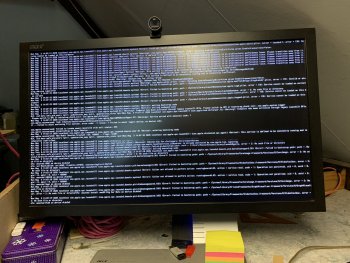
View attachment 940110
View attachment 940111
View attachment 940108
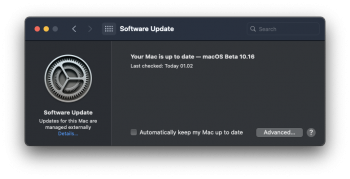
Let the installer finish and that’s all for a late 2013 iMac. Took about 40mins.
View attachment 940117
All done.


